


Quick Answer
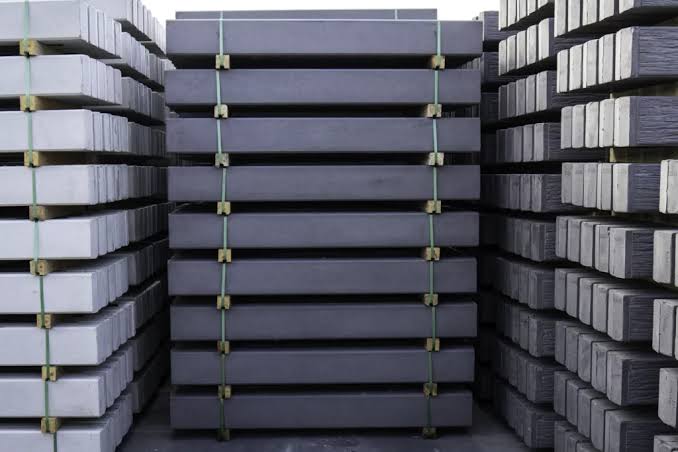
Woodgrain concrete sleepers are typically 200mm high, in 80mm or 100mm thicknesses, with lengths from around 1800mm to 2400mm depending on the design. Thickness and strength grade (40, 50 or 60MPa) are chosen based on your wall's retained height and soil type, not the finish. To work out quantity, divide your wall's total length by the sleeper length, then multiply by the number of courses needed to reach your wall height, and add a margin for wastage and cuts.
This guide walks through the standard sizes available in our woodgrain concrete sleepers range, how to choose the right thickness and strength grade for your wall, and how to calculate the total number of sleepers you'll need — whether you're planning a straightforward garden bed border or a longer, taller boundary wall with corners and steps in height.

The Standard Sizes You Can Choose From
Woodgrain sleepers share the same standard dimensions as our other concrete finishes, so sizing works the same way regardless of which finish you choose.
- Height: 200mm is the standard sleeper height across the woodgrain range
- Thickness: 80mm and 100mm are the two common options
- Length: typically 1800mm to 2400mm, depending on the specific design
- Strength grades: 40MPa, 50MPa and 60MPa, depending on the design and wall requirements
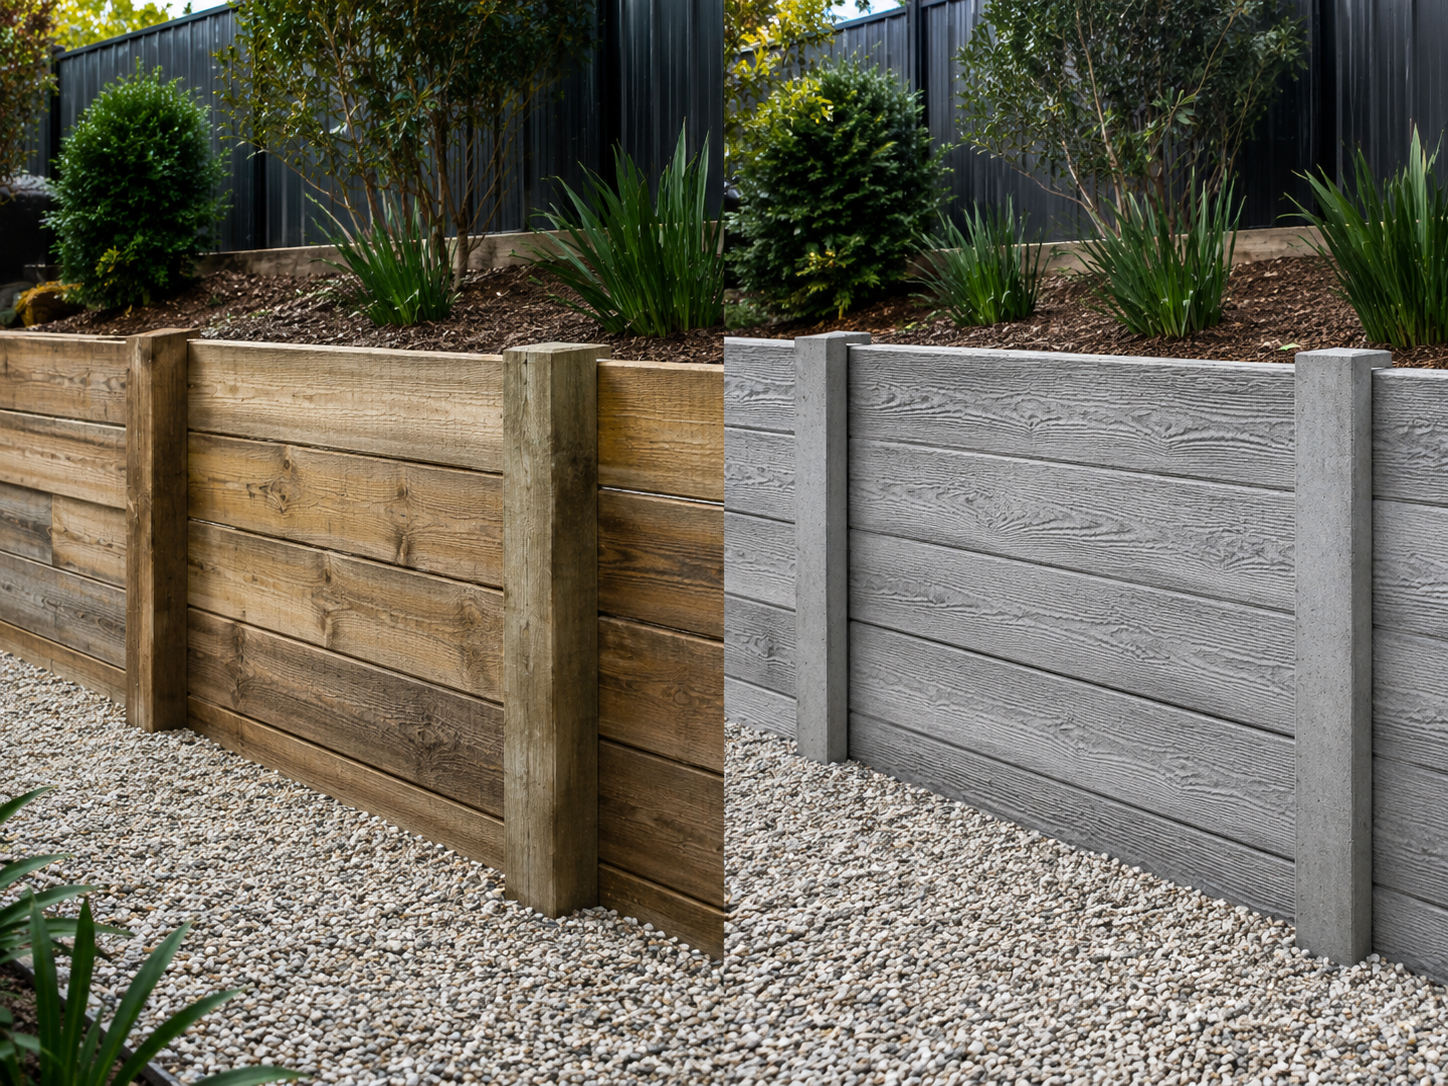
- Finish: the timber-grain texture applies to the same dimensions as our smooth and charcoal finishes, so switching finish doesn't change your sizing calculation
Why 200mm Height Is the Industry Standard
A 200mm sleeper height strikes a practical balance between the number of courses needed to reach a given wall height and the weight of an individual sleeper for handling on-site. Taller individual sleepers would mean fewer courses but significantly heavier units to lift into place; shorter sleepers would be lighter but require more courses and more post-to-sleeper connections per metre of wall height. The 200mm standard has become the industry norm because it works well across the widest range of residential and light commercial wall heights.
Length Options and When to Use Them
Sleeper length affects both post spacing and how a wall divides across corners, gates or steps. Shorter lengths (around 1800mm) give more flexibility around obstacles and tighter corners, since there's less material to cut or waste when a wall section doesn't divide evenly. Longer lengths (up to 2400mm) reduce the total number of posts needed along a straight run, which can reduce both material cost and the number of post holes to dig — a genuine labour saving on long, uninterrupted wall runs. For walls with multiple corners, steps or garden bed shapes, shorter lengths are usually the more practical and less wasteful choice, while long, uninterrupted boundary or driveway walls tend to benefit more from longer sleeper lengths and the reduced post count that comes with them.
Weight Considerations for Handling
A 100mm-thick sleeper is meaningfully heavier than an 80mm sleeper of the same length, which matters if you're installing without machinery. On tight-access sites — behind a house, down a side passage, or on a steep slope where a machine can't easily reach — the extra weight of thicker sleepers can be the deciding factor in whether a DIY install is realistic or whether you'll need machinery or extra hands on-site. It's worth factoring handling logistics into your thickness decision alongside the structural requirement, particularly for DIY projects, since a technically correct spec that can't realistically be installed without hired equipment may end up costing more overall once machinery hire or extra labour is factored in.
How Many Sleepers Do You Actually Need?
Working out sleeper quantity comes down to two numbers: your wall's total length, and how many courses of sleepers are needed to reach your wall height.

The Basic Calculation, Step by Step
- Divide your wall's total length by your chosen sleeper length to get the number of sleepers per course
- Divide your wall's retained height by 200mm (standard sleeper height) to get the number of courses
- Multiply sleepers-per-course by number-of-courses to get your total sleeper count
For example, a wall 6 metres long and 600mm high, using 2000mm sleepers, would need 3 sleepers per course (6m ÷ 2m) across 3 courses (600mm ÷ 200mm) — 9 sleepers in total, before accounting for any wastage or cut sleepers at wall ends.
Use Our Calculator for an Exact Figure
Manual calculations are a good starting point, but our retaining wall calculator accounts for post spacing, sleeper length options and typical wastage automatically, giving you a more precise quantity before you order — particularly useful for walls with corners, steps, or varying heights along the run.
Accounting for Wastage and Cuts
Real walls rarely divide perfectly into whole sleeper lengths. Corners, gate openings, steps in wall height, and simply finishing a run at an exact boundary line usually mean at least one sleeper per course needs to be cut to length. It's common practice to add 5–10% to your calculated sleeper quantity to cover cuts, offcuts that can't be reused, and the occasional damaged sleeper — running out mid-build because of an unaccounted cut is a frustrating and avoidable delay.
A Worked Example for a Stepped Wall
Sloping sites often need a stepped wall rather than a single constant height, and this is where manual calculation gets more involved. Imagine a 12-metre wall where the first 6 metres retains 400mm of soil and the second 6 metres steps up to retain 800mm, using 2000mm sleepers. The first section needs 2 courses (400mm ÷ 200mm) across 3 sleeper lengths (6m ÷ 2m) — 6 sleepers. The second section needs 4 courses (800mm ÷ 200mm) across another 3 sleeper lengths — 12 sleepers. Total: 18 sleepers, before wastage, for a wall that a simple single-height calculation would have significantly under- or over-estimated depending on which height was used across the whole run. This is exactly the kind of scenario where a calculator tool, or a supplier's help, saves real time and reduces ordering errors.
Why Below-Grade Embedment Affects Your Count
It's easy to forget that the first course of sleepers is often partially below finished ground level, rather than sitting entirely above it. Depending on your footing design, this can effectively add a partial course to your total height calculation that isn't visible once the wall and surrounding landscaping are finished. Always measure retained height from the base of the excavation or footing, not from where the ground currently sits, to avoid coming up one course short partway through the build. This detail catches out first-time DIY builders more often than any other part of the sizing process, since it's genuinely counter-intuitive to plan for a course of sleepers you won't actually see once the wall is finished.
Choosing the Right Thickness for Your Wall
Thickness affects how much lateral soil load a sleeper can resist between posts, so it should be chosen based on your wall's engineering requirements, not appearance.
- 80mm suits most standard residential walls in stable, well-drained soil
- 100mm steps up for taller walls, reactive clay, or where post spacing is wider than standard

How Thickness and Post Spacing Interact
Thickness and post spacing work together, not independently. A thinner sleeper can still perform adequately at a given wall height if post spacing is tightened to compensate, while a thicker sleeper can sometimes allow slightly wider post spacing. This trade-off is part of why post spacing recommendations vary between suppliers and products — it's genuinely an engineering calculation based on the combination of thickness, strength grade, wall height and soil type together, not any single factor in isolation.
A Practical Way to Decide Between 80mm and 100mm
If you're building a low garden-bed wall under around 600mm in stable, well-drained soil, 80mm sleepers are typically adequate and represent the more economical choice. As wall height increases past that point, or if your soil is reactive clay, holds water, or the wall sits near a driveway or boundary, stepping up to 100mm — often alongside a higher strength grade — becomes the more appropriate specification. When genuinely unsure, it's more cost-effective to ask a supplier or engineer for a specific recommendation based on your exact site than to guess and potentially under-spec a structural wall.
Thickness Shapes the Look, Too
Thickness has a small but noticeable effect on how a finished wall looks, independent of its structural role. A 100mm sleeper reads as slightly more substantial and solid from a distance than an 80mm sleeper, which some buyers prefer purely aesthetically for a more imposing boundary or feature wall, even where 80mm would be structurally sufficient. This is a legitimate reason to choose 100mm on a wall where it isn't strictly required, provided the extra cost fits your budget.
Common mistake: choosing sleeper thickness based on what's in stock or cheapest, rather than what the wall height and soil type actually require. Under AS 4678, walls over about 1.0m, on reactive clay, or near boundaries generally need a heavier-duty spec and often an engineer's sign-off. Confirm with your local council before ordering.
Choosing the Right Strength Grade
Strength grade (40, 50 or 60MPa) determines how much load a sleeper can safely carry over its design life, and — like thickness — should be matched to your wall's height and soil conditions.
- 40MPa is a common starting point for low to moderate residential walls in stable ground
- 50MPa suits taller walls, reactive clay, or situations with added surcharge load
- 60MPa (available on select designs) suits the most demanding applications — very tall walls, significant surcharge, or challenging soil
Getting Your Retained Height Measurement Right
Retained height is measured from the base of the wall to the finished ground level being held back — not the visible sleeper height above the low side of the wall. Underestimating retained height is one of the most common sizing errors, especially on sloping sites where the ground continues to rise above where the wall's top course sits. If in doubt, measure at the tallest point of the wall run, since that's the section that determines your engineering requirements for the whole wall.
Surcharge Loads and What They Mean for Sizing
A surcharge load is any additional load on the soil being retained beyond the soil's own weight — a driveway carrying vehicles, a pool, a shed or structure built close to the top of the wall, or even a densely planted garden bed with heavy, saturated soil. Any of these increase the lateral pressure on the wall beyond what a simple garden retaining wall would experience, and typically call for a higher strength grade, closer post spacing, or both. If your wall will support a driveway or sit near a structure, it's worth flagging this clearly when getting a quote or engineering assessment, since it changes the sizing calculation meaningfully compared with a standard garden wall.
Why Over-Specifying Isn't Necessarily Wasteful
There's sometimes a temptation to specify the minimum strength grade that technically meets requirements to save on cost. In practice, the price difference between adjacent strength grades on the same sleeper design is usually modest relative to the overall project cost, and specifying one grade above the bare minimum requirement gives a reasonable margin for site conditions that can be hard to assess precisely from the surface — such as variable soil composition along a wall run. This isn't a substitute for a proper engineering assessment on taller or more demanding walls, but for straightforward residential projects, a small margin above the calculated minimum is often a sensible, low-cost form of insurance.
Working Out Your Total Order Quantity
Once you've settled on sleeper length, thickness and strength grade, pulling together a full materials list means adding posts and hardware to your sleeper count.
A Simple Checklist for Your Order
- Sleepers: total count from your length × course calculation, plus 5–10% for wastage
- Posts: one post at each sleeper joint along the wall, spaced according to your engineering spec
- Footings: concrete for post footings, sized to the post embedment depth required for your wall height
- Drainage: ag pipe, geotextile fabric and free-draining backfill gravel behind the wall
Working Out How Many Posts You'll Need
Posts sit at each sleeper joint along the wall, so post count is closely tied to your chosen sleeper length and post spacing requirement, not sleeper count directly. A wall using 2000mm sleepers with posts at every joint will need roughly one post per 2 metres of wall length, plus one at each end and at any corners — though actual required spacing may be tighter depending on your engineering specification for wall height and soil type. It's worth confirming exact post spacing before finalising your order, since under-ordering posts is a common and easily avoided hold-up mid-build.
Estimating Footing and Drainage Materials
Footing concrete volume depends on post embedment depth and footing dimensions, which scale with wall height and soil type — taller walls and less stable soil generally need deeper, larger footings. Drainage materials scale more simply with wall length and height: as a rough starting point, plan for a continuous run of ag pipe along the base of the wall, geotextile fabric covering the full height of the drainage zone behind the wall, and enough free-draining gravel to fill that zone to a reasonable width (commonly around 300mm) behind the full length and height of the wall. These are general planning figures — your specific project should be confirmed against your actual wall dimensions and site conditions.
Ordering in One Batch Where Possible
Where practical, ordering your full sleeper quantity in one batch rather than staggered smaller orders helps ensure colour and texture consistency across the wall, since woodgrain sleepers from the same production batch and mould tend to match more closely than sleepers ordered separately over time. This is a minor logistical point but one that makes a visible difference once the wall is complete and viewed as a whole.
A Final Sanity Check Before Ordering
Before placing a full order, it's worth doing one last sanity check: re-measure your wall's total length and maximum retained height on-site, confirm the sleeper length and thickness you've selected against your calculation, and double-check that your quantity accounts for wastage. A ten-minute re-check at this stage is far cheaper than discovering a shortfall once posts are already in the ground and the wall is partway built.
Ready to Order Your Sleepers?
Once you've worked out your sizing, browse our woodgrain sleepers to see current stock, dimensions and pricing, or use our retaining wall calculator if you'd like an exact quantity before you commit. If you're unsure about any part of your sizing — particularly strength grade, post spacing or drainage requirements for a taller or more demanding wall — our team can talk through your specific site and help you land on a spec you can order with confidence, rather than guessing and adjusting mid-build.



Leave a comment (all fields required)