









Concrete sleeper retaining walls are the most durable, low-maintenance retaining wall system available for Australian residential and light commercial applications. Done right, they'll outlast the property. Done wrong — wrong post size, no drainage, inadequate footings — they'll fail within a few wet seasons.
This guide covers the full build process: planning, materials selection, post installation, drainage, sleeper placement, and backfilling — including the points where you should stop and get professional advice before proceeding.
Important: This guide is for general information only. It does not replace a licensed structural engineer, certifier, geotechnical consultant, or council. For walls over 1.0m, walls near boundaries or structures, walls retaining driveways or vehicles, or walls in heavy or reactive soils, always confirm specifications with a licensed professional before starting work.
Step 1 — Plan before you order anything
The most common and costly retaining wall mistakes happen before a single post goes in the ground. Planning takes an hour. Fixing a wall built on the wrong specification takes days and costs significantly more.
Before ordering materials, confirm the following:
- Wall height — measure the full retained height from the base of the wall to the top of the retained soil, not just the exposed face. These are often different on sloped sites.
- Wall length — measure the full run including corners, returns, and terminations.
- Soil type — sandy, clay, or mixed? Clay soils place significantly more lateral pressure on walls than sandy soils. In reactive clay — common across western Sydney, Brisbane's western suburbs, and Melbourne's eastern suburbs — post specification and drainage requirements increase substantially.
- Surcharge loads — is there a driveway, vehicle parking, structure, or stored materials above the wall? Surcharge loads increase the forces on the wall and typically require engineering sign-off regardless of wall height.
- Boundary proximity — walls on or near a boundary may require council approval and neighbour notification in some states.
- Council requirements — confirm before starting. In NSW, walls over 1.0m generally require a DA or CDC. In Victoria, walls over 1.0m generally require a building permit. In Queensland, requirements vary by LGA.
Step 2 — Choose the right materials
Sleeper thickness: 75mm or 100mm?
Sleeper thickness is the most important structural decision for most residential walls. The two options are:
- 200 × 75mm sleepers — suit most residential walls up to 1.0–1.2m in standard soil conditions (sandy loam, light clay). The most common specification across Australian residential landscaping.
- 200 × 100mm sleepers — for walls over 1.0m, heavy or reactive clay soils, surcharge loads, or where an engineer has specified the heavier section. Provides significantly greater bending strength than 75mm. See the full concrete sleeper range filtered by thickness.
If you are unsure which thickness suits your site, confirm with a structural engineer before ordering.
Post type: C-channel or H-beam?
- C-channel PFC posts — cost-effective for standard residential walls up to 1.0–1.2m in normal soil conditions. The most widely used post in Australian suburban retaining walls.
- H-beam UC posts — for walls over 1.2m, heavy or reactive clay soils, surcharge loads, steep sites, or where an engineer has specified UC posts. Significantly greater bending strength and stiffness than C-channel.
Not sure which post series fits your wall? See our guide on 100 Series vs 150 Series steel posts or the full steel post sizing guide. All posts are hot-dip galvanised as standard — essential for long-term corrosion resistance in Australian conditions, particularly in coastal areas and reactive clay soils.
Sleeper finish
Choose from charcoal, woodgrain, or smooth finish. All finishes are available in both 75mm and 100mm thickness. Finish is aesthetic only and does not affect structural performance.
Step 3 — Calculate your materials
Post quantity and spacing
Standard post spacing for concrete sleeper walls is 1.8m to 2.4m centres depending on wall height, soil conditions, and post type:
- Walls up to 600mm — posts at 2.4m centres may suit light soils
- Walls 600mm–1.0m — posts at 1.8m–2.0m centres in standard conditions
- Walls over 1.0m — post spacing must be confirmed by a structural engineer
- Heavy clay soils — reduce post spacing regardless of wall height
Divide your wall length by your post spacing and add one for the end. Add corner posts, L-posts, joiner posts, or end posts as required for your wall layout. For the full post sizing table by wall height and soil class, see the steel post sizing guide.
Post length
Post length must account for both the above-ground wall height and the in-ground embedment depth. The standard rule of thumb is that in-ground embedment should be at least one-third of total post length — so for a 1.0m wall, you need at least 500mm in the ground, requiring a minimum 1.5m post. In heavy soils or for taller walls, greater embedment depth is required — confirm with your engineer.
Sleeper quantity
Each 2000mm sleeper spans one bay between posts. Divide your wall length by 2.0m to get sleepers per course. Multiply by the number of courses (wall height ÷ sleeper height of 200mm) to get your total. Add 5–10% for cuts, waste, and corners.
Step 4 — Set out and excavate
Mark your wall line with string line and stakes, then excavate post footing holes to the required depth before doing anything else.
Footing holes are typically 300–400mm wide and deep enough to achieve your required embedment depth plus 100–150mm of concrete below the post base.
Check for underground services before any excavation. In Australia, call Dial Before You Dig (1100) and request a service location report for your site. This is a legal obligation in most states, not just good practice.
Step 5 — Install the posts
Posts must be plumb, correctly spaced, and braced before concrete goes in — errors introduced at this step cannot be corrected without demolition.
- Position each post in its footing hole and check plumb in both directions with a spirit level.
- Brace each post temporarily while concrete is placed — do not rely on the concrete to hold the post in position while it sets.
- Pour concrete around the post base, filling to slightly above ground level and sloping away from the post to shed water.
- Check alignment along the full wall line before the concrete begins to set. Walk the wall and sight down the line of posts.
- Allow the concrete to cure fully before loading posts with sleepers — 24–48 hours for rapid-set concrete, 7 days for standard mix.
For post concrete, see our concrete and cement range.
Step 6 — Install the drainage layer
Drainage must be installed before the sleepers go in — not as an afterthought once the wall is complete. This is the step most DIY builders skip, and it is the primary reason most retaining walls fail prematurely.
Without ag pipe, geotextile fabric, and weep holes, hydrostatic pressure builds behind the wall over time — the leading cause of retaining wall failure in Australia regardless of how well the rest of the wall was built.
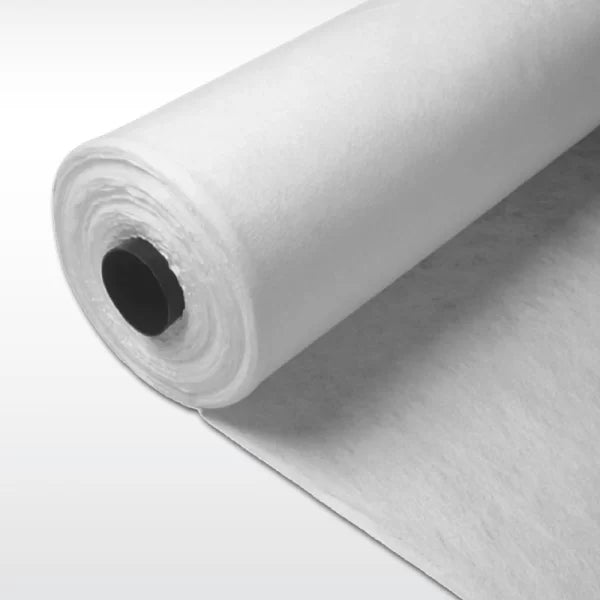
- Lay geotextile filter fabric against the excavated soil face behind where the sleepers will sit. The fabric runs from the base of the excavation to the top of the drainage zone.
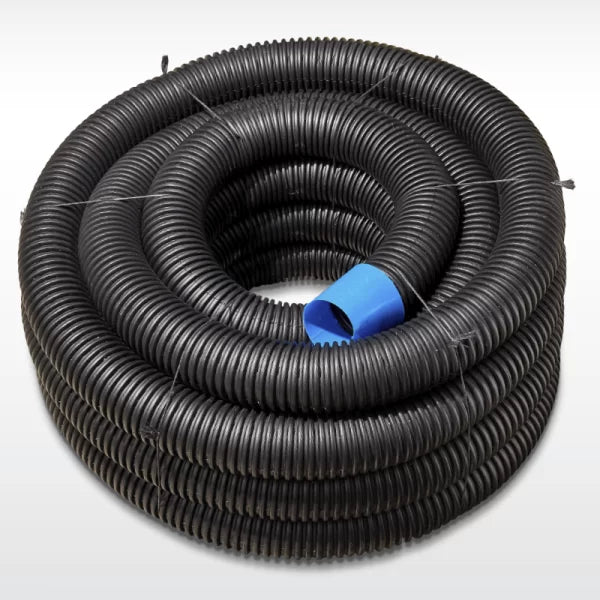
- Place 100mm slotted ag pipe at the base of the wall, wrapped in geotextile sock, running the full wall length with a continuous fall to the outlet. The pipe must not sit flat — it cannot drain without fall.
- Connect the ag pipe to a legal outlet — a stormwater pit, a daylight outlet at the wall end, or a sump. Confirm the outlet has adequate capacity for peak rainfall flow in your area.
- Fill the drainage zone with 20mm crushed rock (not soil, not crusher dust) for the first 300–500mm behind the sleepers as you install each course.
- Install weep holes through or between sleepers at the base of the wall, at 1.8–2.4m intervals, as a secondary pressure-relief path.
Browse our drainage kits — ag pipe, geotextile fabric, and weep holes in one order. Geotextile fabric is also available separately for larger drainage zones.
Step 7 — Install the sleepers
Sleepers are installed course by course from the bottom up, with each course checked for level before the next is placed.
- Start from the bottom course and work upward.
- Slide each sleeper horizontally into the post channel. For C-channel posts, the sleeper slides into the open channel. For H-beam posts, it sits between the flanges.
- Check each course for level before proceeding to the next — small errors compound as the wall rises.
- Cut sleepers to length at corners and terminations using an angle grinder with a diamond blade or a concrete-rated circular saw. Always wear appropriate PPE when cutting concrete.
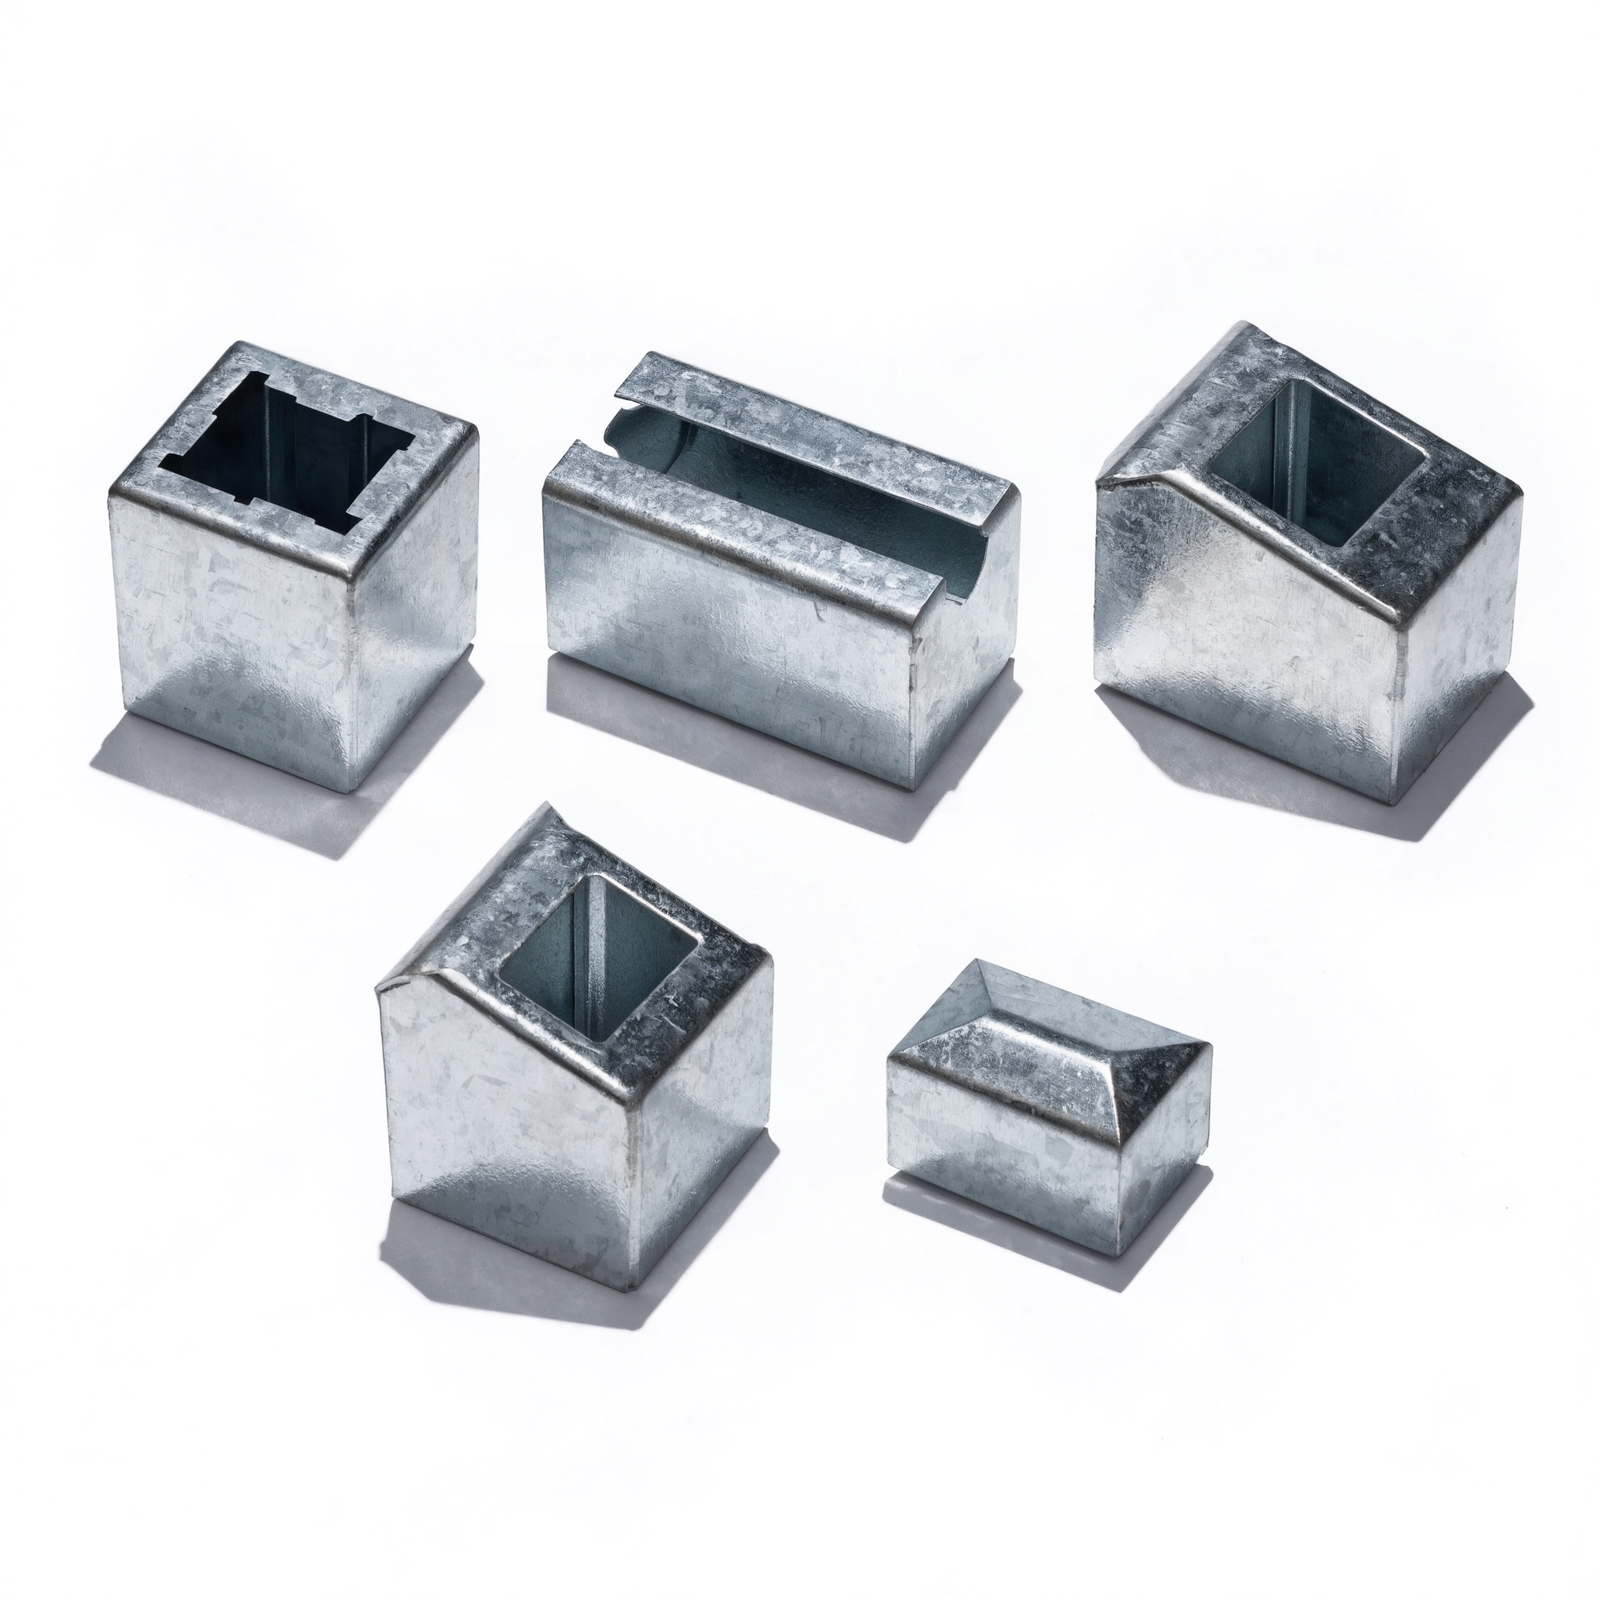
- At corners, use corner posts or L-posts to receive sleepers from two directions. Do not mitre-cut sleepers at corners without the correct post — the joint is not structurally sound.
Step 8 — Backfill and finish
Backfill in compacted layers — never dump the full volume against the wall at once. Uncompacted backfill pushing against the wall face before each layer is consolidated is one of the most common causes of post lean during construction.
- Backfill in layers of 150–200mm, compacting each layer with a plate compactor before adding the next.
- Do not use heavy compaction equipment within 500mm of the wall face — use hand tamping or a small plate compactor in this zone.
- Keep the drainage aggregate zone intact behind the sleepers as you backfill — do not allow soil to contaminate the drainage aggregate.
- Fold the geotextile fabric over the top of the drainage aggregate before backfilling with soil above the drainage zone.
- Finish the top of the wall with cap sleepers or capping if required.
- Seed or turf the disturbed area above the wall promptly to prevent erosion while the backfill settles.
For detailed backfill guidance including compaction equipment, layer depths by soil type, and common backfilling mistakes, see the complete retaining wall backfill guide.
When to stop and get professional advice
This guide covers standard residential retaining wall construction in straightforward conditions. Stop and engage a licensed professional before proceeding if any of the following apply:
- Wall height exceeds 1.0m finished retained height
- Wall is near a boundary, easement, or neighbouring structure
- A driveway, vehicle parking, pool, or structure sits above the wall
- Soil is heavy clay, expansive, waterlogged, or unstable
- The site has a history of movement, slippage, or drainage problems
- You are unsure about any aspect of the specification
- Your council requires a DA, CDC, or building permit for the wall
A structural engineer's fee for a residential retaining wall specification is a small fraction of the cost of rebuilding a wall that has failed.
Materials checklist
- Concrete sleepers — correct finish, thickness and quantity
- C-channel posts or H-beam posts — correct type, length and quantity
- Corner, joiner and end posts — as required for your wall layout
- Drainage kit — ag pipe, geotextile fabric, weep holes
- Geotextile fabric — for the drainage zone and soil separation
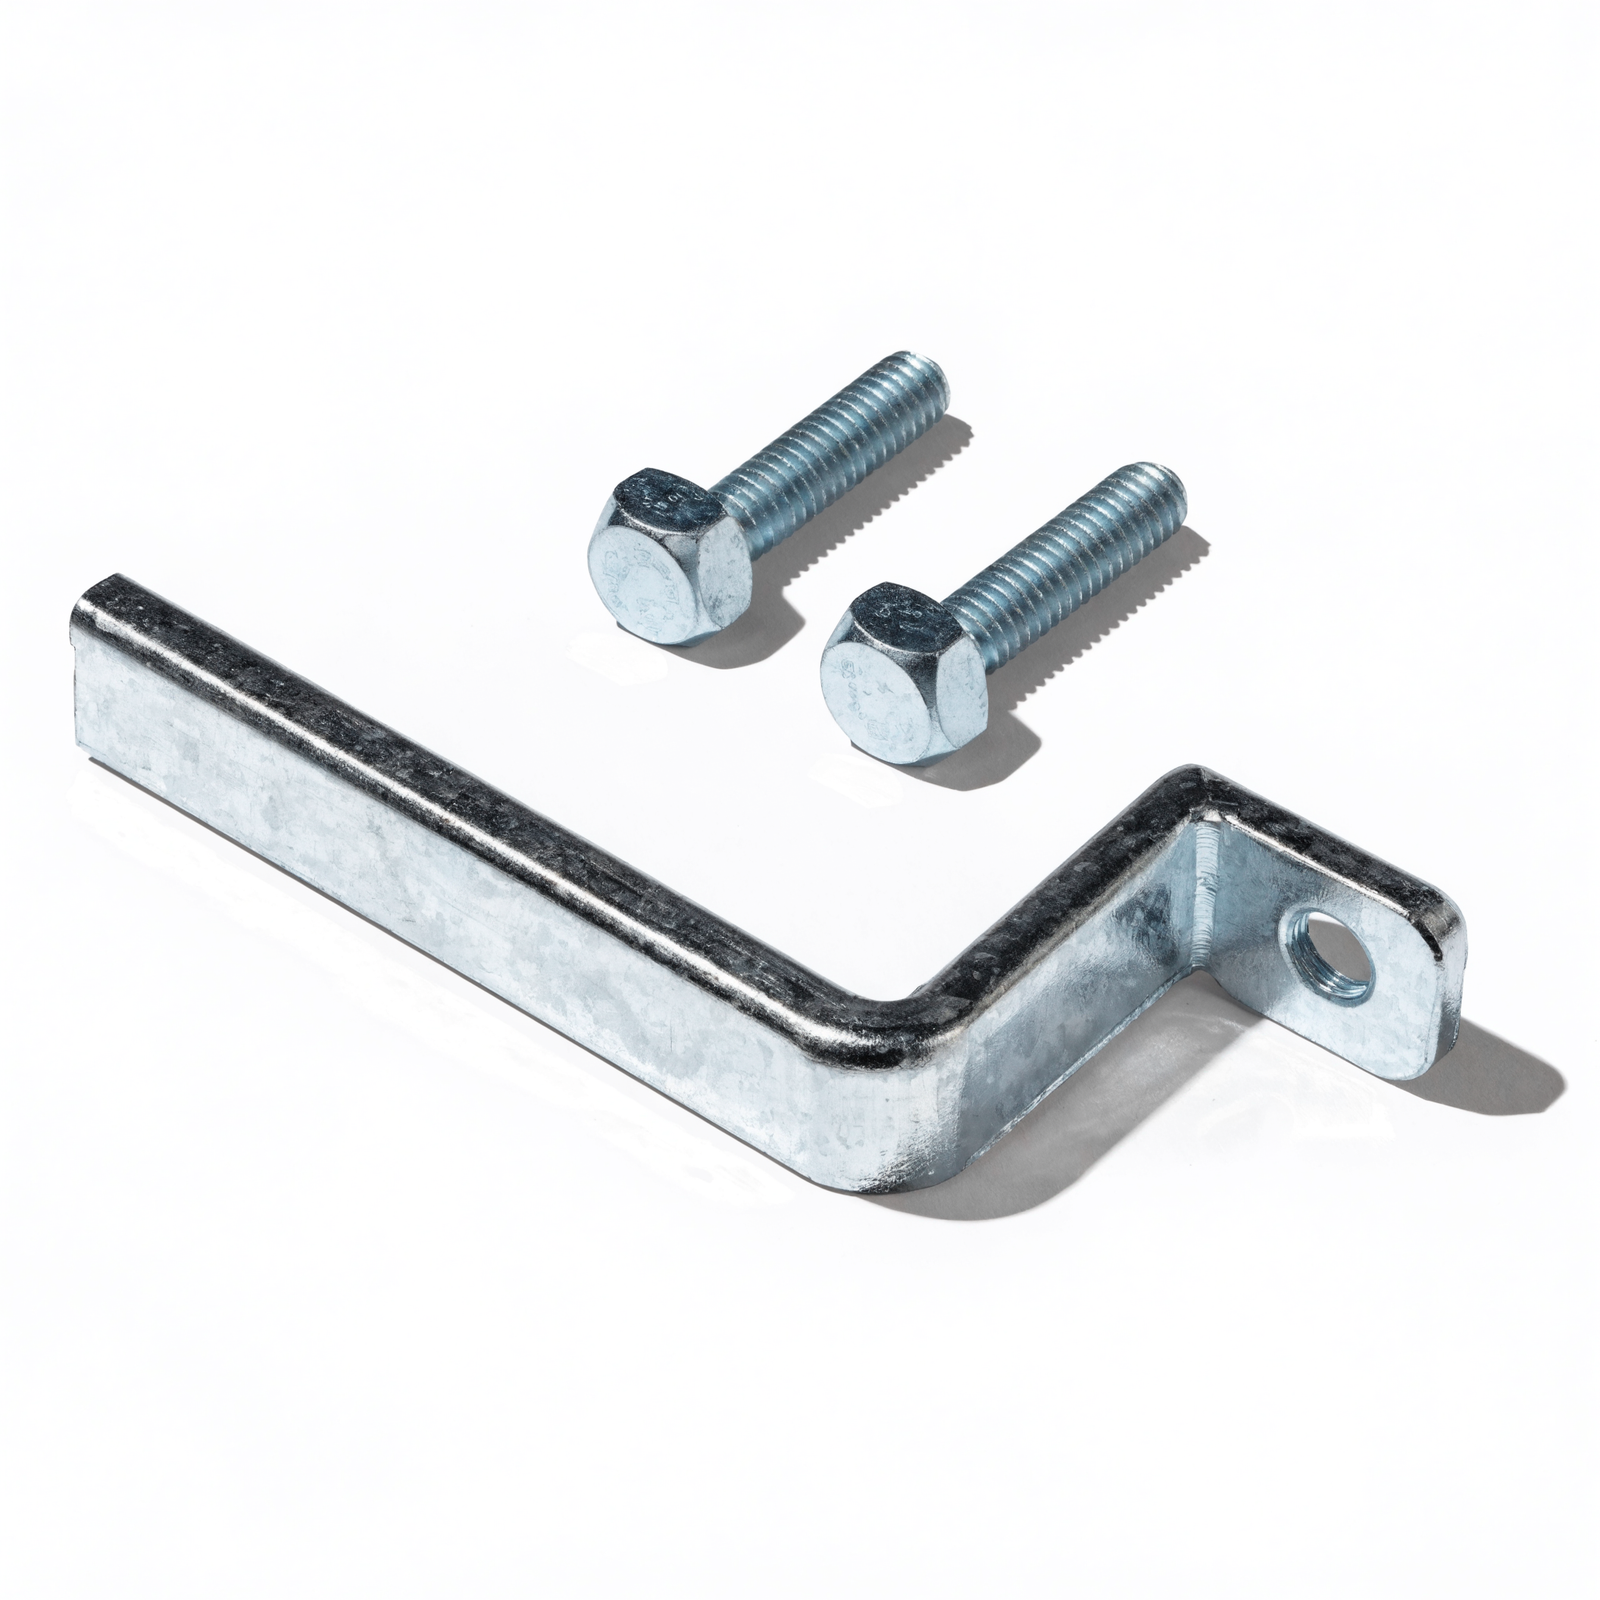
- Hardware pack — brackets, cleats, and fixings
- Concrete — for post footings
- 20mm drainage gravel — source locally from a landscape supplier
- Tools — string line, spirit level, post hole digger or excavator, angle grinder with diamond blade, plate compactor, PPE
Frequently asked questions
How deep should retaining wall post footings be?
As a general rule, the in-ground embedment depth should be at least one-third of the total post length. For a 1.0m wall, that means a minimum of 500mm below ground, requiring a post at least 1.5m long. In heavy clay soils, near boundaries, or for walls over 1.0m, greater embedment depth is required — this must be confirmed by a structural engineer. A post that is too shallow will rotate under lateral soil pressure and the wall will lean, a failure mode that worsens progressively. See the full embedment table in the steel post sizing guide.
What post spacing should I use for retaining wall posts?
Standard post spacing for concrete sleeper retaining walls is 1.8m to 2.4m centres for most residential applications. Reduce spacing to 1.5m–1.8m in heavy or reactive clay soils, for walls over 1.0m, or where surcharge loads are present. Post spacing above 2.0m increases the bending load on each sleeper — confirm spacing with an engineer for any wall over 1.0m or in clay conditions. Wider spacing reduces post and footing cost but increases the structural demand on each sleeper and post.
Do I need drainage behind a concrete sleeper retaining wall?
Yes, without exception. Drainage is the single most important factor in long-term retaining wall performance — more important than sleeper grade, post size, or any other variable. Without ag pipe, geotextile fabric, and weep holes, hydrostatic pressure builds behind the wall during rainfall and causes failure over time, regardless of how well the wall was otherwise built. Most Australian councils also mandate drainage for walls over 600mm as a condition of approval under AS 4678-2002.
Can I build a retaining wall myself in Australia?
For walls under 1.0m in standard soil conditions, without surcharge loads or boundary complications, DIY construction is feasible for a competent builder with the right tools and access to a spirit level, plate compactor, and angle grinder. For walls over 1.0m, near boundaries, in clay soils, or with any surcharge above the wall, council approval and engineering sign-off are required in most Australian states. The permit threshold varies by state — NSW uses 600mm as the exempt height in many cases, while QLD is generally 1.0m. Always confirm with your local council before starting.
How long does a concrete sleeper retaining wall last?
Concrete sleeper walls with hot-dip galvanised steel posts and properly installed drainage are designed to last 50+ years in Australian conditions. The primary failure mode for concrete sleeper walls is inadequate drainage — not material degradation. A correctly drained wall built to AS 4678-2002 will typically outlast the property it serves. By comparison, treated pine sleeper walls typically last 10–15 years before requiring replacement, making concrete the lower lifecycle cost option for most Australian sites despite the higher upfront material cost.
What is the correct concrete for retaining wall post footings?
Use minimum 20MPa concrete for standard residential post footings, and minimum 25MPa for posts in reactive clay soils or for walls subject to surcharge loading. Rapid-set concrete is appropriate for residential footings — it reaches workable strength in 24–48 hours, allowing sleeper installation the following day. Do not install sleepers until footings have fully cured. Standard concrete mix requires 7 days before loading. See our concrete range for rapid-set and standard options.
Ready to order your materials?
Browse our full range of concrete sleepers, steel posts, and drainage kits — or use the form below to get a free delivered quote with your project specification confirmed by our team.
Ready to get started?
Get a free delivered quote for concrete sleepers, steel posts and drainage materials — Australia-wide.
Leave a comment (all fields required)