









Replacing a retaining wall means five things in order: get your approvals sorted, relieve pressure and divert water, remove the old wall safely, put drainage in before anything else, then build the new wall. Skip the order and you risk a collapse mid-job or a repeat failure down the track. Here's the full process, step by step.

This guide covers the whole job end to end. If you haven't yet decided whether your wall needs replacing at all, start with our repair vs replace guide instead.
Before You Start: Permits, Services & Safety
- Check your state's height limits and council approval requirements before you book anything. Many states require approval for walls over about one metre.
- Call before you dig. Underground services, power, water, gas, can run behind a retaining wall, and striking one is dangerous and expensive.
- Check what's above the wall. A driveway, shed, pool, or structure sitting on the soil you're about to disturb changes how carefully the removal needs to go.
- If the wall sits on or near a boundary, talk to your neighbour before work starts. Shared or boundary-adjacent walls sometimes involve shared cost or access, and surprise demolition next door rarely goes down well.
- Check the weather forecast. Don't start a removal with heavy rain forecast, an open excavation in wet weather is both a safety risk and a drainage nightmare.
- If the wall is over about a metre, or anything above it would be expensive or dangerous if it moved, get a professional involved rather than DIYing the whole job.
Tools and Materials You'll Need
- Safety gear: gloves, eye protection, steel-cap boots, and a hard hat if there's any risk of material falling from above.
- A dust mask or respirator, particularly for concrete or block demolition.
- High-visibility clothing if you're working near a driveway or anywhere vehicles move.
- Demolition tools suited to your wall's material: a sledgehammer and pry bar for timber, a jackhammer or concrete saw for block or concrete.
- An excavator or mini digger for anything beyond a small wall, hand demolition on a larger wall is slow and more dangerous.
- New footings materials: concrete, reinforcement, and formwork sized to your new wall.
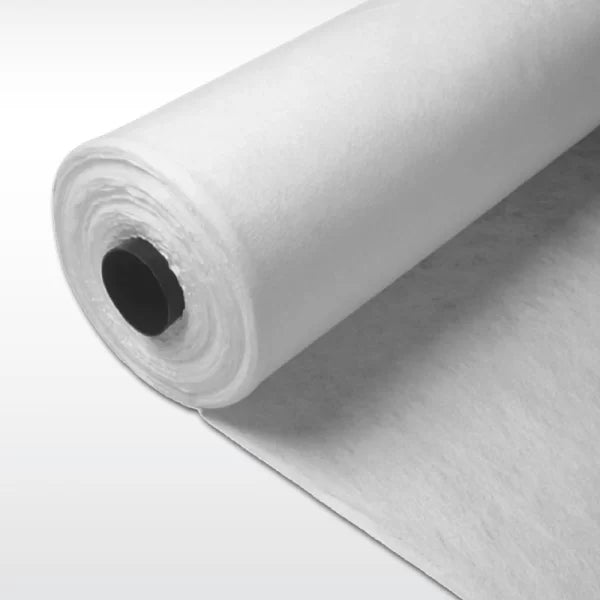
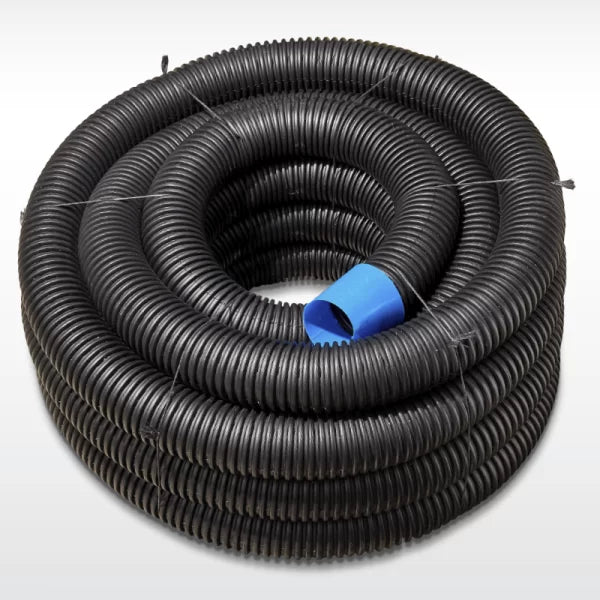
- Drainage materials: ag pipe, geotextile fabric, and free-draining backfill. Our drainage guide and drainage kits and ag pipe collection cover what you'll need.
- New wall materials: see the materials checklist further down.
- A level, string line, and tape measure, cheap tools that make the difference between a straight wall and one you'll notice is off for years.
Step 1: Assess and Plan the Removal
- Confirm what caused the original wall to fail. Our guide to why retaining walls fail covers the most common causes, drainage, footings, soil, overloading, and more.
- Plan the new wall's design around that cause, not just a like-for-like rebuild of what failed.
- Decide on your new wall's material now, concrete sleeper, timber, or block, since it affects footing design, post spacing, and the materials you'll need to order.
- Work out a sequence. For a long wall, removing and rebuilding in sections keeps some retention in place at all times, rather than leaving a long open cut with no wall at all.
- Photograph the existing wall and site before starting, useful if a dispute arises later, and handy for comparing against the finished job.
Step 2: Relieve Soil Pressure and Divert Water
- Before removing any wall material, redirect surface water away from the work area. Water running into an open excavation is a genuine safety risk.
- Don't remove soil from behind a wall that's actively failing without a clear plan. It can trigger a sudden collapse rather than a controlled one.
- Where practical, battering back the soil slope temporarily, cutting it to a shallower, self-supporting angle, reduces pressure during the open-excavation period.
- For a wall already showing serious movement, get a professional assessment before this step, not during it.
Step 3: Remove the Old Wall (Timber, Block, or Sleeper)

- Timber: posts usually need to come out of the ground individually, often with an excavator if they're concreted in.
- Block or besser: typically broken apart in sections, working from the top down.
- Concrete sleeper: sleepers lift out of the post channels once panels or caps are removed; posts come out last.
- Work in manageable sections rather than opening the whole wall at once, especially on a longer run.
- Keep anyone not directly involved well clear of the work area while material is being broken up or lifted out.
- Check for buried surprises as you go, old footings, services, or root systems that weren't obvious from the surface.
Step 4: Prepare the Site for the New Wall
- Clear out old footing material, broken concrete, and any rotted timber left in the ground.
- Check and compact the base soil before pouring new footings.
- Confirm the new footing depth suits your wall's height and soil type. Our footings guide and post spacing and embedment guide cover what's needed.
- Mark out post positions and string lines before any concrete goes in, correcting a post position after it's set is far harder than getting it right the first time.
Step 5: Install Drainage Before Building
- Drainage goes in before the wall goes up, not after. This is the step most commonly skipped or rushed, and poor drainage is the single most common cause of retaining wall failure.
- Lay ag pipe along the base, wrapped in geotextile fabric to stop it silting up.
- Make sure the ag pipe has somewhere to actually drain to, a stormwater connection or a safe outlet point, not a dead end.
- Backfill directly behind the wall with free-draining material, not the clay or clay-heavy soil you dug out.
- Our full drainage guide and backfill guide cover this in detail.
Step 6: Build Your Replacement Wall
- Set posts first, at the spacing and embedment your design calls for.
- Let post footings cure properly before loading them with sleepers or blocks, rushing this step risks posts shifting under load.
- Build up sleepers or blocks, checking level and plumb as you go, not just at the end.
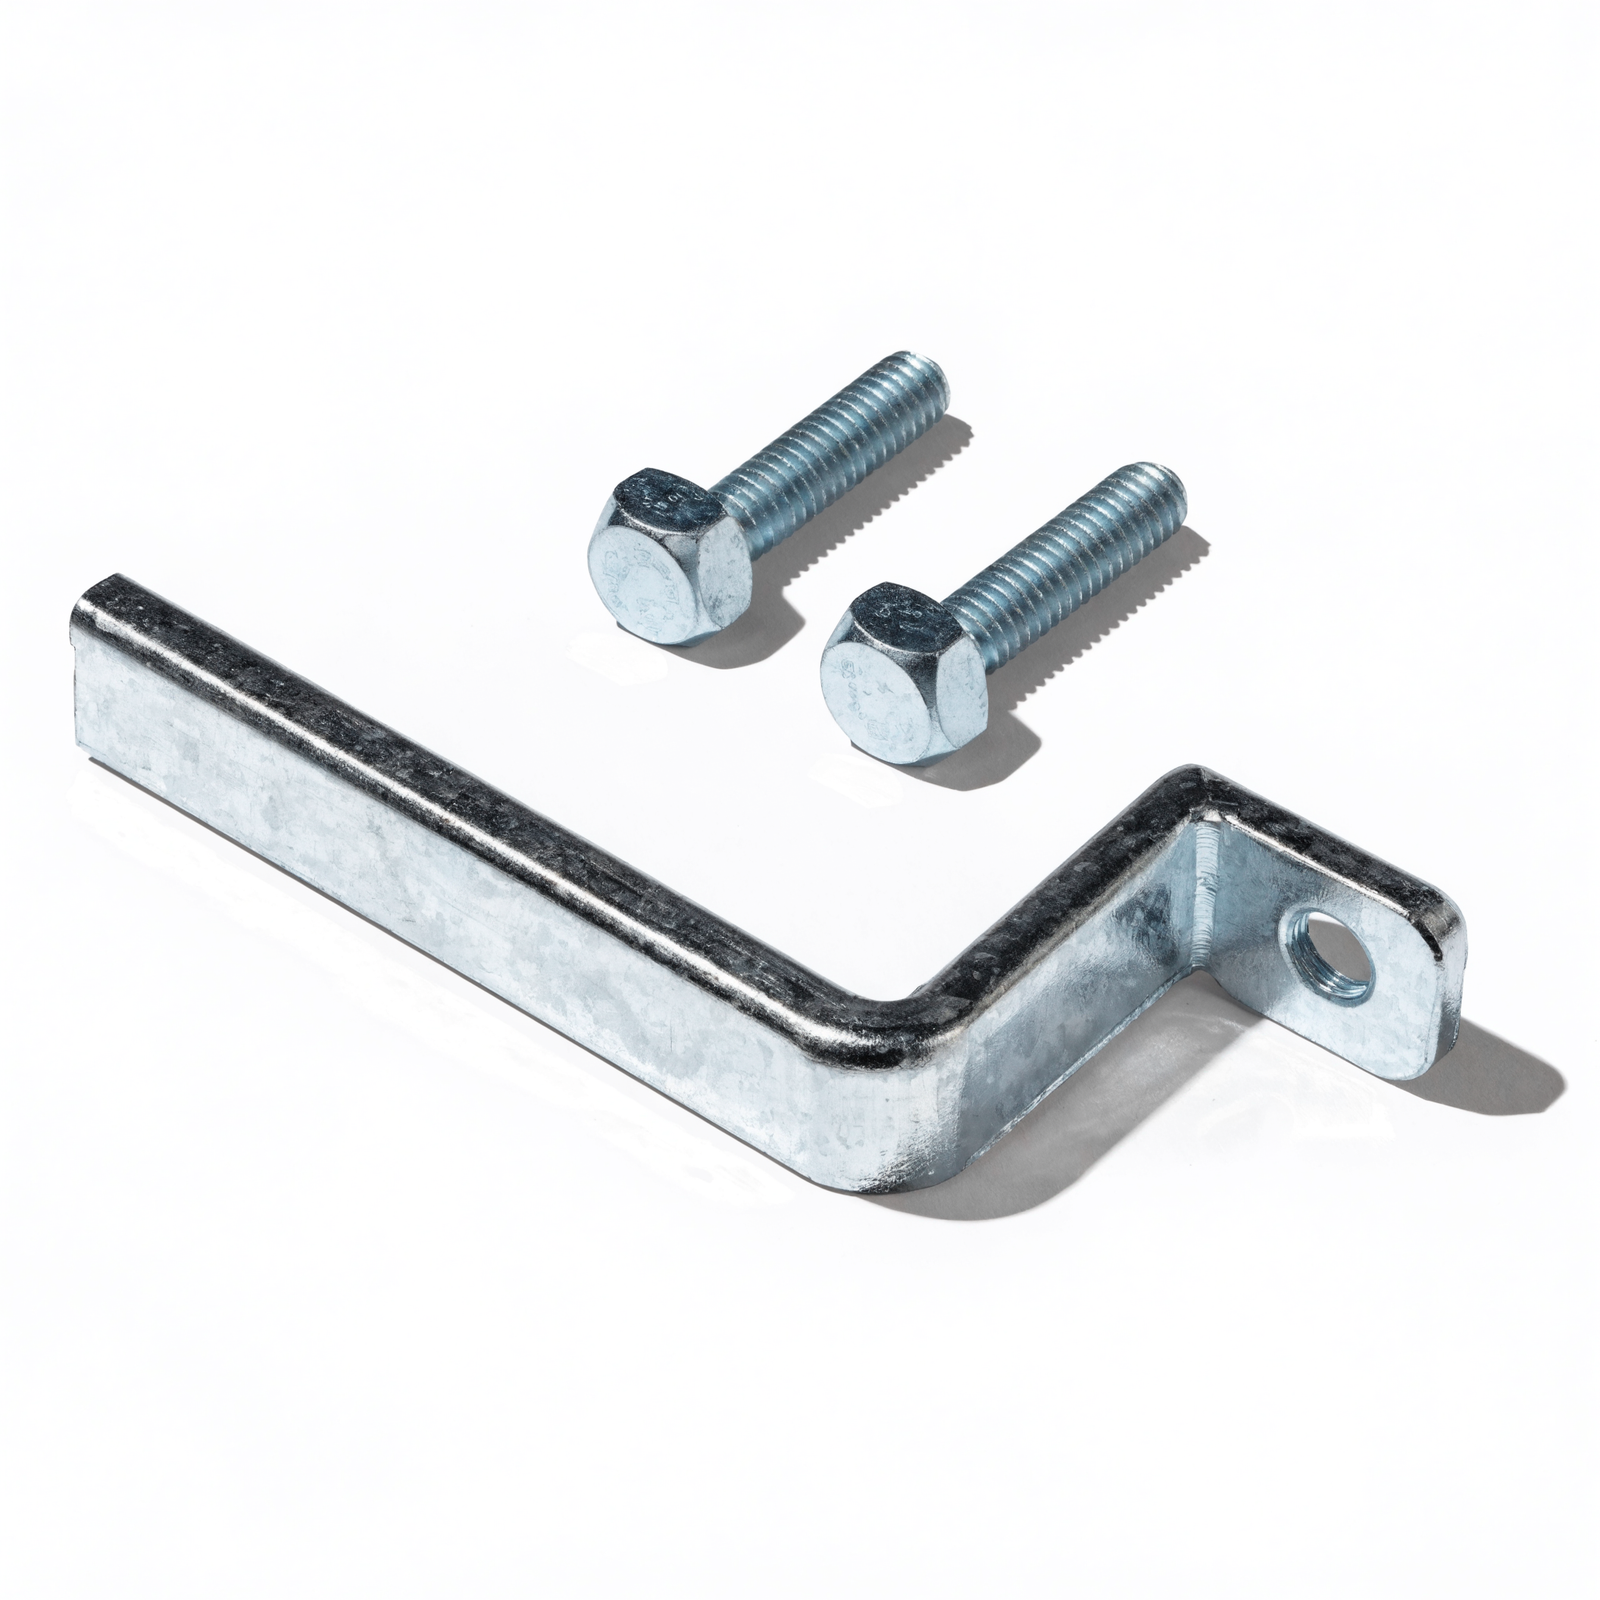
- Fit caps, fence brackets, or any finishing hardware once the structural wall is complete.
- Our guide to building a concrete sleeper retaining wall and guide to replacing a failed timber sleeper wall walk through the build itself in more detail.

How Long Does Replacement Take?
- A small wall, under about 10 metres and under a metre high, is often a 2–4 day job for an experienced team, longer for a confident DIYer working weekends.
- A longer or taller wall, especially one needing engineering sign-off, can take one to two weeks once you include concrete curing time between footings and loading.
- Weather is the biggest variable. Wet weather can stall excavation and concrete curing well beyond the estimates above.
- Build in curing time, not just working time. Posts set in concrete need to cure before they're loaded with sleepers or blocks, rushing this step is a common cause of early problems in a brand-new wall.
DIY vs Hiring a Professional
- Good DIY candidates: a low wall, under about a metre, with straightforward access, no services nearby, and no council approval required.
- Better left to a professional: anything over about a metre, anything needing council or engineering sign-off, a wall near a structure, driveway, or boundary, or a site with difficult access for materials and equipment.
- Even for a DIY job, getting a professional to check your design and footing specification before you start is a low-cost way to avoid an expensive mistake.
- If in doubt, get a quote anyway. Knowing the professional option before you commit to DIY means you're choosing it deliberately, not just by default.
What a Professional Quote Should Include
- A clear breakdown of removal, drainage, footings, and the new wall build as separate line items, not one lump sum.
- The specific materials proposed, sleeper or block type, post profile and spacing, drainage components, not just "concrete sleeper wall."
- Confirmation of who's responsible for council approval, you or the contractor.
- What happens if something unexpected turns up once removal starts, like a buried service or worse soil conditions than expected.
- A timeframe, including expected weather contingency, not just a start date.
Signs You've Hit an Unexpected Problem Mid-Job
- Soil that looks nothing like you expected once you start digging, softer, wetter, or more clay-heavy than the surface suggested. This can change your footing design partway through.
- Water appearing in the excavation even without recent rain, often a sign of a spring, a leaking service, or groundwater you didn't account for.
- An old, buried footing or structure left over from a previous wall or build on the site.
- Services you weren't told about, even after calling before you dig, since not everything is always mapped accurately.
- In any of these cases, stop and reassess rather than pushing on with the original plan. A mid-job surprise is exactly when a professional opinion, even just a phone call, is worth getting before you commit further.
Materials Checklist
- Concrete sleepers and steel posts: see our concrete sleepers collection and steel posts collection.
- Drainage: ag pipe, geotextile fabric, free-draining aggregate, from our drainage kits and ag pipe collection.
- Fence hardware, if you're adding a fence on top: see our fence brackets collection.
- Footing materials: concrete, reinforcement, formwork.
- Fasteners: galvanised or stainless bolts and screws throughout, matched to whichever materials you're mixing, to avoid galvanic corrosion between dissimilar metals.
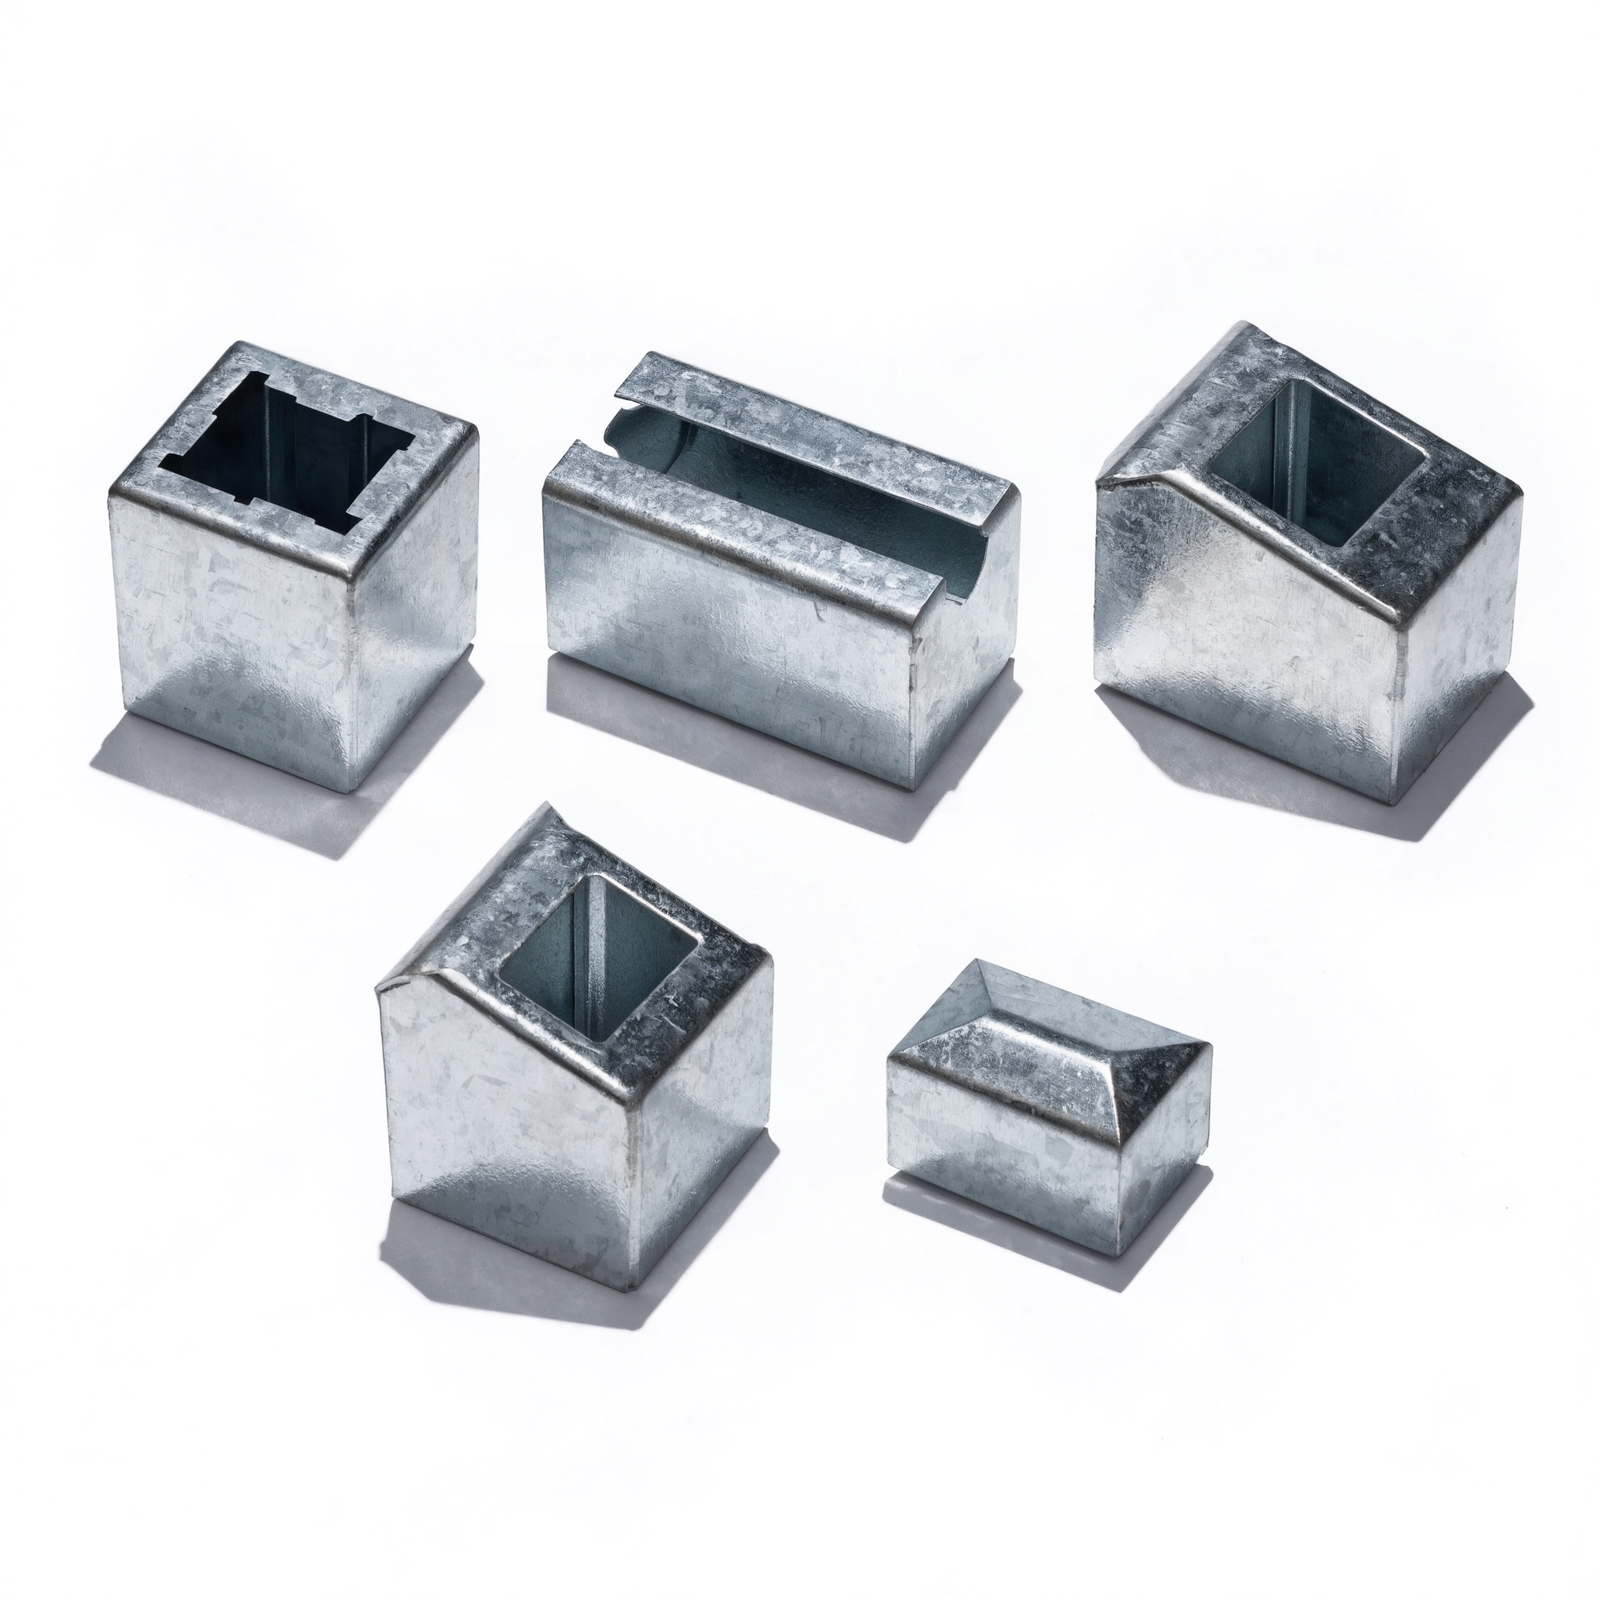
- Post caps, if your new wall has exposed steel post tops needing a finished, weatherproof cap.
- Not sure what you need? Measure your wall's height and total length first, that's what everything else, footing size, post spacing, sleeper and drainage quantities, gets worked out from. If you're unsure, get in touch with our team before you order.
Disposing of Old Retaining Wall Materials
- Treated timber often can't go in standard green waste, check your council's rules before dumping it.
- Broken concrete and block can usually go to a demolition or construction waste facility, some accept it for recycling.
- A skip bin sized to the wall's volume is usually more cost-effective than multiple trailer trips for anything beyond a small wall.
Replacing a Wall on or Near a Boundary
- Confirm exactly where the boundary sits before you start. A wall built slightly over a boundary line, even by a previous owner, can turn a straightforward replacement into a dispute.
- Where a wall is genuinely shared between two properties, cost and decision-making are sometimes shared too, worth sorting out with your neighbour before work begins, not after.
- Access matters more on a boundary job. Check whether equipment or materials need to cross a neighbour's property at any point, and get permission in writing if so.
- If there's any ambiguity about ownership or responsibility for a boundary wall, a quick check with your state's relevant authority or a solicitor is cheaper than a dispute after the fact.
Common Mistakes to Avoid During Replacement
- Skipping drainage, or rushing it. This is the single most common reason a new wall fails again within a few years.
- Reusing old, compromised soil as backfill instead of proper free-draining material.
- Guessing at footing depth instead of sizing it to the wall's actual height and soil conditions.
- Removing too much wall at once on a long run, leaving nothing retaining the soil while you work.
- Skipping council approval on a wall that needs it, risking having to redo the work later.
- Loading the new wall before concrete footings have cured, a common rushed-job mistake that can shift posts out of position.
- Ignoring what's changed since the original wall was built, a new driveway, extra fill, or a mature tree nearby all change the design the replacement actually needs.
- Not checking the boundary line before starting demolition on a wall that might not be entirely on your property.
FAQs
Can I replace a retaining wall myself?
For a small, low wall, often yes, with care. For anything over about a metre, near a structure, or showing signs of active failure, get a professional involved, both for safety and because approval requirements usually apply.
Do I need council approval to replace a retaining wall?
Often, yes, particularly over a certain height. Check your state's requirements before starting, since replacing like-for-like can still trigger the same approval process as a new wall.
What's the right order for removing and rebuilding a retaining wall?
Approvals first, then relieve pressure and divert water, remove the old wall in manageable sections, prepare the site, install drainage, then build the new wall. Drainage before the wall goes up, not after, is the step most often done wrong.
Should I replace a timber wall with concrete sleepers?
Often worth considering. Concrete sleepers last considerably longer than timber with less ongoing maintenance. Our timber vs concrete comparisontimber vs concrete comparison covers the trade-offs.
How long does a retaining wall replacement take?
A small wall is often a few days for an experienced team. A longer or taller wall, especially one needing engineering sign-off and footing curing time, can take one to two weeks.
What should I do if I hit an unexpected problem during removal?
Stop and reassess rather than continuing with the original plan. Unexpected soil conditions, water, old buried structures, or undocumented services are all reasons to get a professional opinion before pushing on.
Can I replace just my side of a shared boundary wall?
Not always straightforwardly. Where a wall genuinely sits on a boundary or is shared between properties, talk to your neighbour and confirm ownership and responsibility before starting, since replacing only part of a shared structure can create its own problems.
Do I need an engineer for a retaining wall replacement?
Often, yes, for anything over your state's approval threshold, commonly around one metre, or for any wall carrying extra load like a driveway. Check our height limits and approval guide for what applies to you.
See our full guide on retaining wall problems for an overview of this whole topic, or our repair vs replace guide if you haven't yet confirmed replacement is the right call.
Leave a comment (all fields required)