









Backfilling a retaining wall incorrectly is one of the most common ways to damage an otherwise well-built wall. The two most costly mistakes — dumping the full backfill volume at once and using the wrong material in the drainage zone — can push a wall out of alignment before the concrete has cured, or create drainage failures that cause the wall to fail years later.
This guide covers the correct backfill materials for each zone, the right order of operations, compaction requirements, and the mistakes that cause premature failure — whether you're building with concrete sleepers or another retaining wall system.
The two zones behind a retaining wall
Every retaining wall has two distinct backfill zones, each requiring a different material. Getting the zones right is the foundation of correct backfill practice.
Zone 1 — The drainage zone (immediately behind the sleepers)
The drainage zone is the first 300–500mm of material directly behind the sleeper face. This zone must be filled exclusively with clean 20mm crushed rock drainage aggregate — not soil, not clay, not mixed fill. Its job is to allow water to move freely downward to the ag pipe at the base of the wall. Blocking this zone with fine material is the single most common cause of drainage system failure.
Zone 2 — The general backfill zone (above and behind the drainage zone)
Above and behind the drainage zone, general backfill material can be used — typically the excavated soil from the site, or imported fill if the excavated material is unsuitable. The material should be free of large rocks, organic material, and debris.
Drainage zone material — what to use and why
The drainage zone must be filled with clean, single-sized drainage aggregate. The standard specification is 20mm crushed rock (also called drainage gravel or blue metal).
Three properties matter:
- Single-sized: All particles approximately the same size. Single-sized aggregate has high void content and excellent permeability. Gap-graded or mixed aggregate packs tighter, reducing drainage effectiveness.
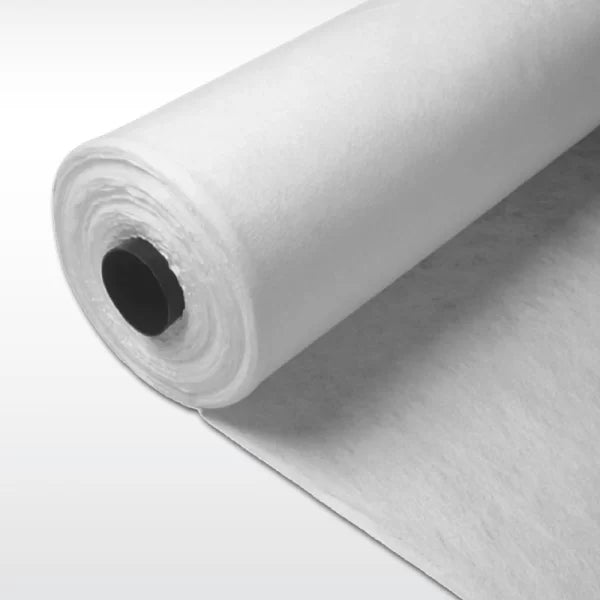
- Clean: Free of fines — no dust, clay or silt. Even small amounts of fines reduce permeability over time and can gradually block the drainage layer within 5–10 years. This is why geotextile fabric is wrapped around the aggregate — to prevent fine soil particles from migrating in from behind.
- 20mm nominal size: The standard retaining wall specification. 40mm aggregate also works but is harder to compact around the ag pipe at the base of the wall.
Source drainage aggregate from a local landscape or building supply yard. Do not use crusher dust — it compacts into a near-impermeable layer and is not a drainage aggregate despite its appearance.
General backfill zone — what to use
The general backfill zone sits above and behind the drainage zone. The following materials are suitable:
- Excavated soil (if suitable): The soil from the excavation can be reused if it is free of large rocks, organic material and debris. Clay soil can be reused but must be placed in thin layers (100–150mm) and compacted at the right moisture content.
- Imported sandy loam or clay fill: Where excavated material is unsuitable — too rocky, too organic, or too wet — imported fill is appropriate. Both sandy loam and clay fill work if properly compacted.
Do not use:
- Large rocks or boulders — create point loads on the wall and voids in the backfill that settle unevenly over time
- Organic material (topsoil, vegetation, roots) — decomposes and settles, creating voids and uneven loading
- Demolition rubble — variable density, potential for large voids, unpredictable compaction behaviour
- Wet or saturated clay — difficult to compact effectively and generates high lateral pressure when saturated
How to backfill correctly — step by step
The order of operations matters as much as the materials. Follow this sequence:
- Wait for post footings to cure. Do not backfill until the steel post footings have reached adequate strength. For rapid-set concrete: 24 hours minimum. For standard concrete mix: 7 days. Backfilling before the concrete has cured pushes posts out of alignment — errors introduced here cannot be corrected later without demolishing and rebuilding the wall.
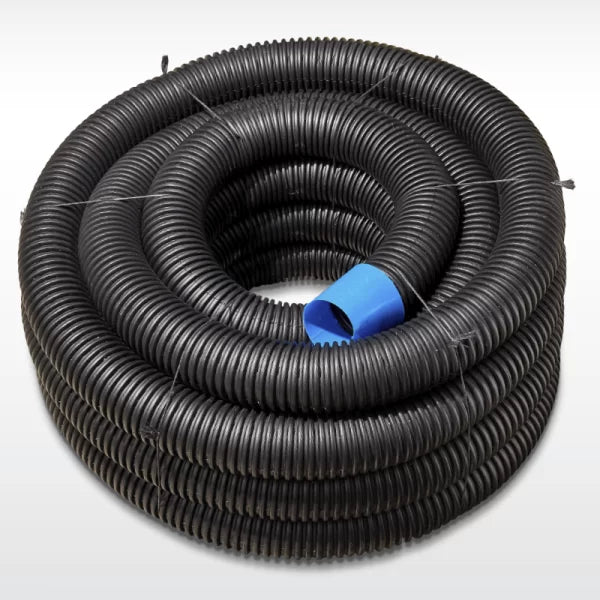
- Install the drainage system before any backfill. Geotextile fabric, ag pipe, and weep holes must be fully in place before the first shovel of backfill goes in. See the complete drainage installation guide for the correct sequence.
- Fill the drainage zone with 20mm aggregate. Fill the first 300–500mm behind the sleepers with clean crushed rock. Do not compact drainage aggregate — compaction reduces the void content and defeats its drainage purpose. Place it loosely.
- Fold the geotextile fabric over the top of the drainage aggregate. Before placing any general backfill above the drainage zone, fold the geotextile fabric over the top of the aggregate. This prevents soil from migrating downward into the drainage layer from above — a failure mode that silently reduces drainage capacity over years.
- Place general backfill in 150–200mm layers. Never dump the full backfill volume against the wall at once. The weight of unsupported backfill pushing against an unrestrained wall face — before each layer is compacted — is the most common cause of post misalignment during construction.
- Compact each layer before adding the next. Use a plate compactor for granular fill; a jumping jack (rammer) for clay fill. Do not use heavy compaction equipment within 500mm of the wall face — the vibration and lateral force can damage the wall or push it out of plumb. Use hand tamping or a small plate compactor within this exclusion zone.
- Check wall alignment after each compaction pass. Measure plumb and face alignment before adding the next layer. Small deviations that go uncorrected compound as backfill height increases. Once backfill is fully compacted, correcting post lean requires significant excavation.
- Keep the drainage zone intact throughout. As backfill rises, confirm the geotextile fold-over remains in place and no soil is contaminating the drainage aggregate from above.
Compaction requirements
Poorly compacted backfill settles over time, creating surface subsidence, voids behind the wall face, and uneven loading that increases lateral pressure on the sleepers and posts.
| Fill type | Layer thickness | Equipment | Notes |
|---|---|---|---|
| Granular fill (sandy loam, gravel) | 150–200mm per layer | Plate compactor | Most forgiving — compacts well across a wide moisture range |
| Clay fill | 100–150mm per layer | Jumping jack (rammer) | Must be compacted at optimum moisture content — moist but not wet. Dry clay is difficult to compact; wet clay generates high lateral pressure and should not be placed. |
| Within 500mm of wall face | Any | Hand tamping or small plate compactor only | Exclusion zone for heavy equipment regardless of fill type |
| Drainage aggregate (Zone 1) | N/A — placed loosely | None | Do not compact — compaction reduces permeability |
Common backfill mistakes — and why they cause wall failure
- Dumping the full backfill volume against the wall at once. This places the full lateral load of unsupported fill against the wall before the individual layers have been compacted. The result is post lean that may not be immediately obvious but worsens over time.
- Using excavated soil in the drainage zone. Even relatively free-draining sandy loam in the drainage zone will eventually compact under repeated wetting and drying, reducing permeability and allowing hydrostatic pressure to build. Use clean aggregate only in the first 300–500mm.
- Backfilling before post footings have cured. The most avoidable mistake. Footings that haven't reached strength can be pushed laterally by even moderate backfill pressure. Wait the full cure time regardless of schedule pressure.
- Using heavy compaction equipment too close to the wall face. The lateral force and vibration from a heavy plate compactor within 500mm of the wall face can deflect posts, crack footings, or displace sleepers. Always use hand tamping or a small compactor in this zone.
- Not checking wall alignment after each layer. A 5mm error in a lower course becomes a 40mm lean by the time the wall is 800mm high. Check plumb after every compaction pass — not just at the end.
- Omitting or displacing the geotextile fabric. Without the fabric fold-over at the top of the drainage zone, backfill soil migrates down into the aggregate within a few wet seasons, silently reducing drainage capacity until the wall fails.
Frequently asked questions — retaining wall backfill
What is the correct backfill material for a retaining wall?
A retaining wall requires two different backfill materials in two distinct zones. The drainage zone — the first 300–500mm directly behind the sleepers — must be filled with clean 20mm single-sized crushed rock. This provides the free drainage path to the ag pipe at the base. Above and behind this zone, excavated soil or imported sandy loam or clay fill can be used, provided it is free of large rocks, organic material, and debris and is compacted in 150–200mm layers.
Can I use the excavated soil as backfill?
Yes, in the general backfill zone — but not in the drainage zone. Excavated soil can be reused if it is free of large rocks, organic material, and debris. Clay soil can be reused as general backfill but must be placed in thin 100–150mm layers and compacted at optimum moisture content (moist but not wet). Never use excavated soil in the drainage zone directly behind the sleepers.
How long should I wait before backfilling after pouring post footings?
For rapid-set concrete: wait at least 24 hours before backfilling. For standard concrete mix: wait at least 7 days. This is non-negotiable — backfill pressure on uncured footings is one of the most common causes of post misalignment, and the error cannot be corrected without excavation and rebuilding.
Should I compact the drainage aggregate?
No. Drainage aggregate must not be compacted. Compaction reduces the void content and permeability of the aggregate, which reduces its ability to drain water away from the wall. Place 20mm crushed rock loosely in the drainage zone and leave it uncompacted. Only the general backfill above and behind the drainage zone should be compacted.
How close to the wall face can I use a plate compactor?
Do not use heavy compaction equipment within 500mm of the wall face. Beyond 500mm, a standard plate compactor is suitable for granular fill. Within the 500mm exclusion zone, use hand tamping or a small plate compactor only. Heavy compaction equipment near the wall face generates lateral force and vibration that can push posts out of plumb or crack freshly poured footings.
What causes retaining walls to fail during or after backfilling?
The most common backfill-related causes of retaining wall failure are: backfilling before post footings have cured; dumping the full backfill volume at once rather than compacting in layers; using soil in the drainage zone instead of clean aggregate; using heavy compaction equipment too close to the wall face; and omitting or misplacing the geotextile fabric that prevents soil migration into the drainage layer. Each of these failures is avoidable with correct sequencing and materials.
Ready to order your drainage and backfill materials?
Our drainage kits include ag pipe, geotextile fabric, and weep holes — everything needed for the drainage zone in one order. Geotextile fabric is also available separately for larger orders.
For the complete build sequence from post setting through to backfilling and finishing, see: how to build a concrete sleeper retaining wall.
Ready to get started?
Get a free delivered quote for concrete sleepers, steel posts and retaining wall materials — delivered Australia-wide.
Leave a comment (all fields required)