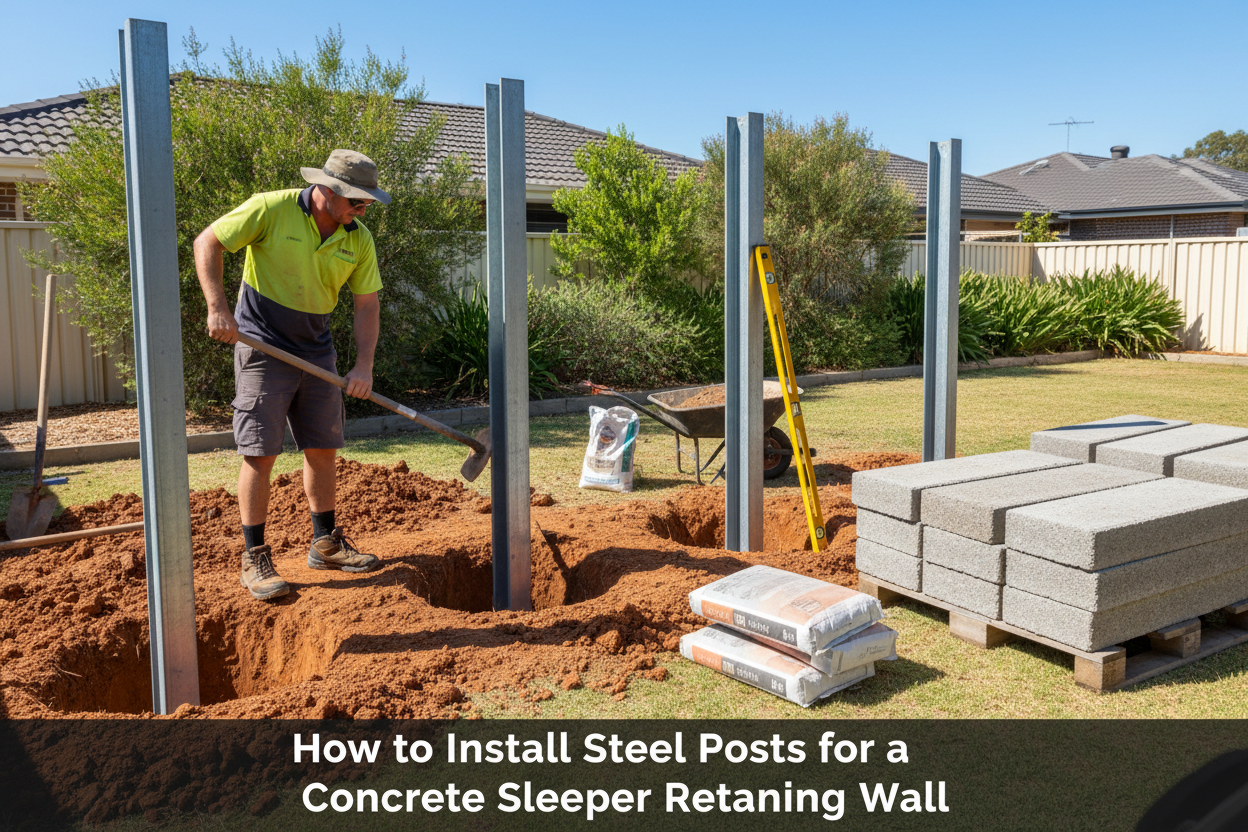

How to Install Steel Posts for a Concrete Sleeper Retaining Wall
The steel posts are the structural backbone of any concrete sleeper retaining wall. Get them right and your wall will perform for decades. Get them wrong — wrong spacing, wrong embedment depth, wrong alignment, or wrong concrete — and no amount of quality sleepers will save the wall from failure. With 40+ years of hands-on retaining wall construction experience across Australia, this is the installation guide we wish every DIYer and new trade contractor had before they started.
What You'll Need
- H-Beam or C-Channel steel posts (see our guide: How to Choose the Right Steel Post for Your Retaining Wall)
- Post hole digger or auger (minimum 300mm diameter)
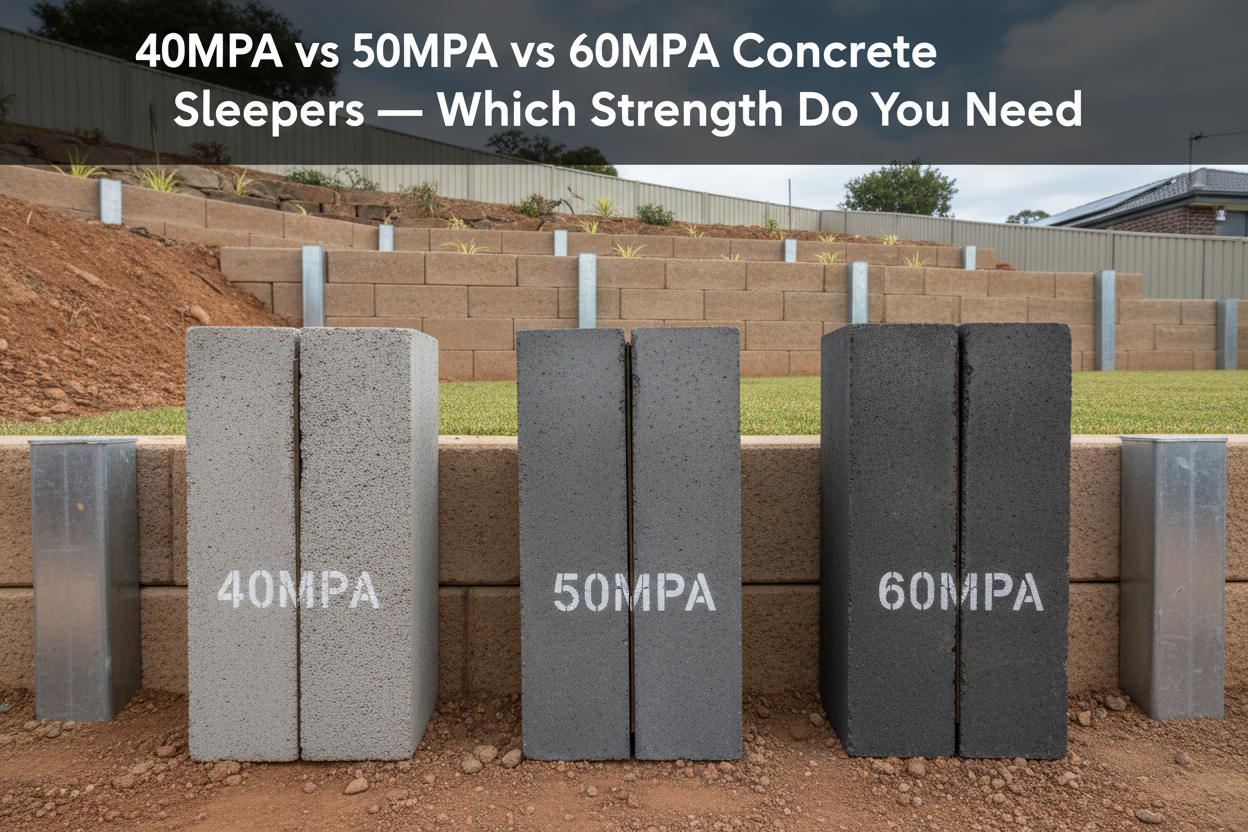
- Concrete mix — minimum 20MPa, ideally 25MPa for reactive clay sites
- String line and stakes
- Spirit level (1.2m minimum length)
- Tape measure
- Temporary timber bracing
- Safety glasses and gloves
Step 1 — Determine Post Spacing
Standard post spacing for concrete sleeper retaining walls is 2000mm centre-to-centre, matching the standard 2000mm sleeper length. This means each sleeper spans between two posts with no overhang.
Reduce post spacing to 1000mm centre-to-centre for:
- Walls over 1.2m in height
- Sites with heavy surcharge load (driveways, vehicles, structures above). See: Driveway Retaining Walls
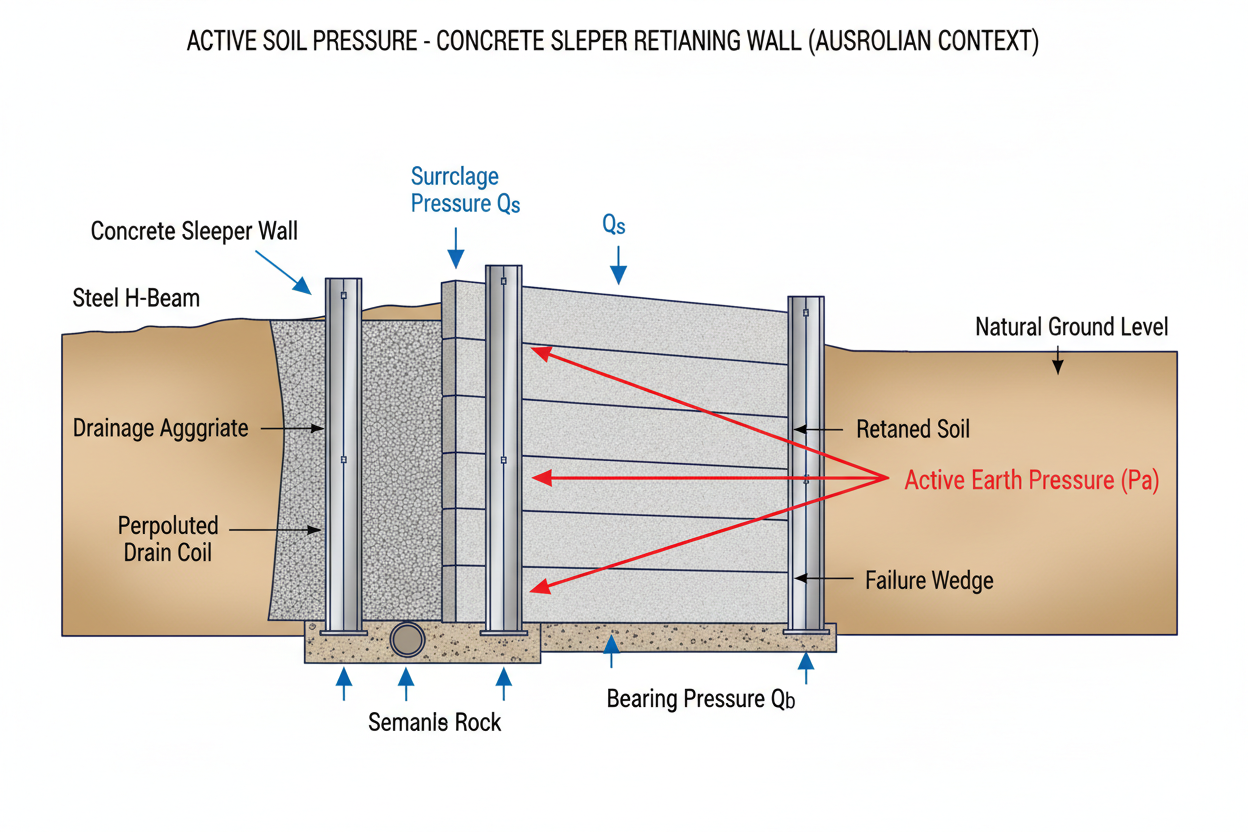
- Highly reactive clay soils where lateral pressure is high. Read: What Is Active Soil Pressure?
- Engineer-specified designs requiring closer post centres. See: Engineered Retaining Walls Over 1 Metre
See our detailed guide: Retaining Wall Post Spacing — How Far Apart Should Posts Be?
Step 2 — Determine Embedment Depth
Post embedment depth is the single most important dimension in retaining wall construction. Insufficient embedment is the leading cause of post rotation and wall failure in Australia.
Rule of thumb: embed one-third of total post length below ground.
Minimum embedment depths by wall height:
- Wall up to 600mm — minimum 600mm embedment
- Wall 600mm–1000mm — minimum 900mm embedment
- Wall 1000mm–1200mm — minimum 1200mm embedment
- Wall over 1200mm — engineer to specify embedment depth
Canberra and frost-affected sites: minimum 900mm embedment regardless of wall height, with concrete backfill to the frost depth to prevent frost heave lifting posts over time.
See our detailed guide: How Deep Should Retaining Wall Posts Be?
Step 3 — Set Out the String Line
Accurate string line setup is essential for a straight, plumb wall. Rushing this step is the most common cause of misaligned walls that are impossible to fix once the concrete sets.
- Drive timber stakes 500mm beyond each end of the proposed wall
- Run a string line along the face of the wall at the finished top-of-sleeper height
- Check the string line is level using a line level or laser level
- Mark post positions on the ground at the correct centres using spray paint or stakes
- Double-check all measurements before digging
Step 4 — Dig the Post Holes
Post holes must be:
- Diameter: minimum 300mm for standard residential posts; 350–400mm for 150 Series and 200 Series heavy duty posts
- Depth: embedment depth plus 100mm for a concrete base pad
- Straight: use a post hole digger or auger, not a crowbar — irregular holes make plumb alignment difficult
Rock: If you hit rock, you may need a rock drill or hydraulic rock breaker. Do not reduce embedment depth to avoid rock — this is a structural compromise. Consult an engineer if rock prevents adequate embedment.
Water: If the hole fills with water, pump it out before pouring concrete. Never pour concrete into a water-filled hole — it dilutes the mix and dramatically reduces strength.
Step 5 — Place the Posts
- Pour a 100mm concrete base pad into the bottom of each hole and allow to firm slightly (15–30 minutes)
- Lower the post into the hole, resting on the base pad
- Check the post is plumb in both directions using a spirit level
- Brace the post temporarily with timber props nailed to stakes in the ground
- Check alignment against the string line — the face of the post should be flush with or just behind the string line
- Recheck plumb after bracing — bracing can shift posts slightly
Step 6 — Pour the Concrete
Use a minimum 20MPa concrete mix for post footings. On reactive clay sites (Western Sydney, Melbourne's eastern suburbs, Brisbane's western suburbs, Adelaide's plains, Perth's eastern suburbs), use 25MPa for additional resistance to soil movement.
- Pour concrete in 200mm lifts, rodding each lift to eliminate air voids
- Fill to 50mm below finished ground level — this allows topsoil or turf to cover the footing
- Slope the top of the concrete slightly away from the post to shed water
- Recheck plumb immediately after pouring — adjust bracing if needed before concrete sets
- Do not disturb posts for a minimum of 24 hours after pouring; 48 hours in cold weather
Step 7 — Check Alignment Before Installing Sleepers
Before installing a single sleeper, walk the line of posts and check:
- Every post is plumb in both directions
- Every post face is on the string line
- Post spacing is consistent
- Post heights are consistent (if cutting posts to height, do this now)
It is far easier to adjust a post before sleepers are installed than after. A post that is 10mm out of plumb at ground level will be 30–40mm out at the top of a 1.2m wall — a visible and structural problem.
Common Installation Mistakes to Avoid
- Insufficient embedment depth — the most common cause of wall failure. Never reduce embedment to save time or avoid rock.
- Pouring concrete into wet holes — always pump out water before pouring.
- Not checking plumb after bracing — bracing shifts posts. Always recheck.
- Wrong post spacing — 2000mm centres for standard walls; 1000mm for tall or heavily loaded walls.
- Using the wrong post type for the soil — C-Channel on reactive clay will fail. See: How to Choose the Right Steel Post
- Skipping the base pad — posts set directly on loose soil will settle unevenly over time.
- Skipping drainage — hydrostatic pressure is the second leading cause of wall failure. See below.
Installing Sleepers After Posts Are Set
Once posts have cured for a minimum of 48 hours, sleepers can be installed. Slide sleepers horizontally into the post channels from the end of the wall, working from the bottom up. For corners and returns, see: How to Build a Retaining Wall Corner — L-Shapes, Returns & 90° Joins. For tiered walls, see: How to Build a Tiered Retaining Wall.
Drainage — Don't Skip This Step
Every retaining wall needs drainage behind it. Hydrostatic pressure from water build-up behind a wall is the second leading cause of retaining wall failure in Australia after insufficient post embedment. Install ag pipe, geotextile fabric, and drainage gravel before backfilling.
- Retaining Wall Drainage & Structural Integrity — Complete Guide
- Ag Pipe for Retaining Walls — What Size and How to Install It
- Retaining Wall Weep Holes — What They Do and Where to Put Them
- Geotextile Fabric for Retaining Walls
Council Approval
Check your state's requirements before starting. Most states require approval for walls over 1m. See: How to Get Council Approval for a Retaining Wall in Australia.
Shop Steel Posts by City
- Steel Posts — Sydney NSW
- Steel Posts — Melbourne VIC
- Steel Posts — Brisbane QLD
- Steel Posts — Perth WA
- Steel Posts — Adelaide SA
- Steel Posts — Gold Coast QLD
- Steel Posts — Canberra ACT
Related Guides
- How to Choose the Right Steel Post for Your Retaining Wall
- How Deep Should Retaining Wall Posts Be?
- Retaining Wall Post Spacing Guide
- What Is Active Soil Pressure?
- Retaining Wall Drainage & Structural Integrity
- How to Build a Retaining Wall Corner
- How to Get Council Approval in Australia
- Steel Posts for Retaining Walls — Complete Buyer's Guide (2026)


Leave a comment (all fields required)