
Types of Retaining Wall Corners
There are two types of corners in retaining wall construction:
- Outside corner (convex): The wall turns away from you — the most common type, used when retaining soil on the inside of an L-shaped wall
- Inside corner (concave): The wall turns toward you — used when retaining soil on the outside of a U-shaped or enclosed wall
Each requires a different post type and construction approach.
Post Options for Corners
L-Posts (Corner Posts)
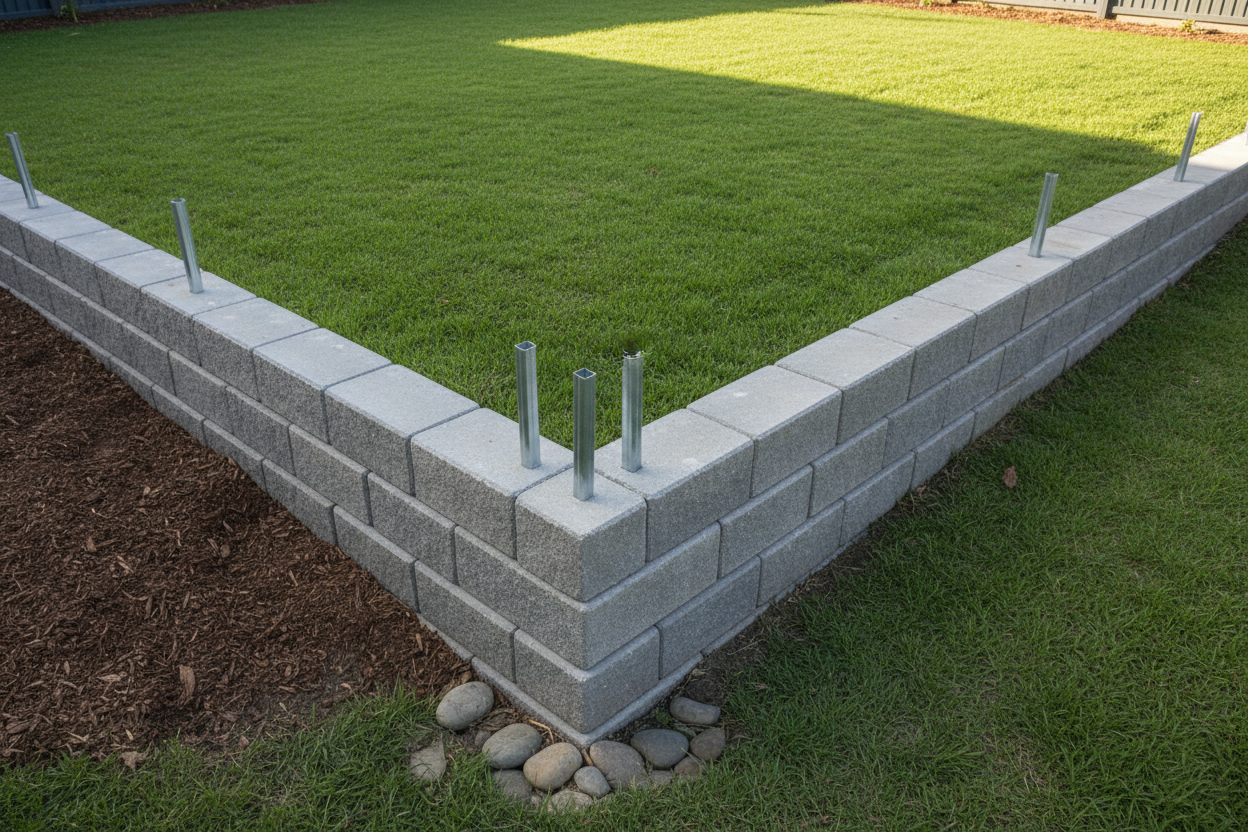
Our L-posts are specifically designed for 90° outside corners. They have two flanges at right angles, allowing sleepers to slot in from both directions. L-posts are the cleanest and strongest solution for outside corners — no cutting, no welding, no improvisation.
Standard Posts with Mitre-Cut Sleepers
For inside corners, or where L-posts aren't available in the required length, you can use two standard posts positioned close together at the corner, with sleepers mitre-cut at 45° to create a neat join. This requires more skill and a suitable saw, but gives a clean result.
Step-by-Step: Outside Corner with L-Post
Step 1 — Plan Your Corner
Mark out both wall lines with string lines before digging. The corner post position is where the two string lines intersect. Ensure both wall lines are square to each other — use the 3-4-5 triangle method to check: measure 3m along one wall, 4m along the other, and the diagonal between those two points should be exactly 5m if the corner is square.
Step 2 — Set the Corner Post First
Always set the corner post before any other posts. The corner post determines the alignment of both wall runs — if it's out of position or not plumb, both walls will be affected.
- Dig the corner post hole to the required depth (minimum 600mm embedment, or 1/3 of total wall height)
- Set the L-post plumb in both directions — check with a spirit level on both flanges
- Concrete the post in and allow to cure before setting adjacent posts (minimum 24 hours, ideally 48 hours)
Step 3 — Set Adjacent Posts
Once the corner post is set and cured, run string lines from the corner post along each wall line to set the remaining posts. Each post must be aligned with the string line and plumb.
Step 4 — Install Sleepers
Install sleepers from the corner outward along each wall run. The first sleeper on each run slots into the corner L-post flange. Ensure sleepers are level and the joints between sleepers are staggered (not all on the same vertical line) for structural integrity.
Step 5 — Drainage at Corners
Corners are a common point of water accumulation — ensure your ag pipe runs continuously around the corner and has a clear outlet. Install a weep hole at or near the corner at the base of the wall. See our Drainage Installation Guide for full details.
Step-by-Step: Inside Corner
Inside corners are less common but occur in U-shaped garden beds, enclosed retaining areas, and basement walls.
- Set two standard posts close together at the corner — typically 200–300mm apart, one for each wall run
- Mitre-cut the sleepers at 45° where they meet at the corner — this requires a circular saw or drop saw with a 45° bevel setting
- The mitre-cut ends butt together neatly at the corner, supported by the two posts behind them
- Seal the mitre joint with a flexible exterior sealant to prevent water ingress
Common Corner Mistakes
- Not checking for square: A corner that's not 90° will cause alignment problems along both wall runs — always check with the 3-4-5 method
- Setting corner post last: Always set the corner post first — it's the reference point for everything else
- Not allowing concrete to cure: Setting adjacent posts before the corner post concrete has cured can disturb the corner post alignment
- Forgetting drainage at the corner: Corners collect water — ensure ag pipe and weep holes are installed at corner locations
- Using a standard post instead of an L-post: A standard post at an outside corner cannot properly support sleepers from two directions — always use an L-post
Products for Retaining Wall Corners
- L-Posts & Corner Posts — purpose-built for 90° outside corners
- H-Beam UC Posts — for corners on taller or engineer-designed walls
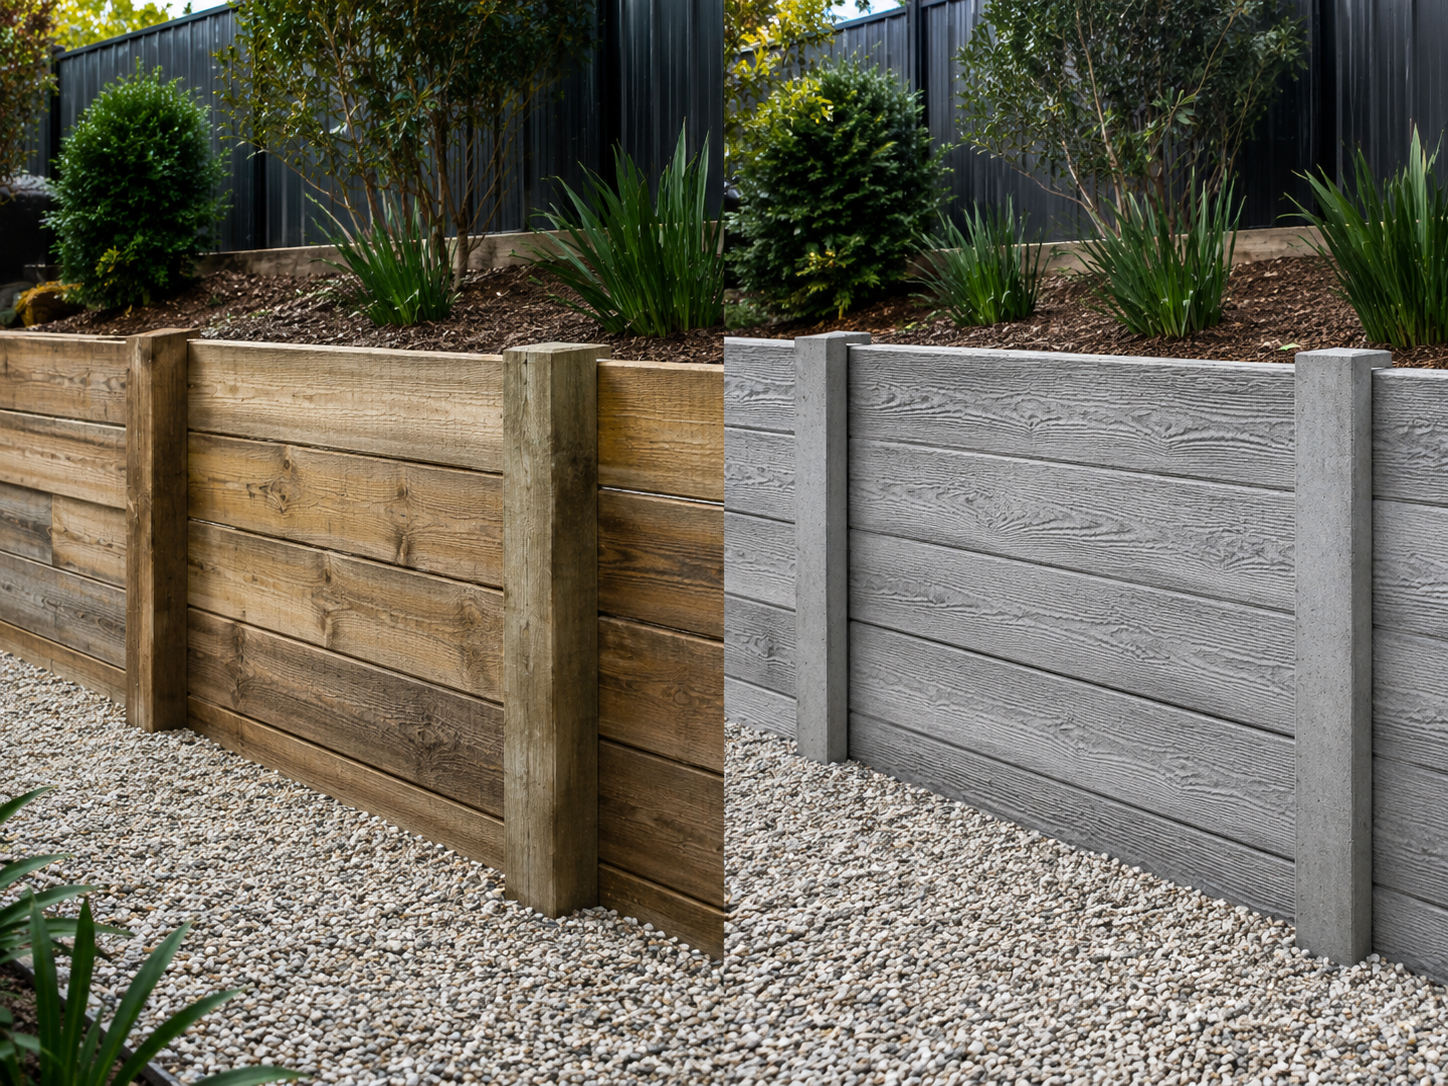
- Concrete Sleepers — all finishes available for corner walls
- Drainage Kits — essential at every corner location
Need help planning your corner wall? Book a free quote and our team will help you select the right posts and calculate materials for your specific layout.


Leave a comment (all fields required)