







Low-Cost Retaining Wall Ideas That Still Last
Quick Answer: Keeping a retaining wall budget down doesn't have to mean choosing a shorter-lived material. Standard smooth-finish concrete sleepers at 40MPa, sized correctly for a modest wall height, are one of the most cost-effective ways to build a wall that's still designed to last decades - rather than a cheaper material that needs replacing sooner. The real savings come from right-sizing the wall, not from cutting the material grade.
Why "Low-Cost" Doesn't have to mean "Short-Lived"
It's easy to assume the cheapest wall is a timber one, or the lowest-grade material available. In practice, the total lifecycle cost of a wall matters more than the upfront material price alone. A timber sleeper wall is often cheaper to build initially, but rot, termite risk and a shorter service life mean it's frequently replaced well before a comparable concrete wall.
Concrete sleepers at a standard 40MPa grade, in a plain smooth finish, are one of the most genuinely cost-effective options available - not because they're the flashiest choice, but because they're not paying for anything the wall doesn't need: no premium finish, no oversized sleeper for a low wall, no extra strength grade beyond what the height and soil call for.
It's worth understanding this idea of "lifecycle cost" a bit more concretely, since it's the whole basis for treating concrete sleepers as a genuinely budget-friendly option rather than simply a mid-range one. A wall that needs replacing after ten or fifteen years effectively costs a household two build projects over a thirty-year period - two lots of materials, two lots of labour, two lots of disruption to the garden while work is underway. A wall built once, to a correct standard specification, that's still performing at year thirty avoids all of that repeated cost and disruption, even if its initial price was somewhat higher than the cheapest available alternative. Thinking in these terms - cost per year of service, rather than cost on the day of purchase - is what separates a genuinely low-cost wall from one that's simply cheap. It's a similar logic to comparing two appliances by their purchase price alone rather than factoring in how often each is likely to need replacing or repairing over the years ahead.
Where the Real Savings Come From
- Right-sizing the sleeper: a wall under 600mm generally doesn't need the same sleeper thickness or strength grade as a taller, engineered wall - choosing the correct size for the job avoids paying for capacity you don't need
- Standard grade over premium grade: 40MPa is the standard concrete sleeper grade for most low-to-moderate walls; higher grades like 50MPa or 60MPa are for taller walls or surcharge loads, not a general upgrade for a simple garden wall
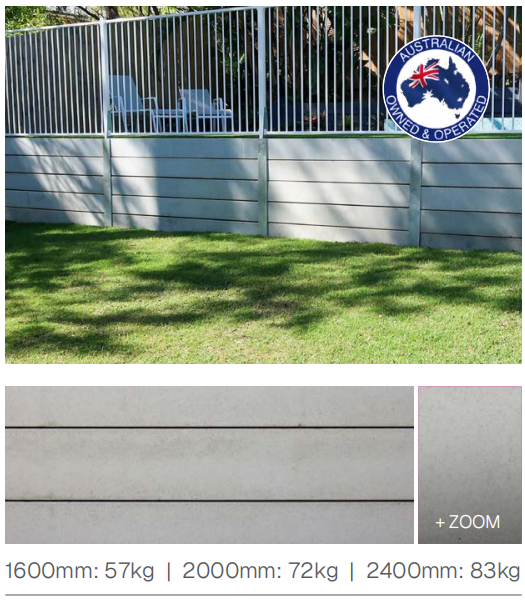
- Plain smooth finish: a standard smooth finish is typically the most economical option, since it doesn't carry the extra production cost of a moulded texture like woodgrain or rock face
- Getting the length right the first time: accurately measuring the wall run and ordering the correct quantity avoids costly top-up orders, which can also introduce a slightly different batch or shade if ordered later
Beyond these four, a few less obvious factors also contribute to keeping a project cost-effective without compromising the wall's design life:
- Standard post lengths and sizes: sticking to commonly stocked post lengths, rather than requesting a custom cut length for a slightly awkward site condition, generally avoids a manufacturing premium for a non-standard item
- Simple wall geometry: a straight run of wall is more cost-effective to build than one with multiple corners, steps or curves, since each corner or return needs its own dedicated post and additional labour to install correctly
- Efficient delivery scheduling: ordering all required materials for a project in a single delivery, rather than staggering orders across several smaller deliveries, typically keeps freight costs lower
- DIY-friendly wall heights: a wall under the height where an engineer's certification is required avoids that additional professional cost altogether, provided the wall still meets standard sizing and drainage requirements
What Not to Cut Corners on
Keeping a budget down is different from cutting corners that shorten the wall's life. A few things are worth spending on regardless of budget:
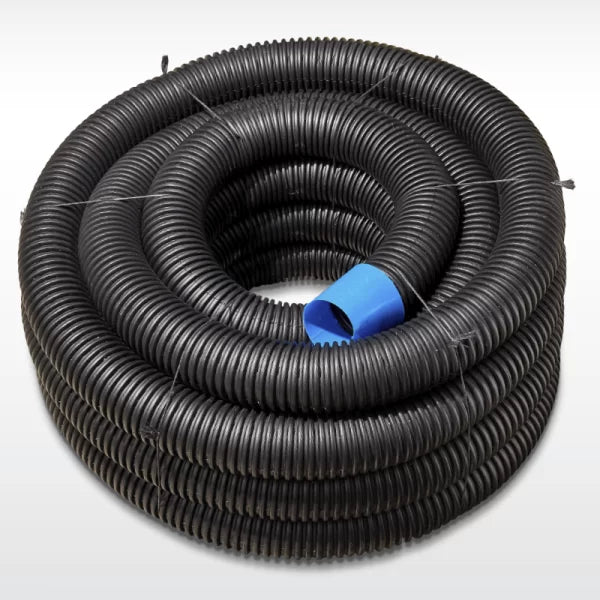
- Drainage - skipping ag pipe and free-draining backfill to save a small amount up front is one of the most common causes of early wall failure, and the repair cost far outweighs the saving
- Correct post spacing - stretching post spacing beyond what's specified to use fewer posts increases load on both posts and sleepers, risking a problem that costs more to fix than the posts would have cost to install correctly
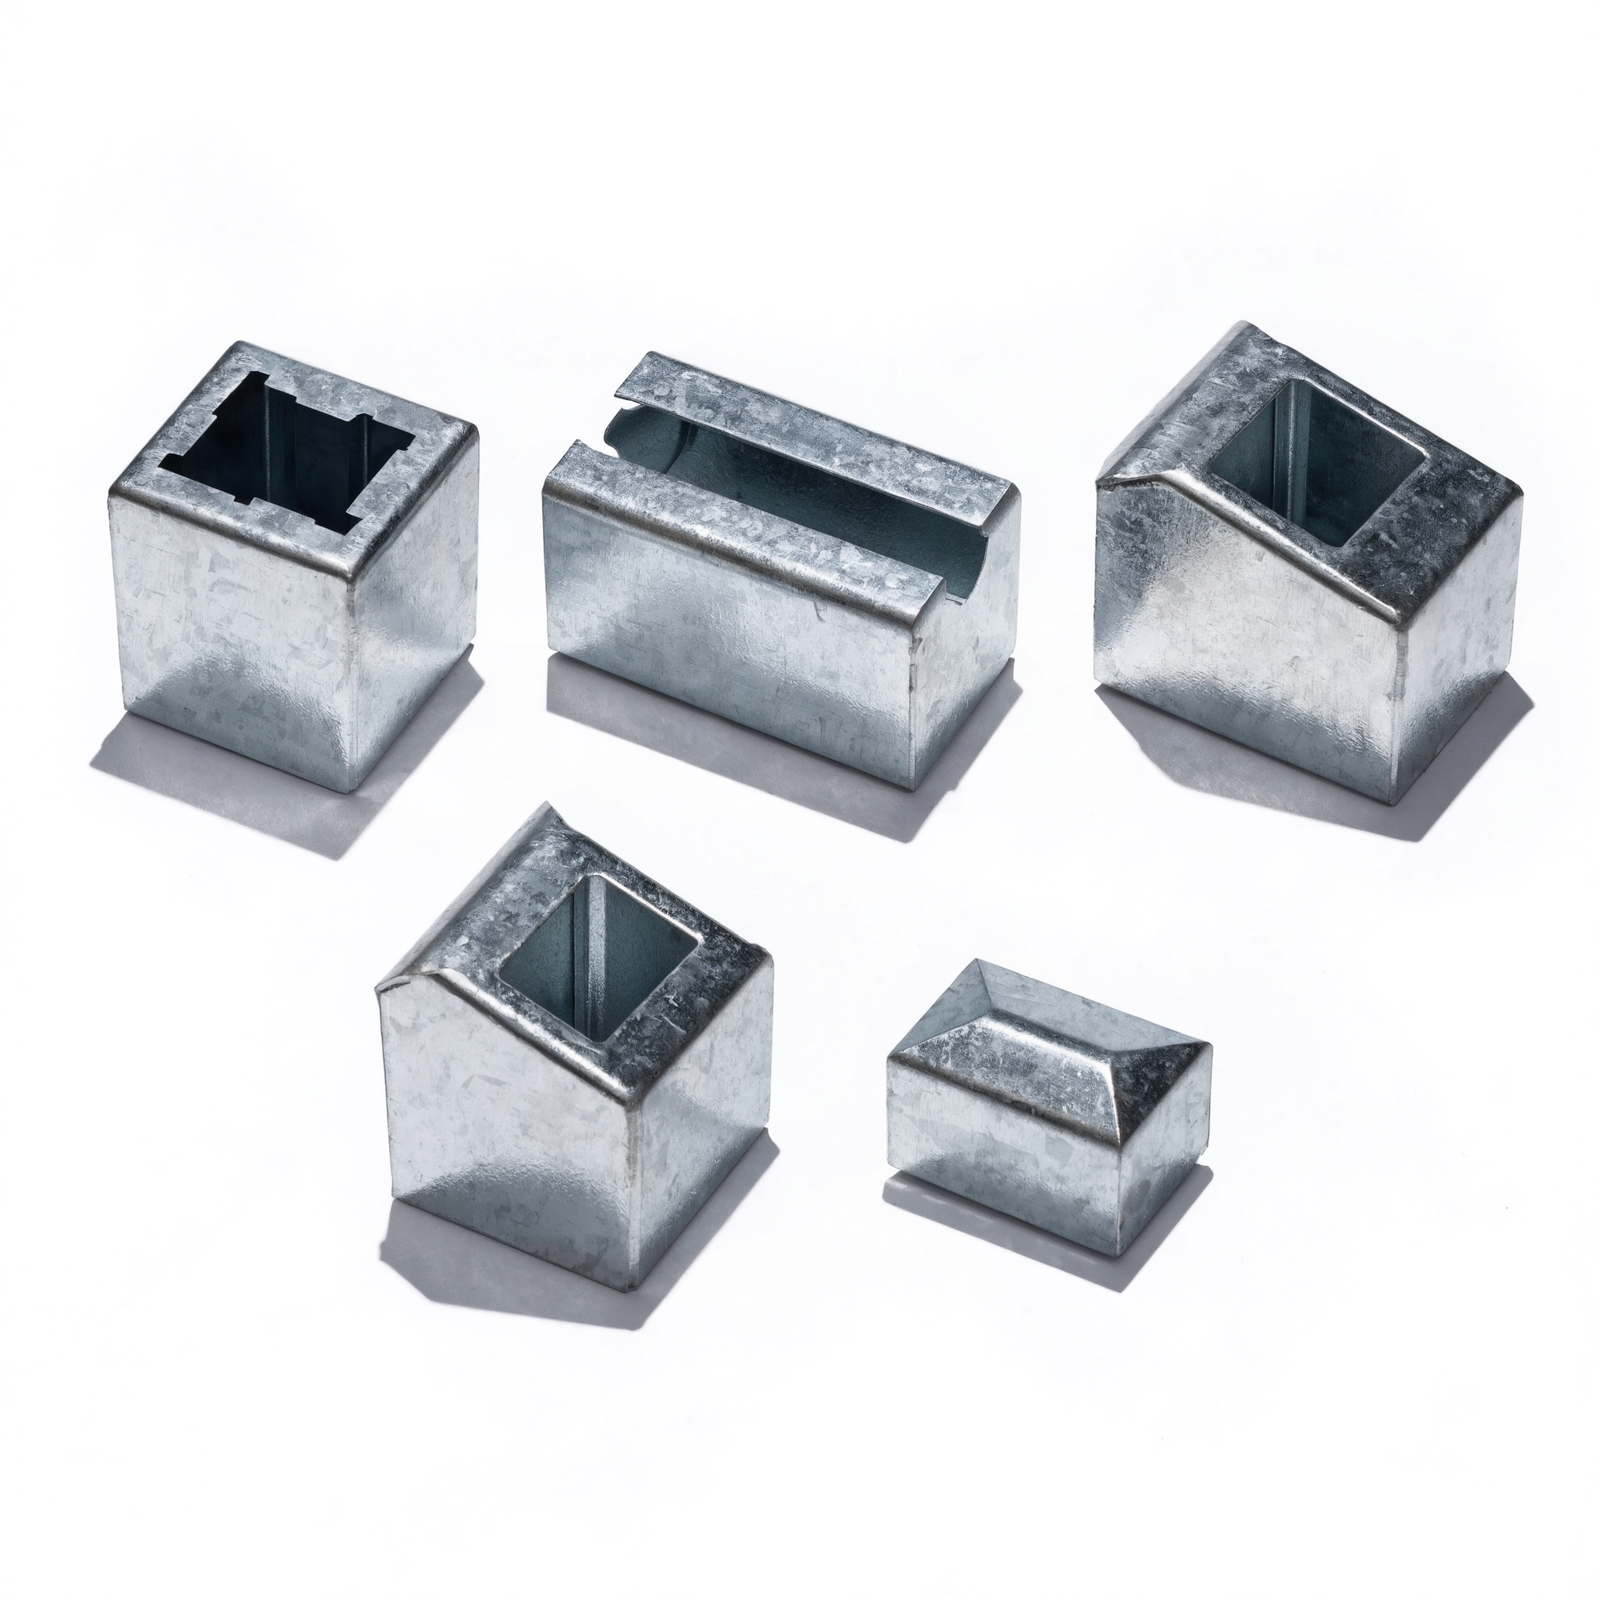
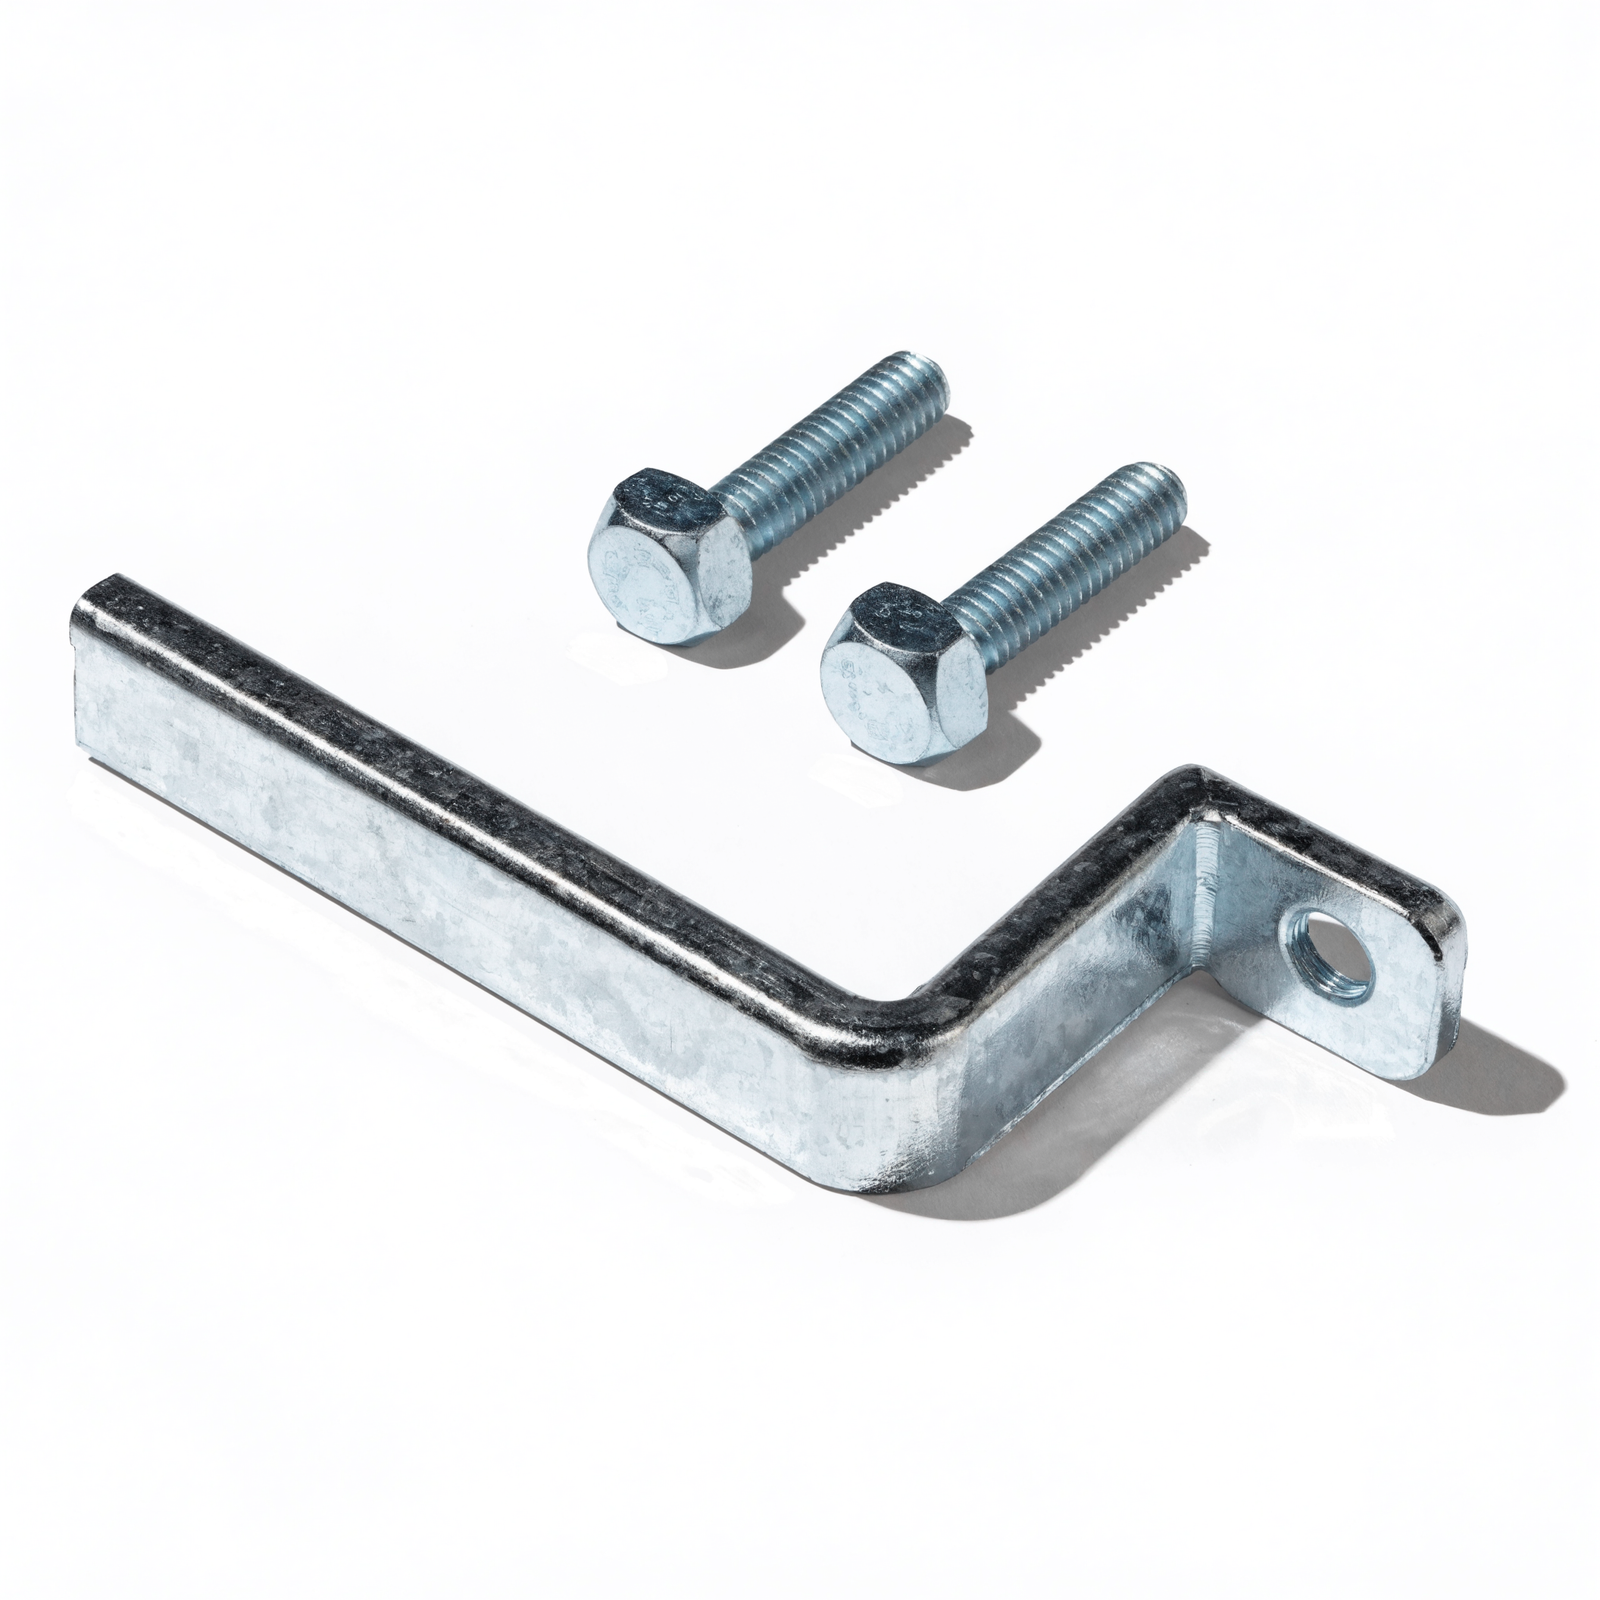
- Galvanised hardware - using the correct brackets, cleats and fixings protects the whole system from corrosion; substituting cheaper, non-compliant hardware is a false economy on a structure meant to last decades
It's worth being specific about why these three items sit outside the normal cost-cutting conversation. Drainage, post spacing and hardware aren't finishing touches that can be scaled up or down to match a budget - they're the components that determine whether the wall performs as designed at all. A wall built with the correct sleeper grade but inadequate drainage doesn't perform at "80% of expected life" - it can fail well before a correctly drained wall of a lower material grade would. This is the key distinction between smart, deliberate cost savings and corner-cutting that undermines the whole project: one changes what the wall looks like or which non-structural options are included, the other changes whether the wall actually works.
Low-cost Doesn't Mean Low-Effort Planning
Ironically, keeping a project genuinely low-cost often takes slightly more planning upfront than simply choosing whatever a supplier suggests first. A few habits that tend to keep costs down without any compromise on quality:
- Measure the site carefully yourself before requesting quotes, so you can sanity-check a supplier's material list against your own numbers
- Ask specifically whether a quoted specification matches the minimum required for your wall height and soil type, or whether it includes a margin above the minimum that you may not need
- Compare quotes on exactly matching specifications - same grade, same finish, same post series - rather than comparing a premium quote from one supplier against a standard quote from another
- Where DIY is realistic for your wall height, factor in the cost of tool hire or purchase against the labour saving, since this isn't always a clear win depending on what equipment you already have access to
None of this planning is complicated, but it does take a bit more time than accepting the first quote or specification offered. For a project of any meaningful size, that time investment is generally well repaid in the total cost of the finished wall.
Common Mistake: Comparing Wall Types on Price Alone
The most common budgeting mistake is comparing a timber wall's price against a concrete wall's price without factoring in how long each is expected to last. A concrete sleeper wall built to standard specification, with correct drainage, is designed for a multi-decade service life. Comparing only the day-one cost, without considering replacement cycles, tends to make a shorter-lived option look more affordable than it actually is over time.
A related version of this mistake happens within the concrete sleeper category itself - comparing a fully-featured quote that includes a premium finish and oversized posts against a genuinely minimal quote that only meets the bare structural requirement, and concluding that concrete sleepers are simply "more expensive" than they need to be. In reality, both quotes are for concrete sleeper systems; the difference lies entirely in the specification level being compared, not in the material category as a whole.
A Quick Way to Keep a Project on Budget
- Confirm the actual wall height and length before requesting quotes, so you're pricing exactly what you need
- Ask for standard 40MPa smooth-finish sleepers as your baseline quote, then compare optional upgrades separately
- Get quotes itemised - sleepers, posts, hardware and delivery separately - so it's clear where the cost is actually going
- Cross-check your wall height against the small and short retaining wall ideas guide - lower walls often qualify for a simpler, more cost-effective post spec
Sequencing a Low-Cost Build to Save onLabour
For anyone considering a partial or full DIY build to keep costs down, the order in which tasks are tackled can make a meaningful difference to how manageable the project feels, and how much paid labour ends up being needed.
- Site preparation and post holes - the most physically demanding stage, but also the stage where DIY effort translates most directly into cost savings, since excavation and hole digging is often priced as a significant labour component in a professional quote
- Post installation and concrete footings - accuracy matters more than speed here, since a slightly out-of-alignment post is far easier to correct before the concrete sets than afterward
- Sleeper installation - generally the most straightforward stage for a confident DIY builder once posts are correctly set, since sleepers simply slot into place between posts
- Drainage and backfill - worth taking slowly and checking against a supplier's installation guide, since this stage is the one place where a shortcut has the most serious long-term consequences
Breaking a project into these stages also makes it easier to bring in paid help selectively - for example, hiring a contractor just for post installation, where accuracy matters most, while handling site prep and sleeper installation yourself.
Low-Cost Ideas Beyond Material and Grade
Material grade and finish aren't the only levers available for keeping a project cost-effective. A few design-level ideas can also help a budget-conscious wall project go further without compromising the wall itself:
- Combining a small wall with existing landscaping - tying a new retaining wall into an existing fence line, garden bed edge or paved area can reduce the total new wall length needed compared with a completely standalone structure
- Staging a larger project - where a property needs several sections of wall, building the most functionally necessary section first and staging feature sections for later can spread cost over time without leaving any section under-specified in the meantime
- Choosing a lower wall height where the job allows it - sometimes a slightly different layout, such as adding a gentle batter above a shorter wall rather than one taller wall, can bring a project into a lower-cost height and post category while still solving the same underlying level-change problem
- Reusing existing site material - where excavated soil from footings or site preparation can be reused elsewhere on the property for minor levelling or garden beds, this reduces the volume of material that needs to be removed and disposed of separately
None of these ideas involve compromising on sleeper grade, drainage or hardware - they're about the broader design and staging of a project, which is where a genuinely significant share of total project cost is often determined, well before individual material choices come into play. A supplier familiar with a wide range of residential projects can often suggest which of these approaches makes sense for a specific site, since the best combination of ideas tends to depend heavily on the particular shape, slope and existing landscaping of the block in question.
When It's Worth Spending More Than the Minimum
Keeping costs down is a sensible default, but it's worth recognising the specific situations where spending above the bare minimum genuinely pays off, rather than treating every project as one to minimise cost on regardless of context.
- A wall in a highly visible, street-facing position may be worth a modest finish upgrade, even on an otherwise cost-conscious project, given how much it contributes to the property's overall street appeal
- A wall on a site with known problem soil - reactive clay, poor drainage, or a history of movement nearby - is not the place to build to the bare minimum specification, since the consequences of under-specifying in difficult soil are more serious than on a straightforward, stable site
- A wall that will be difficult or disruptive to access again in future, such as one built early in a broader landscaping project and later enclosed by paving, decking or established planting, is worth specifying generously the first time, since revisiting it later will be far more costly than it would have been to get right initially
Recognising these exceptions doesn't undermine the broader low-cost approach covered in this guide - it simply means applying the same principle behind it: spend where it genuinely affects the wall's performance or long-term value, and save where it doesn't.
Browse the Range
Our concrete sleeper range covers the full selection, or go straight to the 40MPa standard grade or smooth finish ranges discussed above.
For the full list of ideas this guide sits alongside, see our main retaining wall ideas guide.
FAQs
Is a timber retaining wall cheaper than concrete long-term?
Timber is often cheaper to build initially, but a shorter service life due to rot and termite risk generally means more frequent replacement. Comparing only the upfront cost, rather than the total cost over the wall's life, tends to favour timber unfairly.
Does 40MPa mean a weaker wall than 50MPa or 60MPa?
No - it means a different rated application. 40MPa is the standard grade for most low-to-moderate residential walls. Higher grades are specified for taller walls or extra loads like driveways, not because 40MPa is an inferior product.
Where shouldn't I try to save money on a retaining wall?
Drainage, correct post spacing and proper galvanised hardware. These are the elements most closely tied to long-term wall performance, and cutting corners here tends to cost more in repairs than it saves upfront.
Does choosing a plain finish over a textured one save money?
Generally yes - a standard smooth finish is typically the most economical option, since it doesn't carry the extra production cost of a moulded texture like woodgrain or rock face. That said, always confirm current pricing on the specific products you're comparing.
Is DIY installation a reliable way to reduce retaining wall costs?
It can be, particularly for walls under 600mm that don't require engineering certification. Factor in the cost of any tool hire against the labour saving, and consider bringing in paid help selectively for the stages - like post installation - where accuracy matters most.
Does a simple, straight wall cost less than one with corners or steps?
Generally yes. Each corner, return or step needs its own dedicated post and additional labour to install correctly, so a simple straight run is typically more cost-effective than a wall with multiple direction changes, all else being equal.
Are there situations where I shouldn't build to the bare minimum specification?
Yes - a highly visible street-facing wall, a site with known problem soil, or a wall that will be difficult to access again once other landscaping is built around it are all situations worth spending a bit more on, since the cost of getting it wrong is higher than in a straightforward, low-visibility application.
Leave a comment (all fields required)