








Backyard Retaining Wall Ideas: Before You Build, Check This
Quick Answer: Before building any of the backyard ideas covered in this cluster, three things are worth checking: council rules for your wall's height and position, drainage design behind the wall, and the hardware holding the whole system together. None of these are as visible as the finish you choose, but they're what determines whether the finished wall actually performs the way it's meant to.
Why this Checklist Matters More than the Finish
Across this ideas series, we've covered small walls, driveway walls, sloped blocks and feature finishes - all the decisions that shape how a backyard retaining wall looks and where it goes. This closing guide steps back from those specific applications to cover the three things that apply to every single one of them, regardless of size, finish or location on the property: council compliance, drainage, and hardware.
It's worth being upfront about why these three get their own guide rather than being folded into each individual idea. A finish decision is largely reversible - if a colour or texture doesn't work, it's a cosmetic issue. A council, drainage or hardware mistake is a different category of problem entirely, since it can mean a wall that doesn't perform as intended, needs to be partially rebuilt, or runs into compliance issues after the fact. Getting these three right before committing to a design is what actually protects the investment in the wall, whichever idea from this series you've chosen to build.
Check Council Rules before you Finalise a Design
Requirements vary by state, council and site, but a few factors consistently affect whether a permit or engineering certification is needed:
- Total retained height of the wall
- Proximity to a property boundary
- Whether the wall supports a structure, driveway or pool
- Whether the site carries any easement or heritage overlay restrictions
- Whether the wall is part of a larger development application, rather than a standalone landscaping project
Rather than guessing based on general rules of thumb, check your specific requirements directly. Our regulations and compliance hub is a useful starting point before finalising any backyard wall design.
A practical point worth adding here: council requirements aren't always obvious from a wall's finished appearance. Two backyard walls that look identical in height and finish can sit in completely different regulatory positions depending on their proximity to a boundary, whether one of them retains soil supporting a pool, or whether a heritage overlay applies to one property and not the other. This is why a generic rule of thumb - "walls under 600mm never need approval," for example - isn't reliable on its own, and why checking your specific council and site conditions is worth the small amount of time it takes, even for a wall that looks straightforward.
Design the Drainage Before the Wall Goes up
Drainage isn't an optional extra added after the wall is built - it needs to be planned alongside the wall itself. Hydrostatic pressure from trapped water behind a wall is one of the most common causes of retaining wall problems in Australia, regardless of finish or post type.
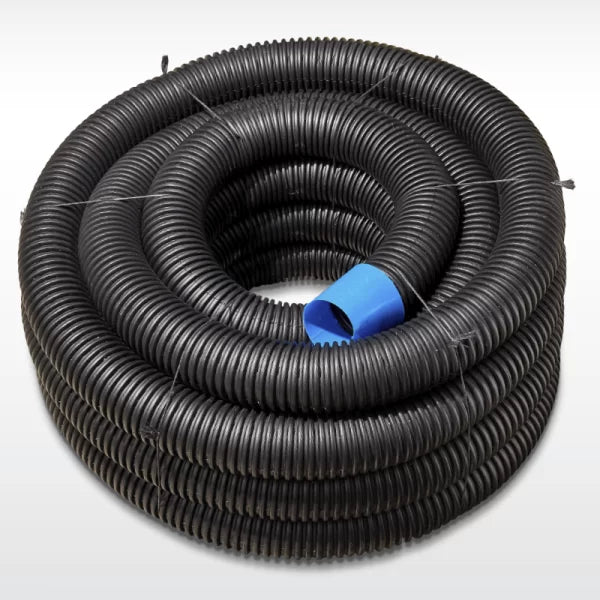
- Slotted ag pipe at footing level, laid to fall to a legal discharge point
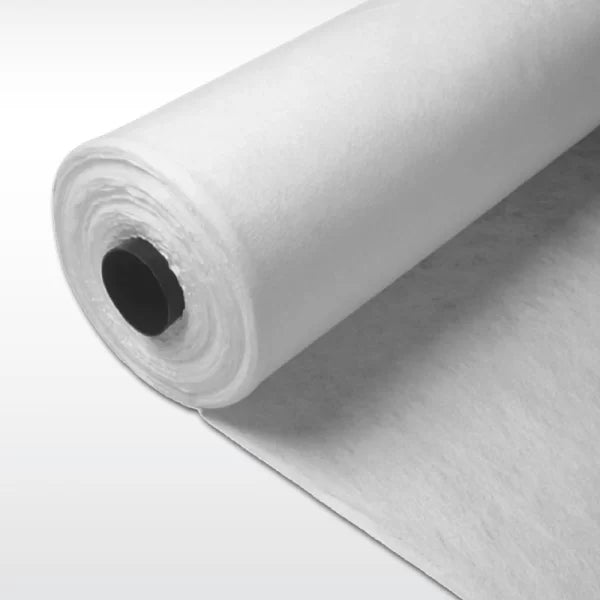
- Geotextile fabric separating drainage aggregate from the retained soil
- A free-draining aggregate zone behind the wall face
- Weep holes at the base for emergency pressure relief
For the full installation sequence, see our retaining wall drainage guide.
It's worth understanding why drainage gets planned before construction rather than added afterward. Each of the four components above needs to be installed in a specific sequence, behind the sleepers, before the wall face is closed up. Once a wall is built and backfilled, there's no practical way to add ag pipe or a drainage aggregate zone without significant demolition. This is very different from a finish decision, which can sometimes still be adjusted or added to after a wall exists - drainage genuinely has to be right the first time, which is exactly why it belongs on a pre-build checklist rather than a "nice to have later" list.
The Hardware that Holds the System Together
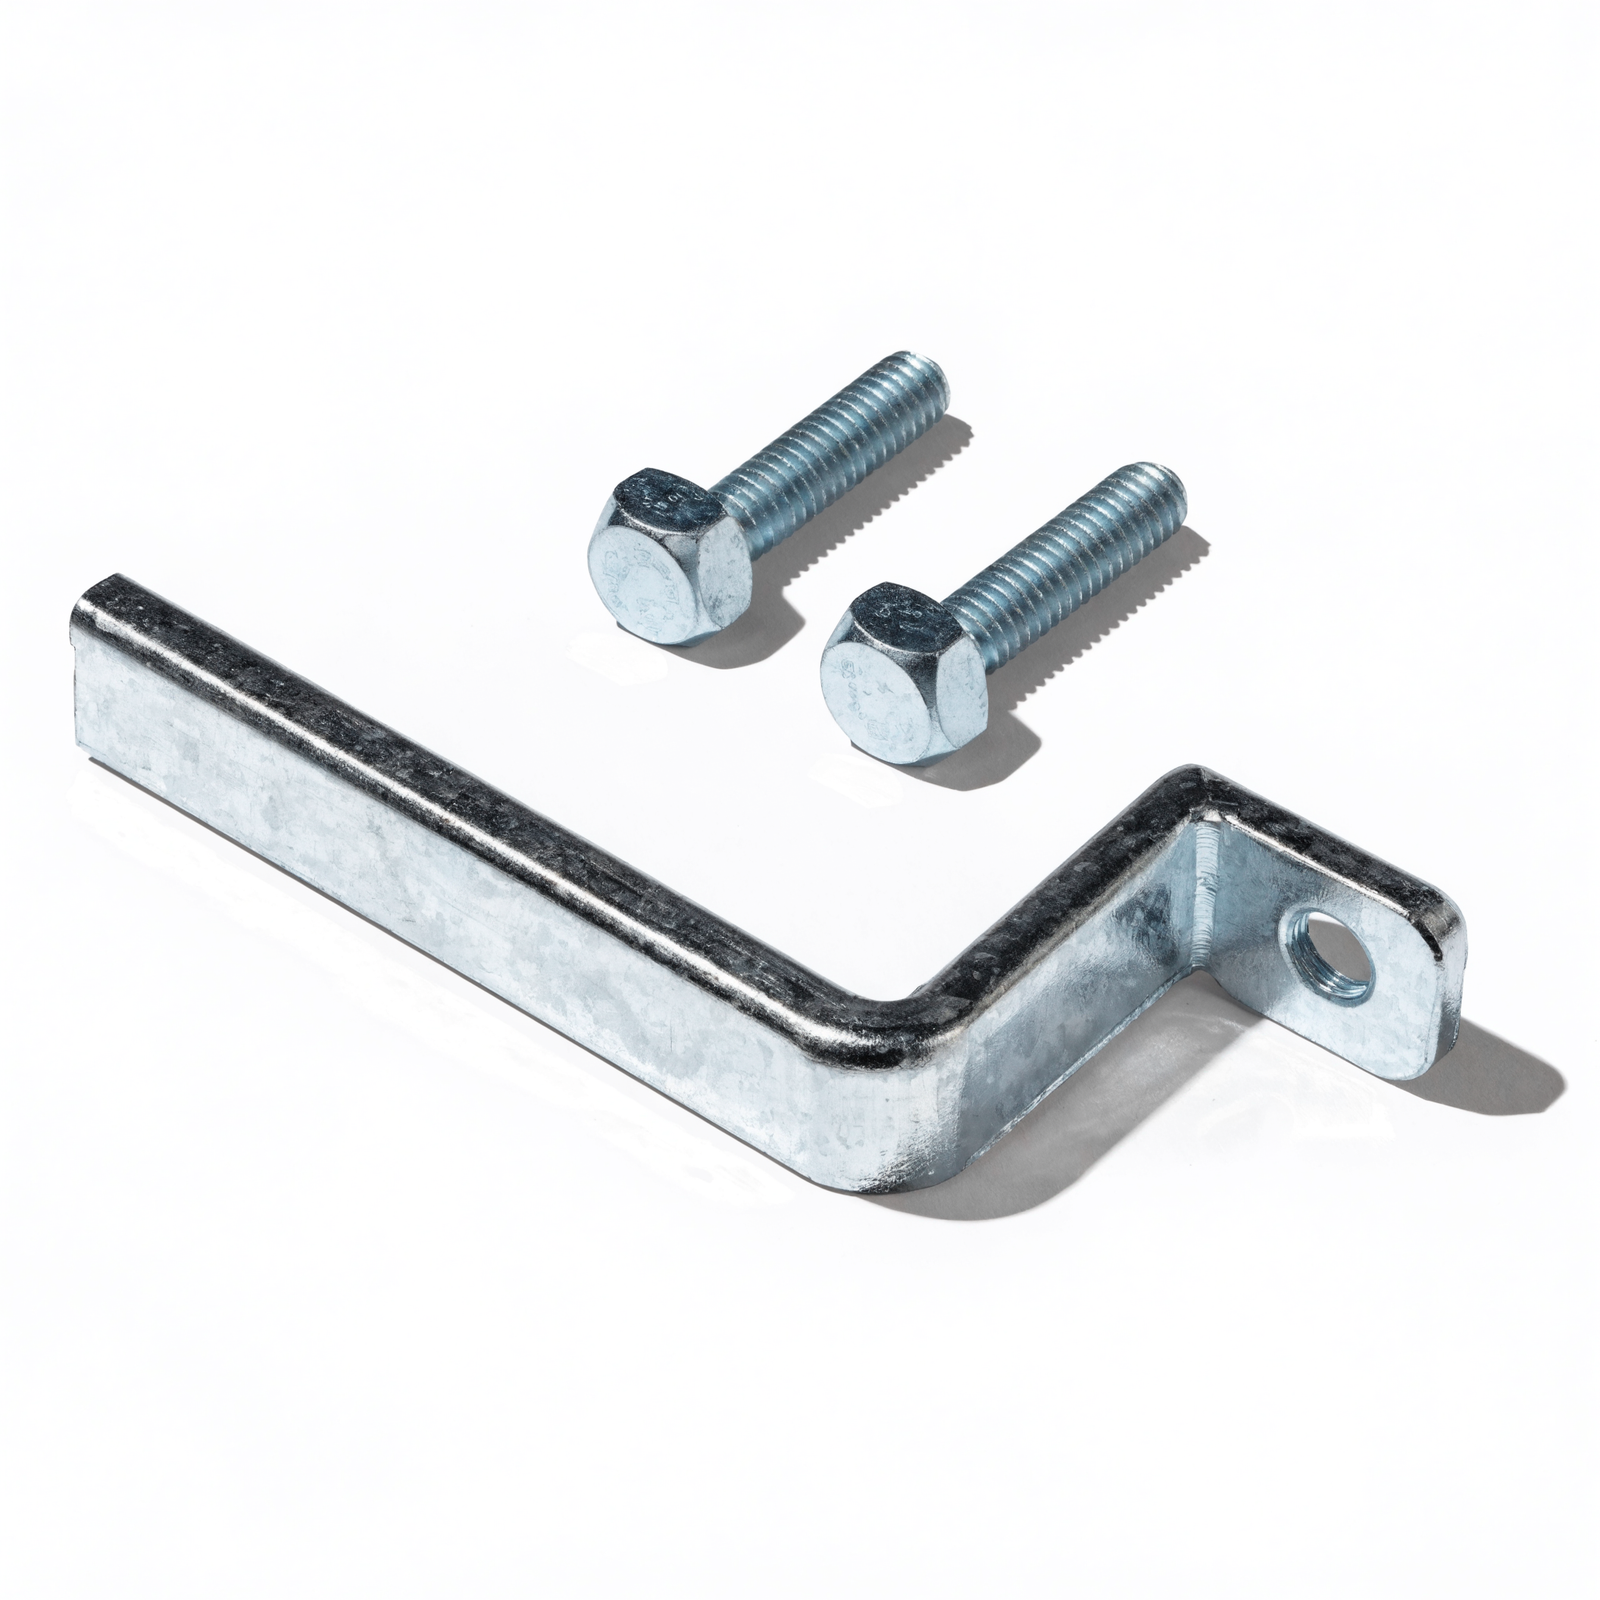
Sleepers and posts get most of the attention in backyard wall ideas, but the brackets, cleats and fixings holding the system together are just as important to the wall's long-term performance. Galvanised hardware, correctly specified and installed, protects the connection points between posts and sleepers from corrosion over the wall's working life.
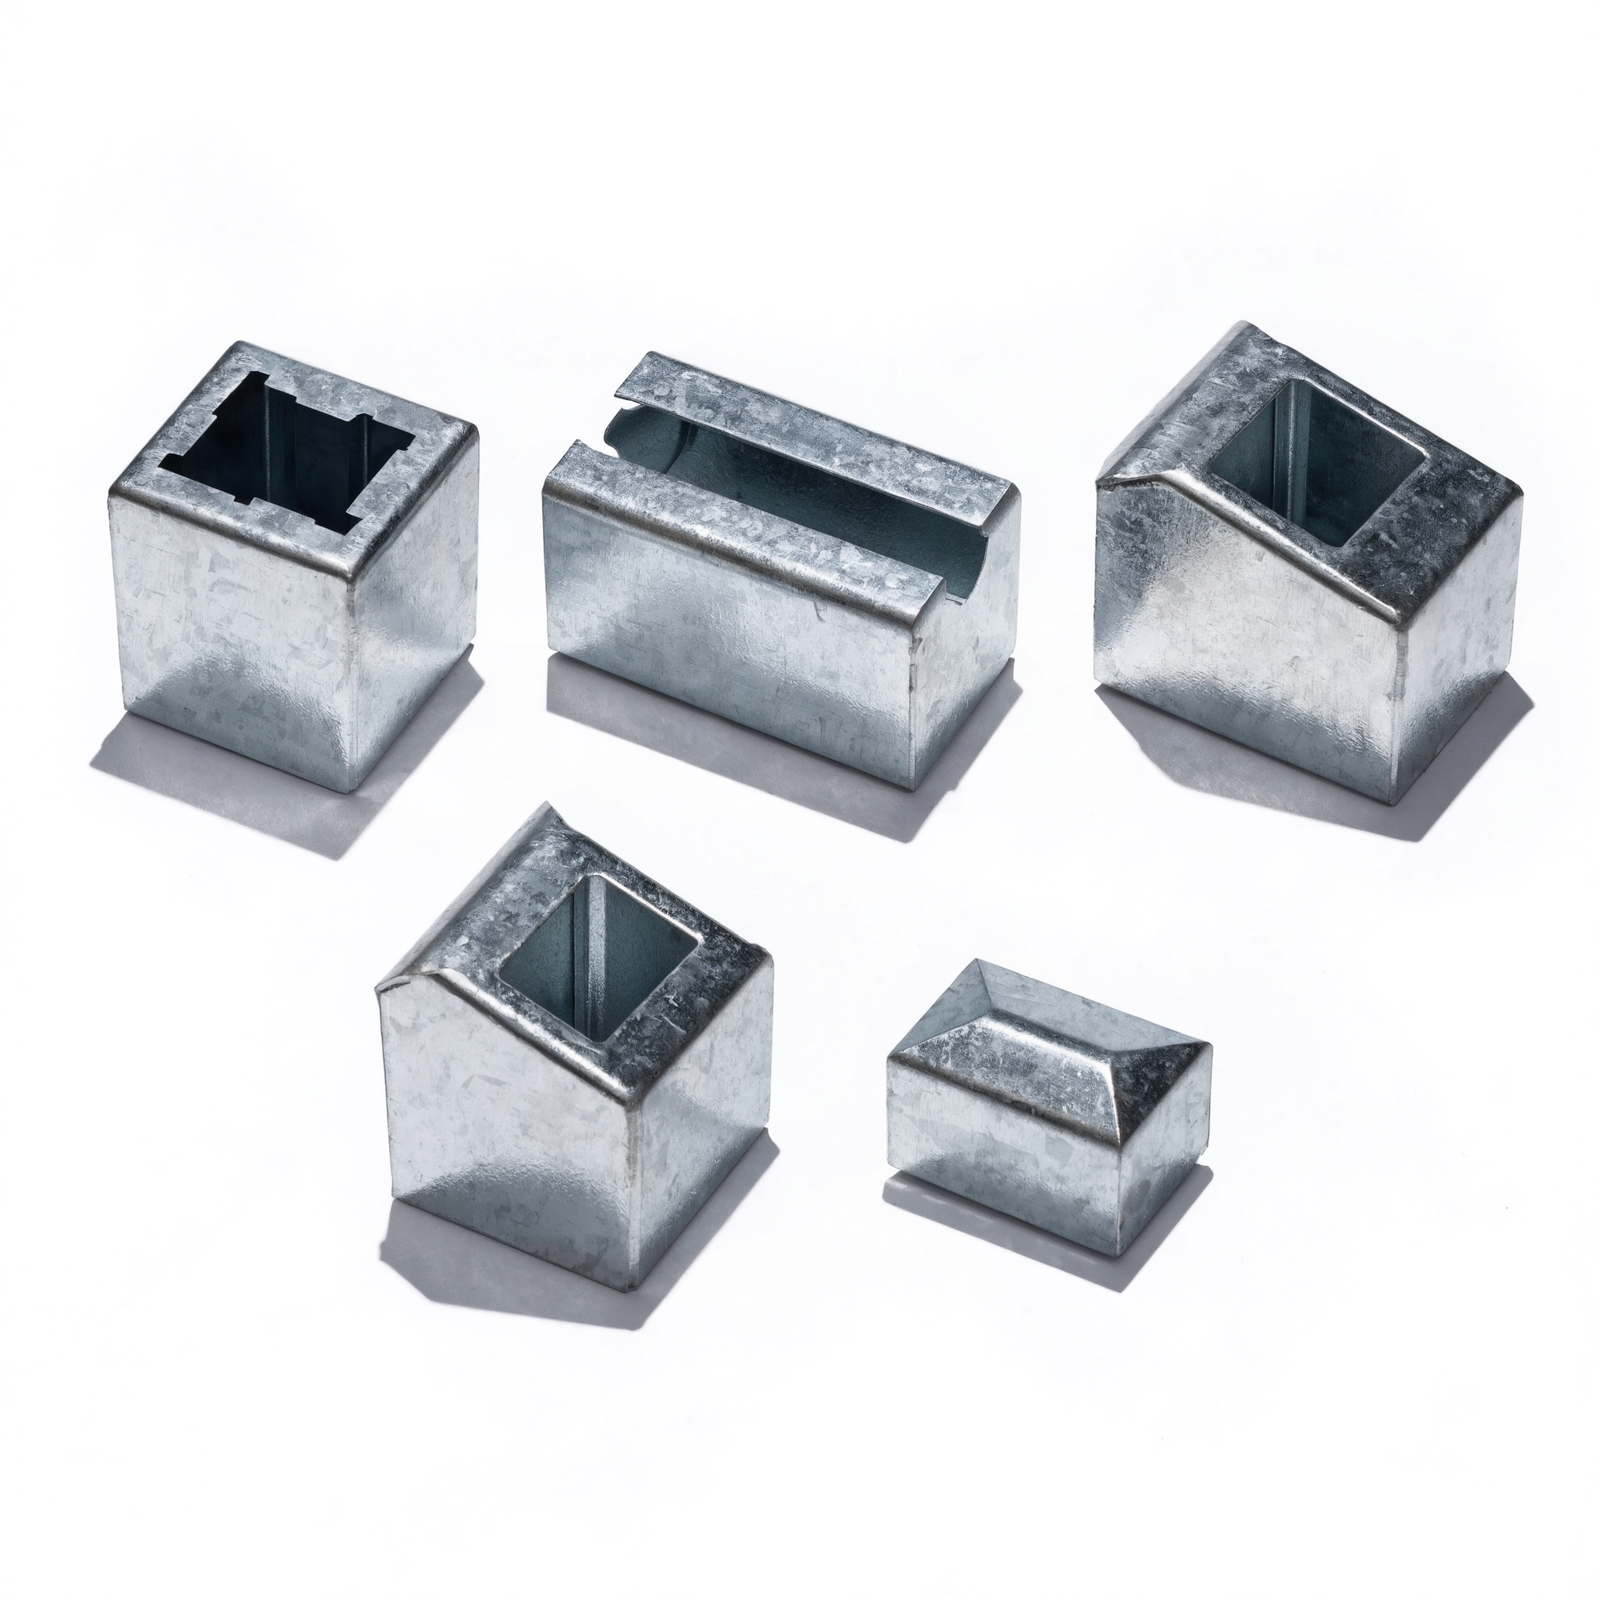
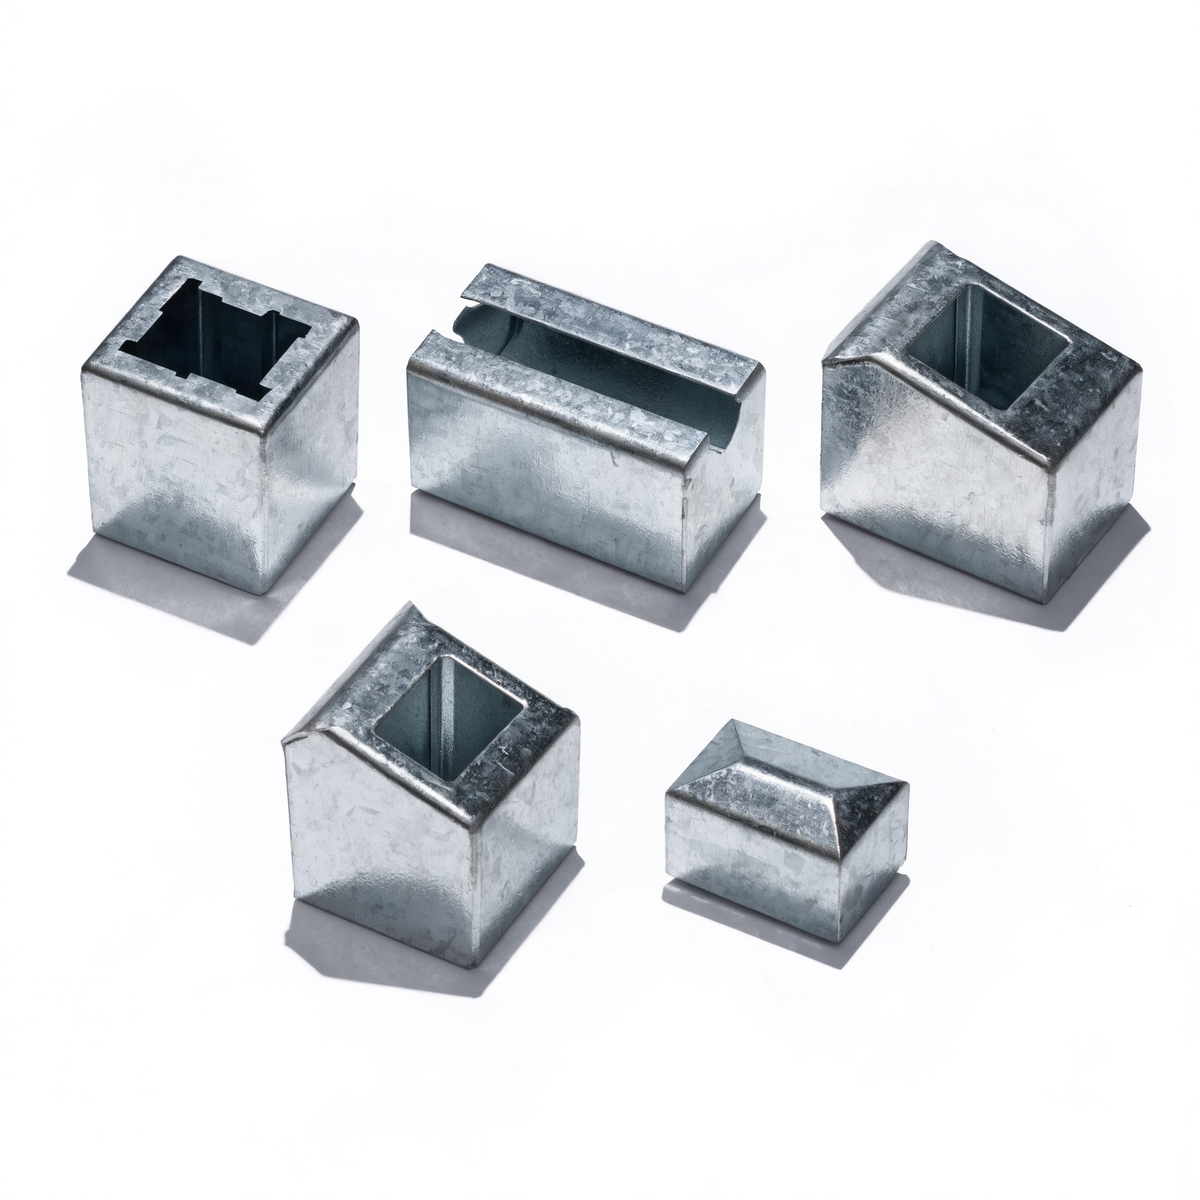
- Post caps and cleats that match the post series being used
- Correct fixings at corners, joins and end posts
- Hot-dip galvanised hardware throughout, matching the galvanising specification of the posts themselves
- Fixings sized correctly for the sleeper thickness and post profile, rather than a generic bolt or screw substituted because it happened to be on hand
The connection points between posts and sleepers are where a retaining wall system experiences some of its highest localised stress, since this is where the load from the retained soil is transferred from the sleeper face into the structural post. Under-specified or mismatched hardware at these points doesn't just risk cosmetic corrosion over time - it can allow small amounts of movement to develop between components, which compounds over years into visible misalignment or gaps between sleepers. This is part of why hardware, despite being one of the least visually prominent parts of a retaining wall, sits alongside council compliance and drainage as one of the three fundamentals worth confirming before finishing the design.
A Note on PVC and Off-System Alternatives
Some retaining wall products on the market use PVC or other proprietary sleeper-style systems as an alternative to concrete and steel. These can suit specific low-load applications, but they generally aren't designed to integrate with a concrete sleeper and galvanised steel post system, and their long-term structural performance under retained soil load varies significantly by manufacturer. If you're comparing options, check compatibility and rated load capacity carefully rather than assuming any sleeper-shaped product is interchangeable with a concrete and steel system.
A few things worth clarifying if a PVC or proprietary system is being considered alongside a concrete sleeper build for the same backyard project:
- Confirm the manufacturer's rated retained height and load capacity directly, rather than assuming it matches a concrete sleeper system of a similar visual size
- Check whether the manufacturer specifies its own drainage requirements, since these may differ from the ag pipe, aggregate and geotextile sequence used for a concrete sleeper wall
- Avoid mixing systems within a single continuous wall run - a concrete sleeper section transitioning directly into a PVC or proprietary section on the same wall line is generally not a supported configuration by either manufacturer
- Ask specifically about UV stability and expected service life if the product will be in direct sun for extended periods, since this varies more between manufacturers of PVC-style systems than it does across concrete sleeper products
Bringing the Ideas Series Together
If you've read through the earlier guides in this series - small walls under 600mm, driveway and sloped block walls, and creative stone and feature finishes - the checklist in this guide is what ties all three back together. A small garden wall, a driveway wall carrying vehicle surcharge, and a feature wall finished in Sandstone Block or Rock Face are all, structurally, the same underlying system: galvanised steel posts, concrete sleepers, and a drainage zone behind the face.
The differences between those projects come down to scale, load and appearance - not to whether council checks, drainage design or hardware specification matter. Every one of those ideas still needs the same three fundamentals confirmed before the design is locked in. Thinking of council compliance, drainage and hardware as a shared foundation underneath every backyard wall idea, rather than a separate checklist for each individual project type, is the simplest way to make sure nothing gets missed regardless of which idea from this series you end up building.
A Simple Pre-Build Checklist
Before finalising any backyard retaining wall design covered in this series, it's worth running through a short checklist:
- Have you confirmed your specific council's requirements for the wall's height, position and purpose, rather than relying on a general rule of thumb
- Does your drainage plan include all four components - ag pipe, geotextile fabric, drainage aggregate and weep holes - sequenced correctly before the sleepers go in
- Have you confirmed the correct hardware specification for your post series, including post caps, cleats and fixings, rather than substituting generic fittings
- If you're comparing a concrete sleeper system against a PVC or proprietary alternative, have you checked the manufacturer's specific load rating and drainage requirements rather than assuming equivalence
- Have you finalised your finish and layout only after confirming the above, rather than before
Working through this list before committing to materials is the single most effective way to avoid the most common and most costly mistakes across every idea in this series.
Who Should be Involved Before you Build
Depending on the scale and complexity of a backyard project, the fundamentals covered in this guide might be confirmed by a single supplier conversation, or might involve several different people. It's worth knowing roughly who to talk to for each piece:
- Your local council - for permit thresholds, boundary setback requirements, and whether your specific site carries any overlay or easement restrictions. Many councils publish this information directly, and our regulations hub is a starting point for finding the right local contact.
- A structural engineer - for any wall approaching or exceeding your council's permit threshold, for driveway walls carrying vehicle surcharge, or for any site with known reactive clay or unstable soil. An engineer's sign-off is also often a prerequisite for council approval once a wall crosses certain height or load thresholds.
- Your materials supplier - for confirming post series, sleeper strength, spacing and hardware specification for your particular wall height, soil type and application, and for sourcing correctly rated drainage components.
- A landscaper or builder - if the project is being installed by a trade rather than as a DIY build, for sequencing drainage installation correctly alongside the post and sleeper build.
For a straightforward small garden wall under the local permit threshold, this might be as simple as a single conversation with a supplier to confirm post and sleeper sizing. For a taller wall, a driveway wall, or a wall on a known problem soil type, involving an engineer early - before materials are ordered - avoids the far more expensive scenario of reworking a design after council raises a query or an engineer flags an issue partway through a project.
What Happens if the Fundamentals are Skipped
It's worth being specific about what actually goes wrong when council checks, drainage or hardware are treated as an afterthought, rather than leaving it as an abstract warning.
- Skipped council checks can result in a wall that needs to be modified or, in some cases, partially removed to bring it into compliance, along with the direct cost and disruption of redoing completed work. It can also complicate a future property sale, where an unapproved structure needs to be disclosed or resolved before settlement.
- Skipped or inadequate drainage tends to show up gradually rather than immediately - a wall might perform fine through its first few dry seasons before hydrostatic pressure from saturated soil eventually pushes sleepers out of alignment, at which point the only real fix is demolishing and rebuilding the affected section with correct drainage included.
- Under-specified hardware often shows the least obvious warning signs of the three, since corrosion or minor movement at connection points can develop out of sight behind the sleeper face for years before it becomes visible as misalignment or gaps in the wall.
In each case, the cost of fixing the problem after the fact is significantly higher than the cost of getting it right during planning - which is really the core argument for treating this checklist as a genuine first step, rather than a set of boxes to tick once the design is already decided.
Common Mistake: Finalising the Look before Confirming the Basics
It's easy to spend most of the planning process choosing a finish and layout, then treat council rules, drainage and hardware as a final checklist item to tick off quickly. In practice, these three things determine whether the wall actually holds up - literally - so they're worth confirming early, before a finish or layout decision becomes difficult to change.
Browse the Range
Once the fundamentals are confirmed, our hardware range covers the brackets, cleats and fixings discussed above, alongside the concrete sleeper range for the finishes covered throughout this series.
This closes out our retaining wall ideas series - if you'd like to revisit the full list of ideas, head back to our main retaining wall ideas guide.
FAQs
What should I check before starting a backyard retaining wall project?
Council requirements for your specific height and site, a proper drainage design behind the wall, and correct galvanised hardware for the post and sleeper system you're using. These matter more to long-term performance than the finish you eventually choose.
Is PVC a good alternative to concrete sleepers and steel posts?
It depends on the application. PVC and similar proprietary systems can suit specific low-load uses, but they aren't generally designed to integrate with a concrete sleeper and galvanised steel post system, and load capacity varies by manufacturer. Check compatibility and rated capacity carefully before assuming it's interchangeable.
Why does hardware matter as much as the sleepers and posts?
Brackets, cleats and fixings are the connection points holding the whole system together. Correctly specified, galvanised hardware protects those connection points from corrosion over the wall's working life - a weak point here can undermine an otherwise well-built wall.
Do all backyard retaining wall ideas need council approval?
No - it depends on height, boundary proximity and what the wall supports, rather than the idea or finish itself. Low garden walls are less likely to trigger requirements than taller walls or those supporting driveways, pools or structures. Always confirm with your local council.
Can drainage be added to a backyard retaining wall after it's built?
Not easily. Drainage components need to be installed behind the sleepers before the wall face is closed up, and retrofitting them into a completed wall typically requires significant demolition. This is why drainage needs to be planned alongside the wall design, not added afterward.
Do the same council, drainage and hardware checks apply to every wall idea in this series?
Yes. Whether it's a small garden wall, a driveway wall, or a feature-finished wall, all of them share the same underlying post, sleeper and drainage system, so council compliance, correct drainage and proper hardware specification apply regardless of the wall's size, finish or location on the property.
Who should I talk to before starting a backyard retaining wall project?
At minimum, your local council for permit requirements and a materials supplier for correct post, sleeper and hardware specification. For taller walls, driveway walls, or sites with known problem soil, involve a structural engineer early, before materials are ordered, rather than after a query is raised.
Leave a comment (all fields required)