










How to Cut and Install Treated Pine Sleepers
Quick answer
Measure and mark carefully, cut with a sharp blade and PPE on, then fix into steel post channels or directly to the ground depending on your wall design.
- Cutting: a circular saw with a sharp carbide blade handles most jobs; wear a mask for the dust.
- Fixing to posts: steel C-channel posts hold sleepers without extra fixings on most walls; galvanised screws add security on taller builds.
- Offcuts: treated pine offcuts go to general waste or a transfer station — never burn them.
Shop treated pine sleepers before you start cutting to length.

Cutting and fixing sleepers is the hands-on part of any timber retaining wall or garden bed build. Get the measuring and cutting right, and the rest of the job goes together cleanly. Rush it, and you'll spend the next few courses compensating for a sleeper that's a few millimetres short. This guide covers the practical side — tools, technique, and how sleepers actually get fixed into place, whether that's a steel post channel or directly to the ground.
Tools you need
Most of this list is standard trade or serious-DIY kit — nothing specialist is required to cut and install treated pine sleepers.
- Circular saw with a sharp carbide-tipped blade — the main cutting tool for straight, clean cuts through a 75mm or 100mm sleeper.
- Handsaw — useful as a backup or for finishing a cut a circular saw's depth can't fully complete in one pass on the thicker profile.
- Tape measure and square — for accurate marking and to keep cuts at true 90 degrees.
- Pencil or timber marking crayon — a standard pencil often doesn't show clearly enough on treated timber's textured surface.
- Drill/driver with a selection of bits — for pilot holes and driving fixing screws.
- Spirit level — to check each sleeper is level before and after fixing.
- Clamps or a second pair of hands — to hold a sleeper steady while cutting, particularly on longer lengths.
- PPE — safety glasses, a P2 dust mask, hearing protection if using a power saw for an extended period, and gloves for handling.
If you're fixing sleepers to steel posts, you'll also need the appropriate galvanised fixings for your post profile — check what your specific post system is designed to take before buying screws or bolts, since different post channel widths and steel thicknesses call for different fixing types.
Blade choice for treated pine
Not all circular saw blades cut treated pine equally well. A general-purpose carbide-tipped blade with a moderate tooth count handles most sleeper cutting comfortably — too few teeth and the cut is rougher with more splintering, too many teeth (aimed at fine finish cuts in dressed timber) can clog faster in treated pine's denser, sometimes slightly resinous grain. If you're doing a large job with many cuts, having a spare blade on hand isn't excessive — a blade that's cut through a dozen or more sleepers will be noticeably less sharp than a fresh one, and a dull blade is both slower and less safe to work with.
Measuring and marking
Accurate measuring is the step that determines whether the rest of the build goes smoothly. A few practical habits make a real difference:
- Measure the actual gap, not the plan. Post spacing on site rarely matches the plan to the millimetre — measure the real distance between posts before cutting, not the number from your layout drawing.
- Account for the post channel depth. If sleepers slide into a steel post channel, the sleeper needs to be slightly shorter than the outside-to-outside post measurement, since part of each end sits inside the channel.
- Mark with a square line, not a dot. A full line across the face and both edges of the sleeper, using a square, gives you a clear, continuous line to follow when cutting — a single mark on one face is easy to cut out of square.
- Double-check before cutting. Measure twice, especially on the first sleeper of a run, since an error here repeats itself down the whole wall if you're using it as a reference length for the rest.
- Label cut pieces if batch-cutting. If you're cutting several sleepers to different lengths for one wall, mark each one clearly as you go — mixing up pre-cut lengths on site wastes time re-measuring pieces that were already correct.
For help working out exact sleeper lengths and counts for your wall layout in the first place, see our how to calculate sleepers and posts guide.
Dealing with variation along a wall run
It's rare for every post gap along a wall to measure exactly the same, even when posts were set to a consistent design spacing. Minor variations of a few millimetres are normal and expected from on-site conditions. Measure and cut each sleeper individually to its own gap rather than cutting a full batch to one length and assuming they'll all fit — a batch-cut approach works fine for garden edging where a small gap or overhang isn't critical, but for a retaining wall sliding into post channels, a sleeper cut a few millimetres long simply won't fit, and one cut short leaves a visible gap at the post.
Cutting to length safely
Treated pine cuts easily with standard tools, but a few points are worth following for a clean, safe cut:
- Support the sleeper properly. Rest it on sawhorses or blocks so the offcut end is free to drop away from the blade as you finish the cut, rather than pinching the blade partway through.
- Use a sharp blade. A blunt blade burns the timber, wanders off the line, and puts more strain on the saw motor — worth checking blade condition before starting a multi-cut job.
- Cut on the waste side of the line. Keep your marked line as the finished edge, cutting just outside it on the offcut side, so the final length is accurate to the mark rather than short by a blade-width.
- Let the saw reach full speed before contact. Starting the cut with the blade already spinning gives a cleaner entry than pushing into stationary timber.
- For 100mm sleepers, check your saw's cutting depth. Some circular saws won't cut fully through a 100mm-thick sleeper in one pass — you may need to flip the sleeper and complete the cut from the other face, using your marked line on both sides as a guide.
- Keep the offcut supported until the cut is complete. An unsupported offcut can drop suddenly as the cut finishes, which is both a safety consideration and can cause the timber to splinter at the very end of the cut.
Wear a properly fitted dust mask throughout — treated pine sawdust shouldn't be inhaled in quantity, and cutting several sleepers in a session produces meaningfully more dust than a single cut. Cutting outdoors or in a well-ventilated space, and standing upwind of the dust cloud where possible, both help.
Common cutting mistakes
- Rushing the cut. Pushing the saw too fast produces a rougher edge and increases the chance of the blade wandering off the line, particularly through the denser sections of treated pine.
- Not supporting the offcut. An unsupported offcut can pinch the blade or drop unpredictably right at the end of the cut.
- Cutting on the wrong side of the line. Cutting through the middle of the marked line, rather than on the waste side, leaves the finished sleeper a blade-width short of the intended measurement — small on one sleeper, but it compounds if you're batch-cutting to the same reference mark.
- Skipping PPE for a "quick" cut. A single cut still produces a burst of fine dust — it's worth keeping the mask on even for jobs that feel too small to bother.
None of these are complicated to avoid, but they're the most common reasons a first-time sleeper cutter ends up with a wall that doesn't sit quite right, or a day on the tools that takes longer than expected because of avoidable re-cuts.
Cutting square vs angled cuts
Most sleeper cuts are simple square (90-degree) cuts across the width. Occasionally a wall design calls for an angled cut — where a wall changes direction, or sleepers need to meet at a corner without a dedicated corner post. For angled cuts, mark the angle on both faces of the sleeper using a protractor or angle guide rather than eyeballing it, and take the cut slowly, since an angled cut through 75mm or 100mm of timber is more prone to blade wander than a straight square cut.
Fixing sleepers to steel posts
Most timber sleeper retaining walls use steel retaining wall posts with a C-channel profile, which the sleepers slide directly into course by course. This is the standard method for a reason — it's fast, doesn't rely on drilling into every sleeper, and holds the wall face flush and aligned automatically as long as the posts are set correctly and to consistent spacing.
Points worth knowing about this method:
- The channel does most of the holding. On a standard residential wall, sliding sleepers into a properly set steel channel is often sufficient without additional fixings, since the channel restrains the sleeper on both faces.
- Taller walls or higher-load sections benefit from extra fixing. Screwing or bolting through the post into the sleeper at intervals adds security, particularly for the top course or any section carrying extra load.
- Use fixings rated for the post material. Galvanised timber screws suit timber-to-timber; for fixing through steel into timber, use screws designed for that combination, typically self-tapping or self-drilling types rated for the steel thickness of your post.
- Check for a snug fit before backfilling. A sleeper that slides in loosely will move more than a snug one — if the fit feels loose, it's worth checking the post spacing and channel size match the sleeper profile you're using.
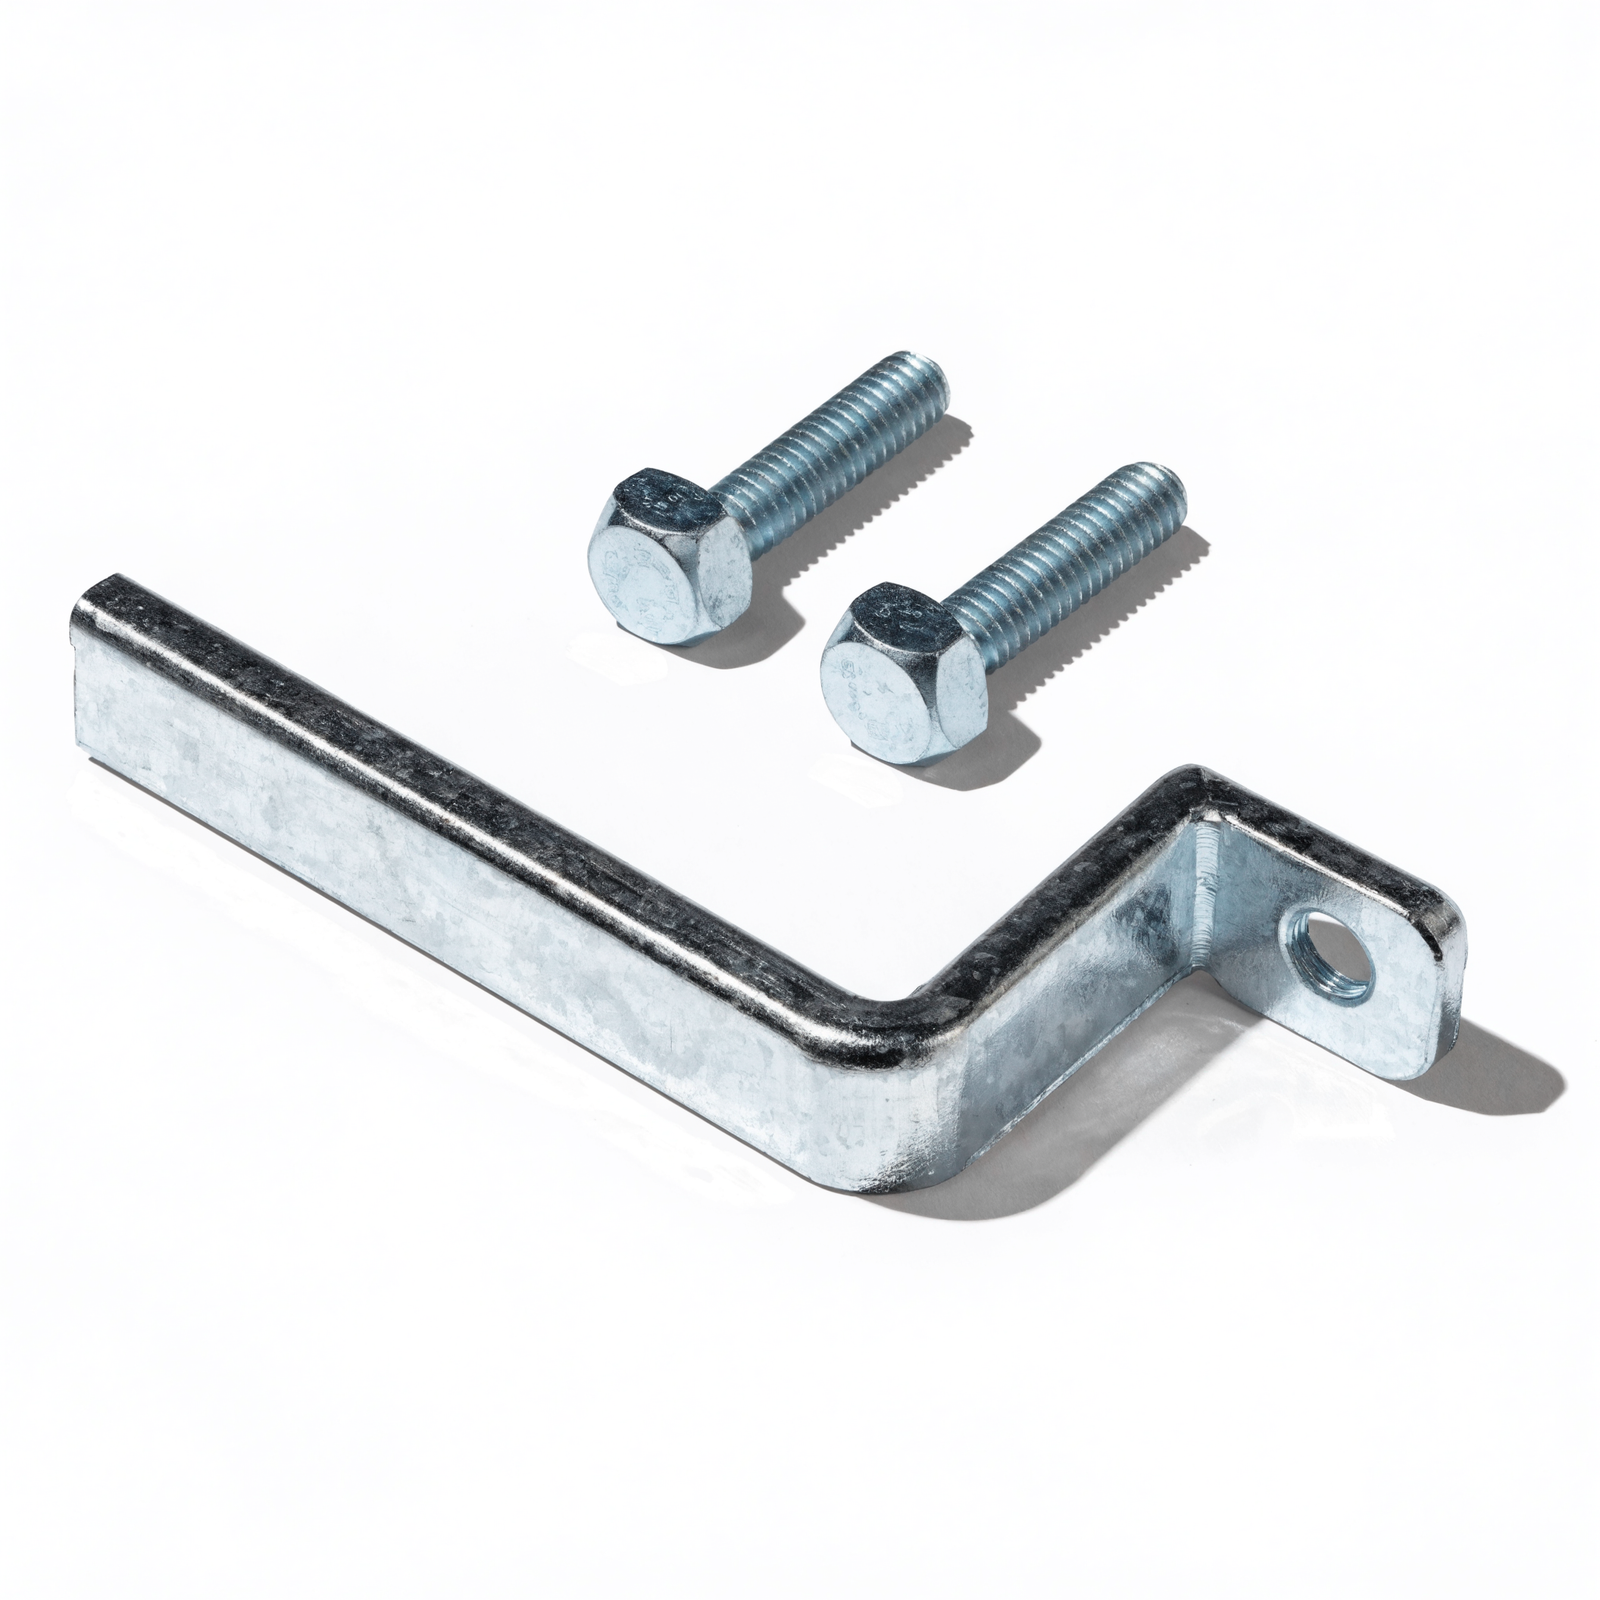
Check our brackets and fixing hardware range for the galvanised fixings that suit steel post and sleeper combinations on your build.
A note on H-beam vs C-channel posts
Post profile affects how the sleeper sits and how much fixing it needs. An H-beam post has a channel on both sides, letting two separate wall runs share a single post line — useful at corners or where walls meet. A C-channel post has a channel on one side only, which is the standard choice for a straightforward single-run wall. Confirm which profile your posts use before assuming a fixing method that suits one will suit the other, since the amount of surface contact and support differs between the two profiles.
Fixing sleepers to the ground

Not every sleeper project uses steel posts — garden beds and low edging often sit directly on or partly in the ground instead. A few common approaches:
- Surface-set with internal stakes. The bottom course sits on graded, compacted ground, held in place by short internal stakes driven at intervals — a common method for garden bed edging and very low retaining courses.
- Partially buried bottom course. The first course is set into a shallow trench, partly below ground level, which adds resistance against the sleeper shifting sideways without needing full steel posts.
- Pinned with steel stakes or rebar. Steel stakes driven through pre-drilled holes in the sleeper and into the ground below, commonly used for low garden edging where a full post system would be overkill.
These ground-fixing methods suit low, low-load applications — garden edging, single or double-course borders, raised beds. For anything approaching genuine retaining wall height and load, a proper steel post system is the standard, more reliable approach, since ground-fixed methods don't offer the same resistance to ongoing lateral soil pressure that posts and footings provide over the long term.
Preparing the ground before the first course
Whichever ground-fixing method you use, the result depends heavily on how well the ground itself is prepared. Remove turf, roots, and loose organic material from the base line before setting the first course — organic matter left underneath will compress and rot over time, letting the sleeper settle unevenly. A thin compacted layer of road base or crushed rock under the first course gives a firmer, more consistent base than bare soil, and helps the first course stay level as the ground around it settles over the following months and seasons.
Handling & disposing of treated offcuts

Treated pine offcuts need a bit more thought than untreated timber waste. A few key points to keep in mind on any job site:
- Never burn treated pine. Burning CCA or similar treated timber releases the treatment chemicals into smoke and ash, which is both a health hazard and, in most areas, restricted or prohibited under local regulations.
- Dispose of offcuts through general waste or a transfer station. Most council waste facilities accept treated timber offcuts as general waste or in a dedicated timber waste stream — check your local council's guidance, since exact handling can vary by area.
- Don't use offcuts for mulch, compost, or garden borders around edible plants. Chipping or shredding treated timber for garden use isn't recommended, since it increases surface area and the potential for treatment chemicals to contact soil and plants directly.
- Wear gloves when handling offcuts, particularly freshly cut pieces, and wash hands before eating or drinking after a cutting session.
- Sweep up sawdust rather than leaving it on garden beds or lawns, especially near vegetable patches, as a simple precaution consistent with general treated-timber handling practice.
Sensible offcut management is a small part of the job, but it's worth doing properly — the precautions are minor, and skipping them is an easy way to create an avoidable problem for later, whether that's a council fine for improper disposal or an unnecessary chemical exposure risk.
Cleaning up the site
Once cutting and fixing is finished, a quick site clean-up is worth the extra ten minutes. Sweep or blow sawdust away from garden beds, lawn areas, and anywhere it could wash into drains during the next rain. Collect offcuts into a single pile or bin as you go, rather than leaving them scattered where they can become a trip hazard or get accidentally kicked into garden beds. A tidy finish also makes it easier to spot any tools or fixings left behind before you pack up.
Making the most of usable offcuts
Not every offcut needs to go to waste. Shorter pieces left over from cutting sleepers to length are often perfectly usable for internal garden bed stakes, corner reinforcement blocks, or packing under a low section of an uneven first course. Keeping a small pile of clean offcuts on hand through a build means fewer full-length sleepers get cut up for small jobs that a scrap piece would have handled just as well, which is a small but genuine saving across a larger project.
Ready to order? Browse our full treated pine sleepers range, or check steel retaining wall posts if you're setting up a full wall system rather than a ground-fixed border.
Leave a comment (all fields required)