










Raised Garden Beds with Timber Sleepers: Full Build Guide
Quick answer
Treated pine sleepers make a sturdy, budget-friendly raised bed — stack to your height, join corners with steel brackets or half-lap joints, and line the inside before filling with soil.
- Sizing: 200x75 sleepers suit most beds; go 200x100 for taller beds over 3–4 courses.
- Corners: steel brackets are the easiest fix for DIY; half-lap joints give a cleaner look.
- Lining: common practice for extra peace of mind, particularly for edible gardens.
Browse timber sleepers for raised garden beds to get started.

A raised garden bed is one of the simplest timber sleeper projects — no steel posts, no drainage design, no council approval to think about. Stack sleepers to your desired height, join the corners, and fill. This guide covers sizing, joining methods, lining, and the H4 treatment question that comes up for anyone growing food in a treated pine bed, plus a full materials checklist so you're not making a second trip to the hardware store mid-build.
Why treated pine sleepers
Treated pine sleepers are one of the most common materials for raised garden beds in Australia, for a few practical reasons:
- Cost. Considerably cheaper than concrete sleepers or hardwood for the same bed footprint.
- Easy to work with. Cuts, drills, and fixes with standard hand or power tools — no specialist equipment needed.
- Natural look. A warm, timber aesthetic that suits most garden styles, and greys naturally over time if left unsealed.
- In-ground rated. H4 treatment means the timber is suited to the sustained soil contact a garden bed involves, unlike untreated or above-ground-rated timber.
- Readily available in the right sizes. Standard 200x75 and 200x100 profiles suit most bed heights without custom milling.
The trade-off against concrete or hardwood is lifespan — treated pine will eventually need replacing, where concrete effectively won't. For most home gardeners, the lower upfront cost and easy DIY build make treated pine the practical choice for a garden bed, even knowing it's not a permanent structure in the way a poured concrete edge would be.
How a garden bed differs from a retaining wall project
If you've read our retaining wall build guides, a garden bed will feel noticeably simpler. There's no steel post system to set and cure, no engineered footing depth to calculate, and typically no council approval to check, since a freestanding garden bed isn't holding back an excavated slope. That makes it a good entry project if you're new to working with treated pine sleepers and want to build confidence with the material before tackling a full retaining wall.
Planning bed size and height
Before buying sleepers, settle on three numbers: length, width, and height.
- Width — keep it to around 1.2m or less if you'll access the bed from both sides, or around 800mm–1m if only from one side. Any wider and the middle becomes hard to reach without stepping into the bed.
- Length — largely a matter of preference and available space, though very long single beds can make crop rotation and access awkward. Multiple shorter beds are often more practical than one long one.
- Height — typically two to four courses (roughly 400–800mm) for a standard vegetable bed. Taller beds reduce bending for maintenance but need more fill and, at the upper end, sturdier joining.
Sizing sleepers: for beds up to around three courses, 200x75 treated pine sleeper is generally sufficient, since a garden bed isn't retaining the same lateral soil pressure as a cut-into-a-slope retaining wall — it's mostly containing loose fill soil rather than resisting an ongoing structural load. For taller beds, or beds where you want extra rigidity without additional corner bracing, the 200x100 H4 sleeper gives more stiffness per course.
A note on freestanding beds vs retaining walls
It's worth understanding the structural difference between a garden bed and a retaining wall, even though both use the same sleepers. A retaining wall holds back soil on one side only, cut into a slope, with soil pressure pushing constantly against it. A raised garden bed is usually freestanding — soil on the inside, open ground (or a path) on the outside, with no ongoing lateral pressure from an excavated slope. That's why garden beds generally don't need the steel post system a retaining wall relies on; the corner joints and the timber's own rigidity are usually enough to hold the shape.
Working out how many sleepers you need
Once you've settled on length, width and height, working out sleeper count is straightforward. Measure the total perimeter of the bed, then divide by your chosen sleeper length to find how many lengths one course needs — allowing for corner overlaps depending on your joining method. Multiply that by the number of courses for your total sleeper count. For example, a 2m x 1m bed built four courses high, using 2.4m sleepers, needs roughly two lengths per course (one 2m side plus one 1m side, cut from a 2.4m length with some waste, or ordered to suit if custom lengths are available) — multiplied by four courses for a rough total, plus a spare length or two to allow for cutting waste and any mistakes along the way.
It's generally worth ordering slightly more than the bare calculated minimum. Offcuts are useful for internal stakes or corner reinforcement, and having a spare length on hand avoids a second trip if a cut goes wrong or a sleeper has a defect you'd rather not use in the finished bed.
Corner joins and fixings

How you join the corners is the main structural decision in a garden bed build. A few common methods, from simplest to most involved:
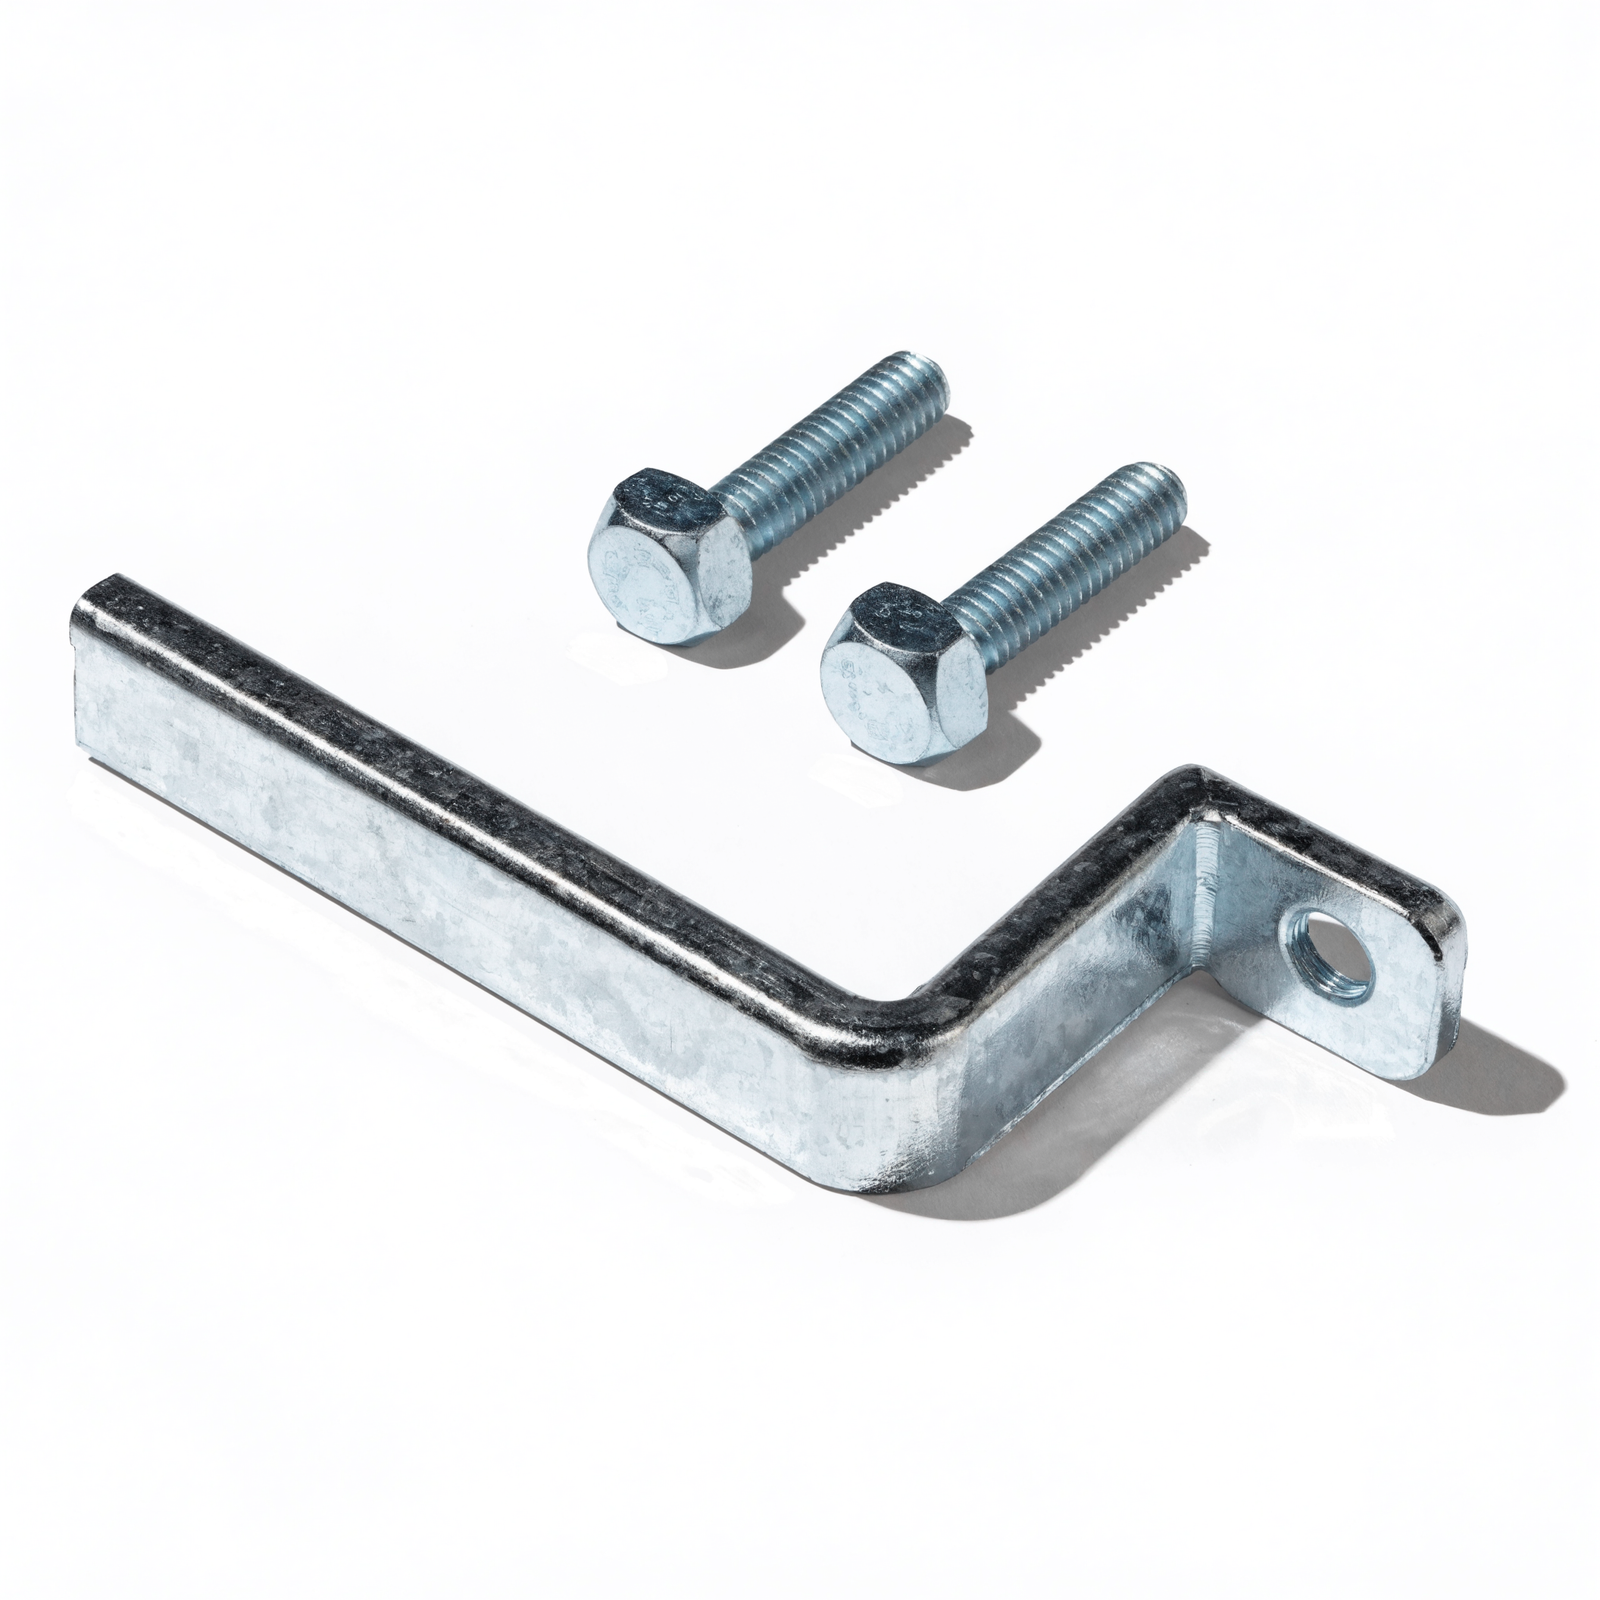
- Steel corner brackets. The easiest DIY method — screw a galvanised bracket into each corner, course by course. No cutting joints, minimal tools, and easy to disassemble later if needed.
- Internal stakes or posts. A short length of timber or steel driven into the ground at each corner, with sleepers screwed to it from each side. Gives a clean external look since no bracket is visible.
- Half-lap or notched joints. Cutting a notch in each sleeper so they interlock at the corner, similar to log-cabin construction. Cleanest finished look, but takes more time and a more precise cut.
- Butt joints with long screws or coach bolts. Simplest of all — sleepers meet end-to-end and are screwed or bolted through. Works for lower beds but is the least rigid method for taller stacks.
For a first-time DIY build, steel corner brackets are the most forgiving option — fast, strong enough for a garden bed's loads, and easy to adjust if a course isn't perfectly square before the next one goes on.
Fixing sleepers between corners
Beyond the corners, longer bed walls benefit from a fixing partway along each course too, particularly at the taller end of the height range. A short internal stake screwed to the mid-point of a long sleeper run stops it bowing outward under the weight of wet, settled soil — a small addition that noticeably improves how square the bed stays over its first year of use.
Use galvanised or stainless fixings throughout. Standard untreated screws will corrode quickly against damp, treated timber, and a rusted fixing failing a few years in is a common and avoidable cause of a bed coming apart at the corners.
Getting the first course square
The single most important step in the whole build is getting the first course level and square, since every course after it follows the same lines. Before fixing anything, lay the first course loosely in position and check both diagonals across the rectangle with a tape measure — if the two diagonal measurements match, the corners are square. If they don't, nudge the frame until they do, then check level along each side before driving any fixings. A first course that's slightly out of square is far easier to correct at this stage than after three more courses have gone on top of it.
Lining the bed

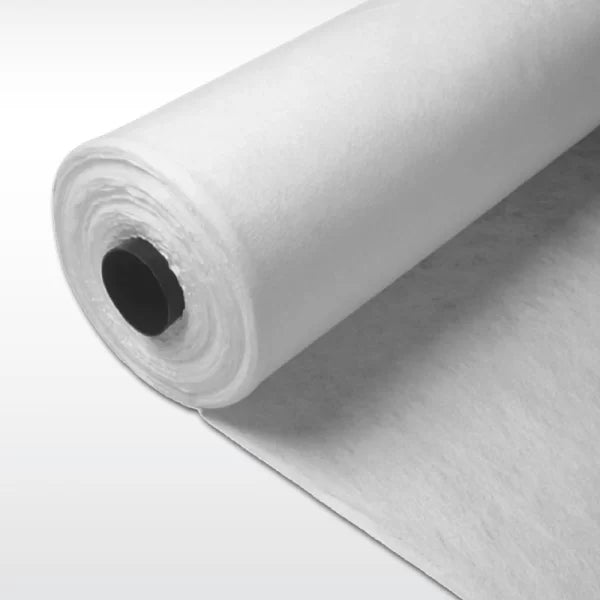
Lining the inside face of the timber with a barrier — commonly heavy-duty builder's plastic, pond liner, or a similar polythene sheet — is common practice for raised garden beds, particularly food-growing ones. It serves two purposes:
- Moisture separation between the damp soil and the timber, which can help extend how long the sleepers hold their shape before showing wear.
- An extra physical barrier between the treated timber and the soil mix, which some gardeners prefer as a precaution, particularly for edible gardens.
Lining is straightforward: staple or fix the liner to the inside face of the sleepers before filling, leaving the base open (or perforated) so the bed still drains properly. A lined bed that can't drain will waterlog and cause more problems for plants than an unlined one, so don't seal the base — line the walls, not the floor.
Lining isn't compulsory, and plenty of treated pine garden beds are built and planted without it. It's a reasonable extra step for anyone who wants additional peace of mind, at a low material cost relative to the rest of the build.
Choosing a liner material
If you do decide to line, a few common options each have trade-offs. Heavy-duty builder's plastic (generally 200 micron or thicker) is inexpensive and widely available, but can tear over time if punctured by roots or garden tools. Pond liner is more durable and UV-stable, at a higher cost, and is a common choice for beds expected to last many years. Whichever you use, avoid stapling it so tightly that it prevents any drainage at the base, and trim any excess neatly at the top edge so it isn't visible once the bed is filled and planted.
Is treated pine safe for veggie beds

This is the most common question we're asked about timber garden beds, and it's worth answering directly. H4-rated treated pine is the standard, widely used timber for in-ground landscaping and garden bed construction in Australia, including for vegetable and edible gardens. The treatment is designed to protect the timber itself from rot and termite damage — it isn't designed to leach into the soil in normal use.
That said, some gardeners prefer to take extra precautions when growing edible crops close to any treated timber, out of an abundance of caution rather than a specific documented risk:
- Line the bed with a barrier between the timber and the soil mix, as covered above.
- Leave a small planting buffer — a few centimetres — between root vegetables and the timber edge itself, rather than planting directly against it.
- Avoid cutting or sanding treated timber inside the bed after it's built and planted, since this creates fine dust from the treated surface.
These are precautionary steps rather than requirements — H4 treated pine is broadly considered a standard, appropriate material for garden bed construction. If you'd prefer to avoid treated timber altogether for personal peace of mind, that's a valid choice too, though it usually means a higher-cost alternative like concrete sleepers, naturally durable hardwood, or a fully lined bed. For more detail on how treated pine holds up over time and what affects its lifespan, see our H4 treatment and veggie bed safety guide.
What the H4 rating actually covers
It helps to understand what H4 treatment is designed to do. The hazard rating system classifies timber by the level of biological exposure it's built to withstand — H4 specifically covers in-ground and other high-moisture contact, protecting the timber against termites and fungal decay in exactly the conditions a garden bed creates. It's a durability rating for the timber itself, not a food-contact or ingestion standard, which is part of why some gardeners choose the extra precautions above even though the treatment is considered appropriate for this use.
Positioning and sun access
While not a safety question, bed positioning is worth planning alongside the material decision. Most vegetable crops need at least six hours of direct sun a day, so orient the bed to avoid shading from fences, trees, or the house itself as the sun moves through the seasons — a spot that's sunny in summer can be shaded for much of winter once the sun angle drops. If you're building more than one bed, running them north-south rather than east-west generally reduces one bed shading another as the sun tracks across the sky, which matters most if space is tight and beds sit close together.
Materials checklist
- Treated pine sleepers — 200x75 or 200x100, in the length and quantity for your planned bed size and height.
- Corner fixings — galvanised steel brackets, internal stakes, or coach screws, depending on your chosen joining method.
- Galvanised or stainless screws — for fixing courses together and any mid-run stakes.
- Liner (optional) — heavy-duty builder's plastic or pond liner, if lining the bed.
- Weed matting or cardboard — a common base layer to suppress weeds growing up from underneath before filling.
- Soil and compost mix — a quality garden bed mix rather than straight garden soil, for better drainage and nutrition.
- Basic tools — saw (hand or power), drill/driver, spirit level, tape measure, and a staple gun if lining the bed.
Once you've settled on bed size and sleeper count, our full timber sleepers for raised garden beds range has both profiles in stock, ready to order to length.
Tool notes for first-time builders
None of the tools on this list are specialist. A circular saw makes straight cuts faster than a handsaw, but a sharp handsaw and a bit of patience will get the job done for a small bed. A cordless drill/driver with a couple of spare batteries is worth having charged before you start, since fixing several courses of sleepers uses more battery than people expect. If you're lining the bed, a basic staple gun is far faster than trying to fix liner with screws and washers, and cheap enough to justify buying for a one-off project.
A simple build sequence
Once materials are on site, the build itself follows a straightforward order:
- Mark out and level the bed footprint, removing any turf or major debris.
- Lay weed matting or cardboard across the base if using it.
- Lay the first course of sleepers, checking square with a tape measure across both diagonals — equal diagonals mean the corners are square.
- Fix the corners using your chosen method before adding the next course.
- Repeat course by course, checking level as you go, until you reach your planned height.
- Line the inside walls if lining, leaving the base open for drainage.
- Fill with soil mix, water in, and you're ready to plant.
A garden bed is a forgiving first timber sleeper project — if a course sits slightly out of level, it's easy to pack or adjust before the next one goes on, unlike a full retaining wall where getting the first post run wrong has much bigger downstream consequences. Once you've built one bed and got a feel for how the timber handles, a second or third bed goes together considerably faster.
Leave a comment (all fields required)