









Quick Answer
Timber sleeper retaining wall cost should be built from the exact material schedule, not a single national rate per metre. In the current Retaining Walls Direct range, 200x75mm H4 CCA sleepers are listed from $25.23 and 200x100mm heavy-duty sleepers from $33.53, with price changing by length. Add compatible posts, footing concrete, drainage, freight, excavation, labour and any engineering or approval costs. A 10m wall averaging 1m high uses about 50 lineal metres of 200mm-high sleeper face before cuts and waste, but the final sleeper profile and post layout must come from the wall design.

Timber Sleeper Retaining Wall Cost at a Glance
A useful cost plan separates the wall into materials, delivery, excavation, labour and professional fees. This prevents a low sleeper price from being mistaken for the finished cost of the whole retaining wall.
| Budget item | What it normally covers | Why it changes |
|---|---|---|
| Sleepers | Treated pine courses across the wall face | Profile, length, treatment and quantity |
| Posts and hardware | End, middle and corner posts plus approved fixings | Wall design, post length, spacing and corners |
| Footings and excavation | Post holes, spoil handling and concrete | Ground conditions, access and required embedment |
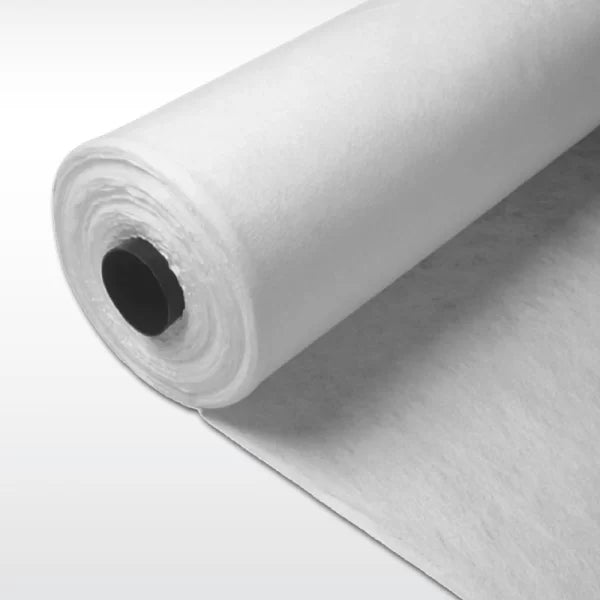
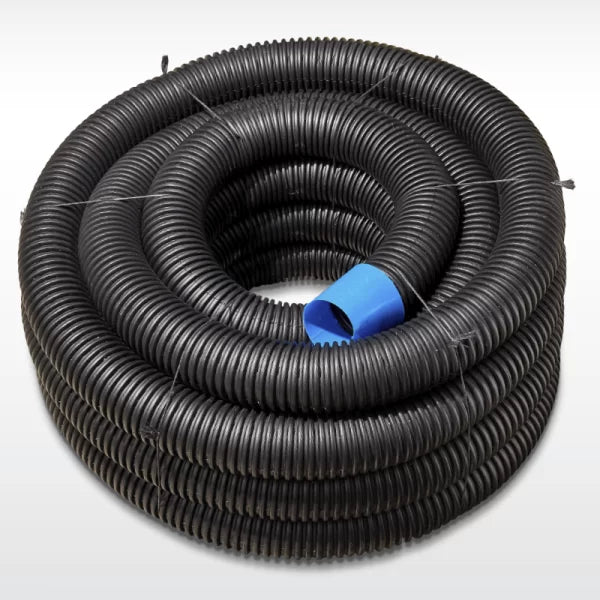
| Drainage and backfill | Ag pipe, aggregate, geotextile and suitable fill | Wall height, outlet location and delivered volume |
| Freight and handling | Delivery to the property and movement to the wall | Postcode, order size, unloading and site access |
| Labour and professional fees | Installation, design, approvals and inspections where required | Complexity, local rates and council requirements |
The market rate is only a sense check. The more reliable method is to confirm the wall design, build an itemised material list, add freight and excavation, then obtain labour and professional quotes for the same scope.
Why Square Metres Give a Better Early Estimate
A lineal metre rate describes wall length but ignores height. One lineal metre of a 400mm wall uses far fewer sleepers and shorter posts than one lineal metre of a 1m wall, so comparing those two jobs by length alone can be misleading.
Wall face area is calculated by multiplying length by average retained height. A 10m wall averaging 600mm high has 6 square metres of face area, while a 10m wall averaging 1m high has 10 square metres.
Stepped walls need a little more care because the retained height changes along the run. Break the wall into sections, calculate each section separately, then add the areas together before using a broad market rate.
Square metre pricing still doesn’t capture every cost. Post depth, corners, access, spoil removal and drainage outlets can make two walls with the same face area cost very different amounts.
Current Treated Pine Sleeper Prices
Current product pricing gives a more useful starting point than a broad national allowance. The length-specific figures below are the article’s July 2026 price snapshot. Live starting prices were checked again on 3 August 2026. The 200x75mm H4 CCA sleeper remained listed from $25.23. Check the live page again when the order is ready because price, stock and freight can change.
The 200x100mm H4 CCA heavy-duty sleeper remained listed from $33.53. The July snapshot recorded $33.53 for 1800mm, $44.00 for 2400mm and $55.51 for 3000mm. Treat those figures as a dated snapshot rather than a quote.
| Sleeper profile | 1800mm | 2400mm | 3000mm | Approx. price per lineal metre |
|---|---|---|---|---|
| 200x75mm H4 CCA | $25.23 | $33.00 | $42.05 | $13.75 to $14.02 |
| 200x100mm H4 CCA | $33.53 | $44.00 | $55.51 | $18.33 to $18.63 |
These are sleeper-only retail examples. They do not include waste, cuts, freight, posts, footings, drainage, backfill, tools, labour or any engineering and approval costs.

A lower unit price does not automatically create the lowest complete wall cost. The profile must suit the designed span, retained load and compatible post system, otherwise a small checkout saving can create a much larger repair cost later.
The 200x75 vs 200x100 sleeper guide explains the selection factors without treating thickness as a stand-alone structural rating. Use the wall design to choose the sleeper profile, then price that exact profile and length.
Steel Posts and Hardware Costs
Posts can become one of the largest material costs because each wall needs suitable end posts, middle posts and corner posts. Longer posts and heavier series cost more, and a stepped wall may require several post lengths across one run.
The steel posts collection shows why the exact post type and length matter. In July 2026, the 100UC middle post ranged from $26.95 at 400mm to $211.95 at 3200mm, while the 100PFC end post ranged from $16.95 to $134.95 across the same lengths. Those examples suit compatible 75mm and 80mm systems and should not be applied to a 100mm sleeper wall without confirming the channel and design.

Post spacing must come from the complete wall design. It is not safe to assume that a thicker sleeper automatically allows fewer posts, because spacing also depends on wall height, sleeper length, soil, water, post strength, footings and surcharge loads.
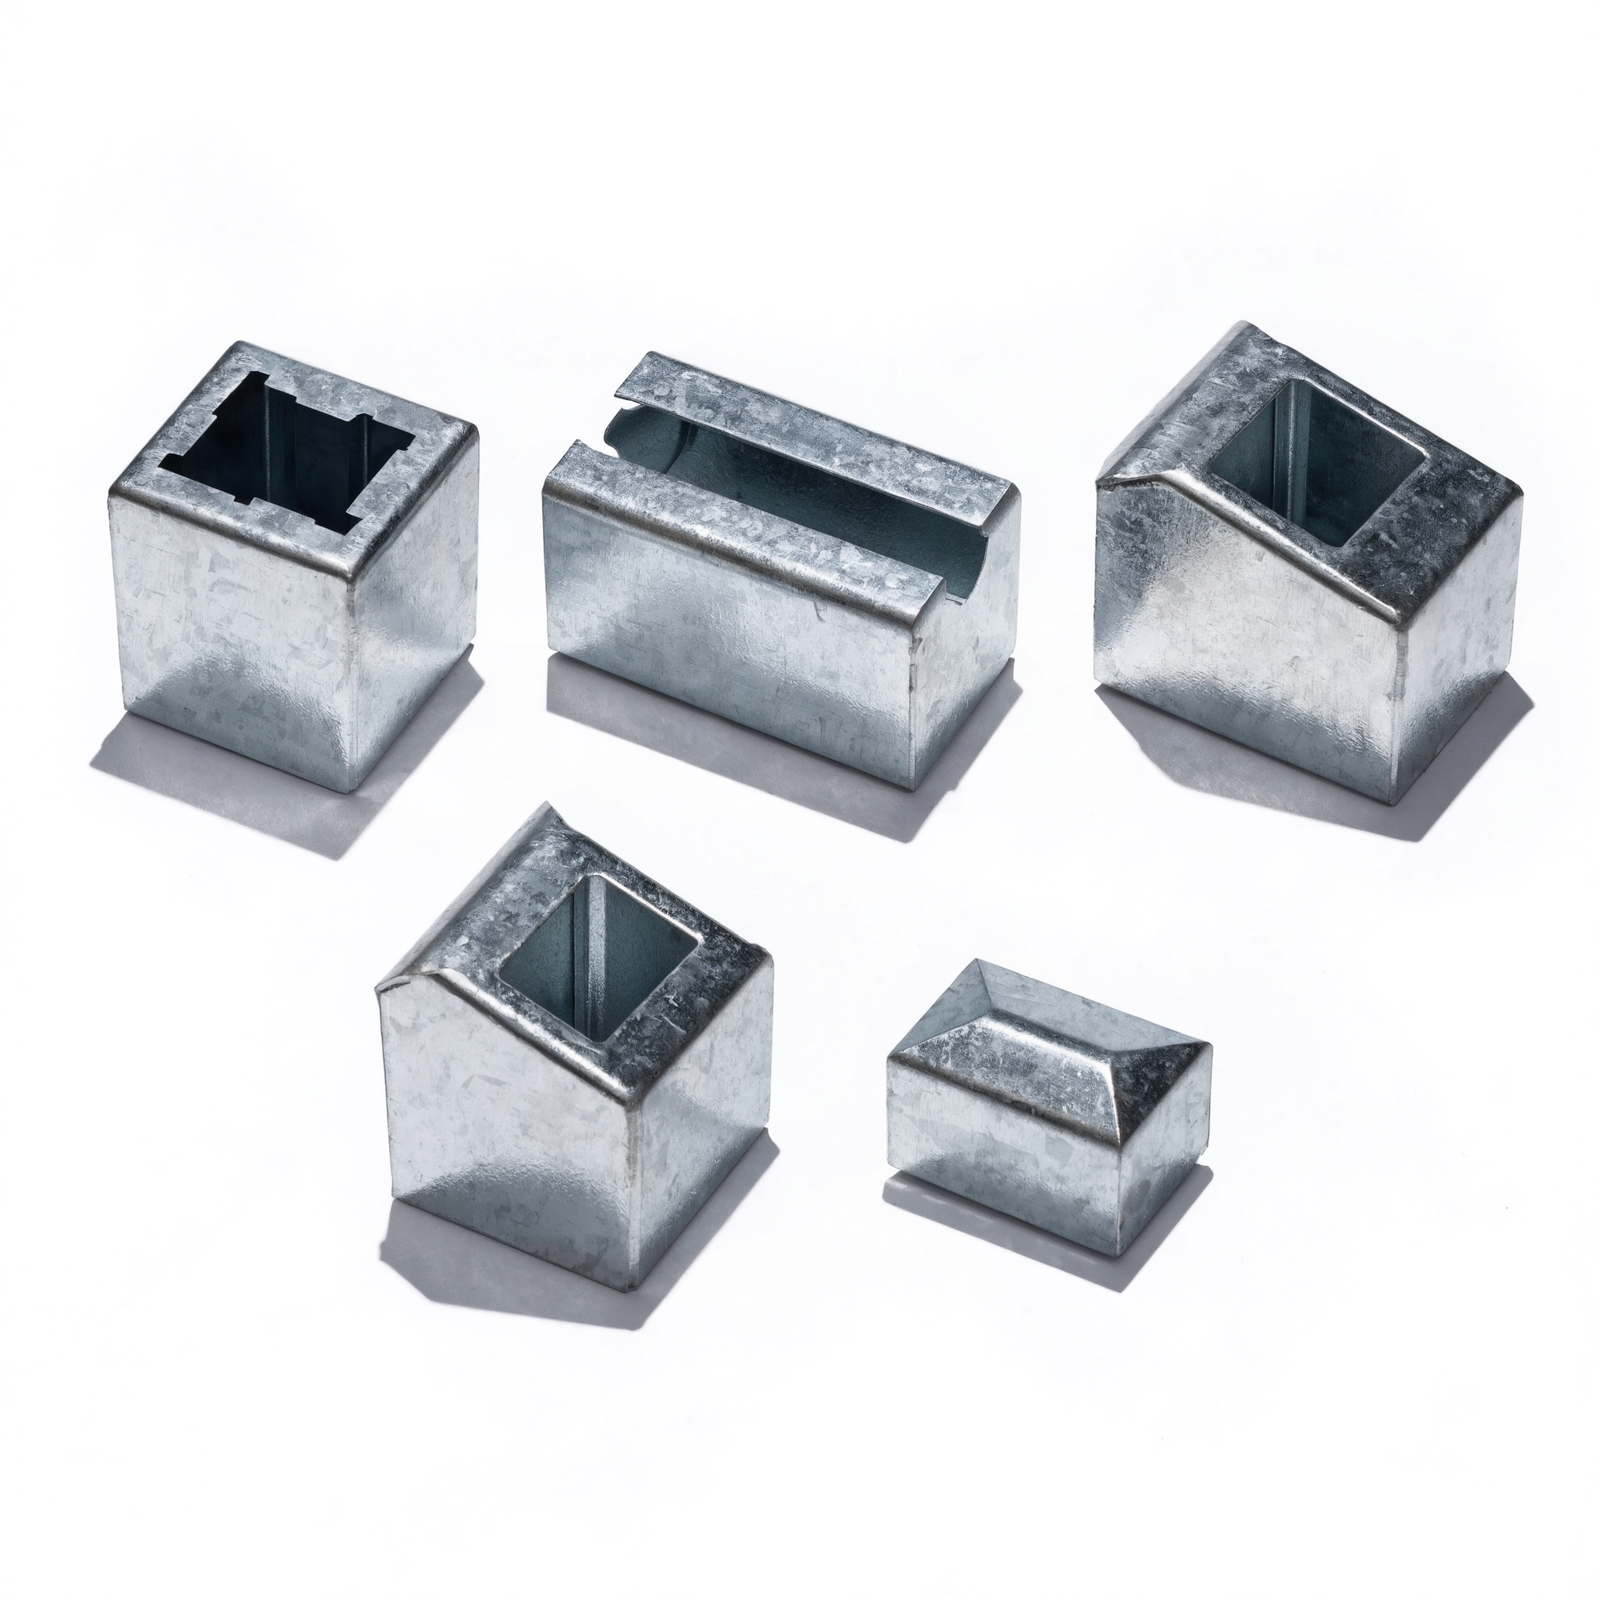
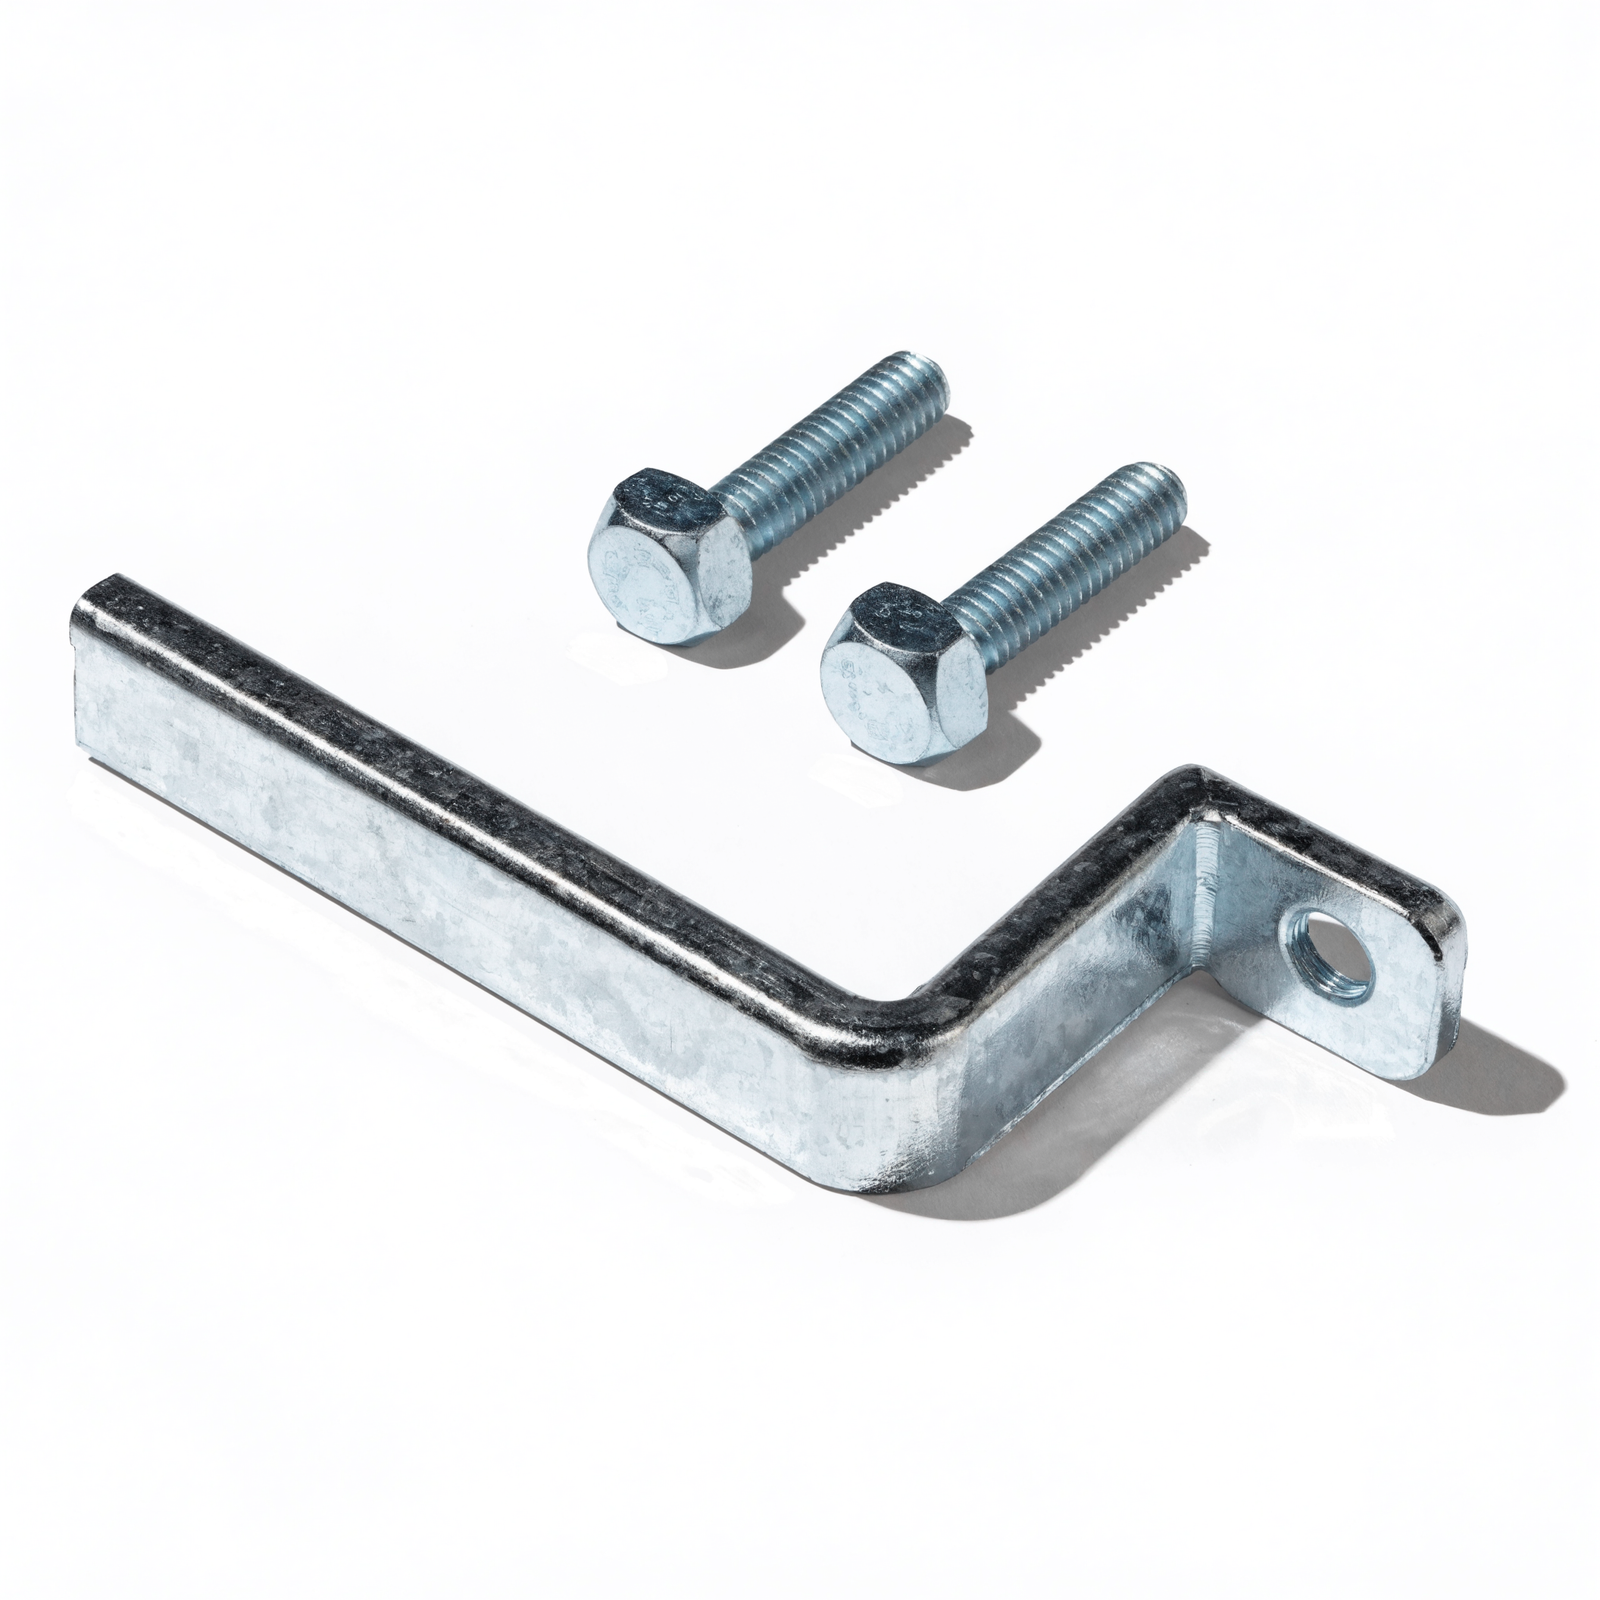
Hardware should be listed separately even when each item looks inexpensive. Corners, steps, fence brackets, approved screws, post caps and treatment-compatible fixings can add up across a long wall.
Footings, Concrete and Excavation
Every post hole has a cost, whether it is dug by hand, drilled with an auger or excavated by machinery. Hard clay, rock, buried rubble, roots and unknown fill can slow the job and increase spoil disposal.
Concrete quantities depend on the specified footing diameter and depth, not a generic allowance per post. An engineer’s drawing or an approved wall system may require deeper embedment or larger footings than a simple garden wall.
Machine hire can reduce labour time on a long wall, but it introduces delivery, operator and access costs. A small excavator is only useful if it can reach the wall line without damaging fences, paving, services or established landscaping.
Spoil removal is often missed in early budgets. Excavated soil expands when loosened, and unsuitable clay, rubble or contaminated fill may need to leave the site rather than being reused behind the wall.
Drainage and Backfill Costs
Drainage is part of the retaining system, not an optional upgrade. A typical material list may include slotted ag pipe, a legal outlet connection, clean drainage aggregate, geotextile fabric and suitable backfill.
Current Retaining Walls Direct examples include a drainage kit listed at $80.00, 100mm x 20m slotted and socked ag pipe from $115.95, and drainage aggregate from $9.95 per listed unit. These are product prices only, and the required quantity still changes with wall height, length, drainage-zone width, outlet location and the existing ground.
Delivery can matter as much as the aggregate unit price because drainage rock is heavy. Ask whether the quote includes delivery, unloading and any minimum order charge, then confirm how the material will reach the wall line.
Do not automatically reuse excavated clay or topsoil as the main drainage layer. The designed backfill and drainage materials should be priced correctly rather than removed from the budget to make the first estimate look cheaper.
Freight, Delivery and Site Access
Long sleepers and steel posts usually need specialist freight rather than ordinary parcel delivery. Freight commonly depends on postcode, order size, depot location, vehicle type and whether the site has a safe unloading area.
The delivery point is not always the work area. Materials dropped at the front boundary may still need to be carried through a narrow gate, down steps or across a soft lawn, which adds labour and handling time.
Check overhead powerlines, parked vehicles, street access and turning space before booking a crane truck or large delivery. A failed delivery attempt can create extra charges and delay the whole build.
Regional projects can have higher freight but easier machinery access, while metro projects may have shorter delivery distances but tighter working space. Ask for the freight component as a separate line so you can compare supplier quotes fairly.
DIY Versus Professional Installation
DIY can remove part of the labour charge, but it does not remove the cost of excavation, concrete, drainage, equipment hire, safety gear, freight or waste disposal. It also transfers responsibility for set-out, levels, post alignment and drainage to the homeowner.
A professional quote may include labour, tools, machinery, site supervision and a defined workmanship scope. Confirm exactly what is included, because one installer may quote a complete wall while another excludes excavation, spoil removal, drainage or reinstatement.
Timber is often easier to handle than concrete, but long or wet sleepers can still be heavy and awkward. Plan lifting, cutting and access before deciding that the entire job can be completed safely without help.
For a low and straightforward project, the timber sleeper wall build guide provides the construction sequence. Use it to understand the work involved before comparing the value of DIY labour with a complete installation quote.
Engineering, Council and Approval Costs
There is no single Australian height at which every retaining wall automatically needs the same approval or engineering process. Rules can change with the state, council, boundary location, wall height, nearby structures, drainage and surcharge loads.
The Australian Building Codes Board explains that AS 4678 is one accepted design pathway for earth-retaining structures under the National Construction Code. Its retaining wall guidance does not create a universal 800mm or 1m approval rule for every property.
Engineering drawings, geotechnical advice, application fees and inspections should be quoted for the actual site. Avoid inserting a generic allowance and assuming it will cover every council or every wall design.
The height limits and council rules guide summarises the common triggers, but you should still confirm the current requirements with your local council before building.
A Practical 10m Wall Budget Example
Assume a straight wall is 10m long with an average retained height of 1m. Five 200mm sleeper courses create 50 lineal metres of sleeper face, so the current Retaining Walls Direct unit prices give a theoretical sleeper-only figure of about $687.50 to $700.83 in 200x75mm timber, or about $916.67 to $931.39 in 200x100mm timber.
That calculation uses the listed price per metre and does not allow for the actual post set-out, available sleeper lengths, joins, offcuts or spare material. It is a price comparison rather than a design recommendation, and it still excludes every post, footing, drainage item, delivery charge, labour cost and professional fee.
Do not convert this material calculation into a guaranteed installed rate. A 10m wall with the same face area can have very different costs depending on post depth, rock, clay, access, corners, drainage outlet, demolition and local labour. Use the sleeper-only figure as one line in an itemised project budget, then obtain quotes for the same defined scope.
| Step | Budget action |
|---|---|
| 1. Confirm the wall | Measure length, average retained height, steps, corners and nearby loads |
| 2. Confirm the design | Set sleeper profile, post type, post spacing, embedment and footing size |
| 3. Price materials | List sleepers, each post type, concrete, drainage, fill and hardware |
| 4. Add logistics | Include freight, unloading, machinery, spoil removal and site protection |
| 5. Add labour and fees | Include installation, engineering, approvals and inspections where required |
| 6. Keep a contingency | Allow for hidden ground conditions and minor quantity changes |
This method turns a broad market number into a project-specific budget. It also makes quote comparisons easier because each contractor or supplier can be asked to price the same scope.
Replacement Walls and Demolition
Replacing an old wall normally costs more than building on a clear site. The existing sleepers, posts and concrete may need to be removed while the retained soil is kept stable and nearby fences or services are protected.
Treated timber may also have local disposal requirements and should not be placed in green waste or burned. Confirm the disposal pathway with the local council or waste facility before estimating demolition costs.
Access can become harder after the old wall is dismantled because soil may slump into the work area. A staged replacement or temporary support may be needed, which should be assessed before demolition begins.
Ask replacement quotes to separate demolition, disposal and new construction. This shows whether a high total is being driven by the new wall or by the difficulty of safely removing the old one.
Regional Cost Differences Across Australia
Material and labour rates differ between cities, regional centres and remote areas. Freight distance, depot availability, local competition and access to specialist installers can all change the final figure.
Coastal exposure may affect the post coating, hardware or maintenance specification. Reactive soils, steep blocks and areas with frequent heavy rain can also require more design input and drainage work than a simple flat site.
Local council fees and application pathways are not uniform. A quote from another state or council area can be useful background, but it should not be copied into your budget without checking the local requirements.
For national comparisons, ask every supplier whether GST, freight and unloading are included. An apparently cheaper material quote can become more expensive once those items are added.
Ways to Control Cost Without Cutting Corners
The safest savings come from planning and logistics rather than reducing structural materials. Finalise the layout before ordering so sleeper lengths, post positions and corners produce as little waste as practical.
- Measure the average retained height instead of assuming the wall is level
- Order the post types and lengths from the confirmed design
- Coordinate sleepers, posts and drainage in one delivery where practical
- Clear safe access before machinery or freight arrives
- Compare complete quote scopes rather than headline rates
- Keep drainage, footing and backfill requirements intact
Doing suitable site preparation yourself may reduce labour if the installer agrees with the scope beforehand. Do not excavate around services, remove a functioning wall or alter a slope without first understanding the safety and design consequences.
Bulk buying can help on larger projects, but excess long materials are costly to return or dispose of. A checked quantity schedule is more valuable than simply adding a large percentage to every item.
Cost Saving Mistakes to Avoid
Choosing the wall system by sleeper price alone. The lowest unit price may not suit the required span, post system or retained load. Price the complete designed system instead.
Reducing the number of posts without design support. Wider spacing can increase demand on sleepers, posts and footings. Any spacing change should be checked against the wall design.
Removing drainage from the quote. Water pressure and softened ground can damage a wall that looked cheaper on installation day. Keep the specified pipe, aggregate, fabric and outlet in the budget.
Ignoring freight and unloading. Long timber and steel can require specialist delivery, and the cheapest product price may not give the lowest delivered total. Compare the final landed price at your postcode.
Starting before council checks are complete. A redesign, approval delay or enforcement issue can cost more than confirming the rules at the planning stage. Check local requirements before excavation begins.
What to Send When Requesting a Quote
A detailed request produces a more useful quote than asking for a price per metre with no site information. Include clear measurements and photographs so the supplier or installer can identify likely access and design issues.
- Wall length and retained height at several points
- Number of corners, steps and end points
- Photos of the wall line and delivery access
- Nearby driveways, fences, pools, buildings and boundaries
- Known services and drainage outlet options
- Whether an existing wall needs removal
- Your postcode and preferred delivery timing
Ask the quote to identify exclusions as well as inclusions. Clarify GST, freight, unloading, excavation, spoil removal, drainage, backfill, reinstatement, engineering and council fees before comparing totals.
A low quote is not automatically poor and a high quote is not automatically complete. The itemised scope lets you see what each price actually buys.
Once the wall design and quantities are clear, use the retaining wall material calculator and browse the treated pine sleeper range to check current sizes and starting prices. The complete timber sleeper retaining wall guide can help you review the wider material list before requesting a project quote.
FAQs
How much does a timber sleeper retaining wall cost per square metre?
There is no dependable national installed rate that applies to every timber sleeper wall. Use square metres to compare wall face area, then price the designed sleepers, posts, footings, drainage, freight, excavation and labour for the actual site.
How much would a 10m timber retaining wall cost?
A 10m wall averaging 1m high contains about 50 lineal metres of sleeper face. Using the July 2026 product snapshot, sleepers alone were roughly $688 to $701 for 75mm timber or $917 to $931 for 100mm timber before cuts, posts, footings, drainage, freight and labour. The installed price requires a site-specific, itemised quote.
Is it cheaper to build a timber sleeper wall yourself?
DIY can reduce installation labour, but you still need to budget for excavation, concrete, drainage, freight, equipment and disposal. It also places responsibility for levels, post setting and drainage on you.
Are sleeper prices the biggest part of the wall cost?
Not always. Current product prices make the sleeper portion easy to calculate, but posts, concrete, excavation, drainage, freight and labour can equal or exceed it, especially on tall, stepped or hard-to-access walls.
Do I need to include engineering and council fees?
Include them when the local rules or site conditions require professional design or approval. Confirm this with your council because wall height is not the only trigger, and there is no universal national threshold for every site.
Why can two timber wall quotes be so different?
The quotes may include different sleeper profiles, post designs, excavation, drainage, freight or reinstatement. Compare itemised inclusions and exclusions rather than the headline total alone.
Does freight make a big difference to sleeper wall cost?
It can, because long sleepers and steel posts often need specialist heavy freight. Ask for a delivered price based on your postcode, order size, unloading conditions and access.
Leave a comment (all fields required)