








Quick Answer
A timber sleeper retaining wall uses horizontal treated timber sleepers held between compatible galvanised steel posts set in designed concrete footings. It is often one of the more affordable sleeper-wall options for low and modest residential walls. There is no universal “safe to 1.0m” rule: sleeper grade, post spacing, embedment, soil, groundwater, slope, surcharge, drainage, boundaries and local approval rules must all be checked.
This guide covers timber selection, common 200x75mm and 200x100mm sizes, compatible steel retaining wall posts, drainage, wall-height checks and Australian design considerations. It is for homeowners planning a modest wall and for landscapers preparing an initial material take-off. Final construction must still follow product instructions, engineering where required, service-location requirements and local approvals.

What is a Timber Sleeper Retaining Wall
A timber sleeper retaining wall holds back sloped or cut ground using horizontal timber sleepers for retaining walls, stacked between vertical steel posts like courses of bricks. It's one of the most common retaining wall styles in Australian backyards because it's affordable, straightforward to DIY, and gives a warmer, more natural look than concrete or masonry.
In Australia, many new sleeper walls use preservative-treated pine because it is readily available in predictable sizes and is lighter than concrete. Hardwood and recycled sleepers are also used, but species, grade, condition and treatment can vary. Do not assume that an old railway sleeper, landscape sleeper or above-ground treated board is suitable for structural retaining work simply because its dimensions look similar.
A correctly built wall has three parts working together, and none of them can really be skipped:
- Sleepers: sit horizontally, stacked to build wall height, and do the job of physically holding back the soil face
- Steel posts: spaced along the wall to carry the lateral load and keep the sleepers from bowing or sliding forward over time
- Drainage: sits behind the sleepers to stop water pressure building up and pushing the whole structure forward
Because it's modular (sleepers simply slot into the post channel), a timber sleeper wall is one of the more forgiving retaining styles for a first-time DIYer, provided the wall stays within the height and load limits covered further down this guide.
A typical sequence is to set out and locate services, excavate the wall and drainage zone, install and concrete the posts to the approved detail, allow the footing concrete to reach the required strength, then place the sleepers. Drainage aggregate, geotextile and the subsoil pipe are installed as access permits and before final backfilling. The exact sequence may vary with the engineered detail, but the drainage path and outlet should be planned before the first post hole is dug.
A sloping backyard cut into clay is a useful example of why the wall must be designed as a system. Saturated clay can hold water and increase pressure behind the wall. A thicker sleeper alone does not solve that problem. The site needs a supported post and footing design, free-draining material where specified, separation fabric, a subsoil pipe and a lawful outlet that remains accessible for maintenance.
Treated Pine vs Hardwood vs Concrete

Treated pine is commonly chosen for its lower upfront price, manageable weight and natural appearance. Hardwood can provide a denser, premium face, but its durability and structural suitability depend on species, grade and exposure. Concrete sleepers are heavier and usually cost more to supply and install, but they do not decay or provide food for termites. Every option still needs compatible posts, drainage and a wall design suited to the site.
| Material | Main advantage | Main checks | Common use |
|---|---|---|---|
| Preservative-treated pine | Lower cost and lighter handling | Hazard class, structural grade, treatment penetration, cuts, drainage and supplier warranty | Low and modest residential walls where the product and design permit |
| Durable hardwood | Premium natural appearance and high density | Species durability, structural grade, checking, availability, weight and fixings | Architectural or landscape projects with verified timber specifications |
| Reinforced concrete | No timber decay or termite risk | Weight, lifting, reinforcement, compatible posts, tested span and delivery access | Low-maintenance and engineered sleeper wall systems |
Appearance is part of the decision. Timber usually changes colour as it weathers unless a compatible coating system is maintained. Concrete can also weather, stain or develop surface deposits, but it does not need preservative treatment against rot. Compare a current physical sample and the supplier’s maintenance instructions rather than relying only on a new-product photograph.
The trade-off is not only purchase price. Include delivery, post and footing size, drainage, labour, lifting, future coating, repair and possible replacement. The timber vs concrete sleepers comparison covers the material decision, while the timber retaining wall cost guide explains the main budget inputs.
Sleeper Sizes (200x75 & 200x100)

Treated pine sleepers are commonly sold in nominal 200x75mm and 200x100mm profiles. Those dimensions describe the face height and thickness, not a universal structural capacity. Length, timber species, structural grade, treatment, moisture condition, defects, support span and wall loads all matter.
- 200x75mm: lighter and often used for garden edging, raised beds and selected low retaining applications where the supplier or design allows it.
- 200x100mm: stiffer through its thickness and often selected for heavier retaining duty, but it is not automatically approved to a fixed wall height.
For a true retaining wall, start with the design loads and compatible system rather than choosing 75mm or 100mm from a height rule. The current 200x75 treated pine sleeper may suit specified low applications, while a thicker sleeper may be selected where the approved design requires more stiffness or a different post channel.
Preservative hazard class addresses biological exposure; it is not a structural load rating. H4 timber is intended for in-ground exposure in appropriate applications, while Australian timber guidance distinguishes more critical in-ground structural situations that may require a higher hazard class or a specifically warranted product. Confirm the product’s treatment certificate, structural grade and intended retaining-wall use. Any permitted cuts, holes or notches should be re-treated with an approved preservative in line with the supplier’s instructions. See the WoodSolutions treatment and use-class guidance.
Use the following as a product-selection checklist rather than a wall-height table:
| Check | Why it matters |
|---|---|
| Actual sleeper dimensions and tolerance | The sleeper must fit the post channel and still allow practical installation. |
| Structural grade and treatment documentation | Treatment durability and structural capacity are separate requirements. |
| Clear span between posts | A longer unsupported span increases bending demand on the sleeper. |
| Retained height, soil, water and surcharge | These determine wall loads and may trigger engineering or approval. |
| Cuts and penetrations | Cutting can expose untreated timber and may affect product approval or durability. |
Do not turn a nominal sleeper size into a fixed maximum height or post spacing. A low wall beside a driveway can be more demanding than a slightly taller garden wall with no surcharge. Reactive soils, slopes, boundaries, services and groundwater may also change the design. Ask for a documented wall detail or engineering advice where the site falls outside a supplier’s standard application.
It's worth ordering slightly more sleeper length than your bare minimum calculation, particularly if you're new to this kind of build. Small measurement variations along a wall run, minor site adjustments, and the occasional trim to square up a corner are all normal, and having a small buffer avoids a delivery delay partway through the job while you wait on extra stock.
Steel Post Pairing & Spacing

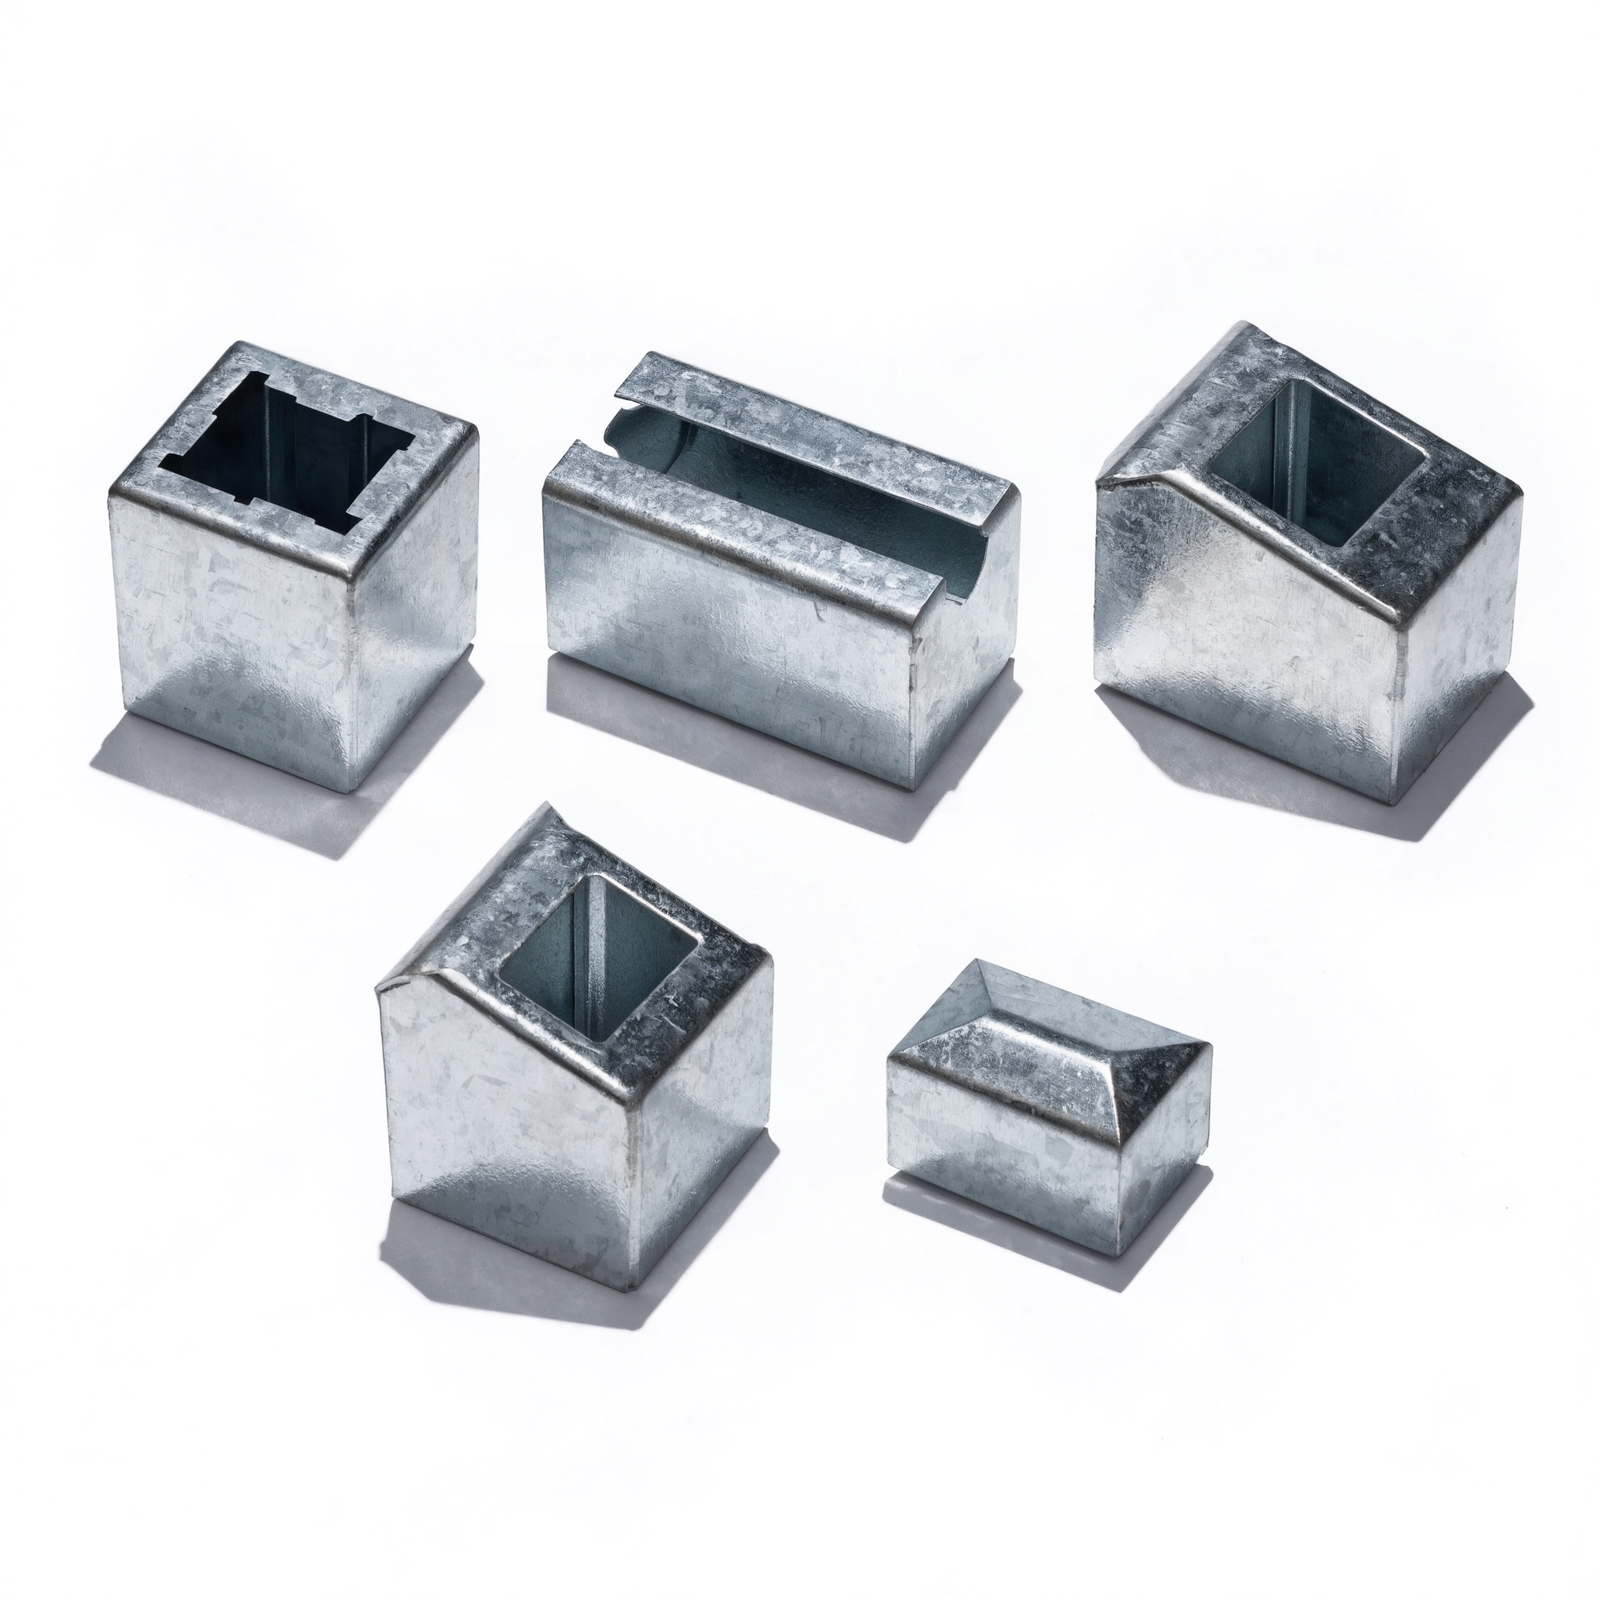
Timber sleeper walls are commonly built with galvanised steel posts because steel provides a stable channel and does not suffer timber decay at the ground line. The post must still be sized, oriented, embedded and protected for the project. A steel post is not automatically adequate simply because the timber sleeper fits inside it.
Post spacing should come from the approved wall detail and the actual sleeper length. Standard products can lead to repeated bay widths, but there is no universal 1.2m to 1.8m rule that suits every timber sleeper, soil or wall. Confirm whether dimensions are quoted as post centres, clear span or cut sleeper length, because confusing those measurements can leave sleepers too short or overloaded.
The 100 Series steel post range is offered for compatible 75mm sleeper systems, while other wall configurations may use a larger series. Always confirm the post’s actual channel width, section designation and the supplier’s accepted sleeper tolerance. Products from different suppliers are not automatically interchangeable even when both are described as “100 Series” or “75mm”.
For a material take-off, divide the wall into straight bays and add end, corner and step posts as required by the layout. Do not finalise quantities until the designed post centres and actual sleeper length are known. Posts should be set in concrete footings to the specified diameter and depth, held plumb during placement, and left unloaded until the concrete has reached the strength required by the product or design.
Drainage and Backfill Basics

Poor drainage is a major contributor to retaining wall distress. Saturated backfill can add water pressure and soften supporting soils, increasing demand on sleepers, posts and footings. Timber also lasts longer when avoidable moisture is not trapped against it. Drainage must be detailed as part of the wall rather than treated as an optional accessory.
A correctly drained timber sleeper wall needs three things behind the sleepers, installed as the wall goes up rather than added afterwards:
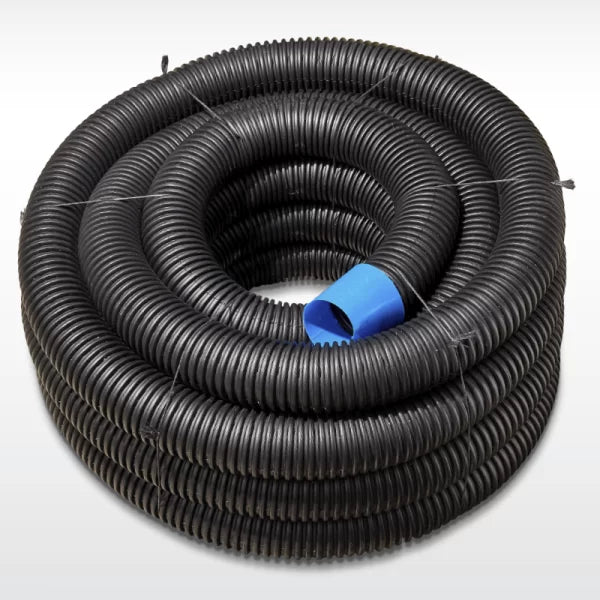
- A slotted subsoil pipe at the base or other designed collection point, laid to the specified fall and connected to a lawful outlet.
- Clean free-draining aggregate in the width and height required by the wall detail, rather than placing fine clay directly against the sleepers.
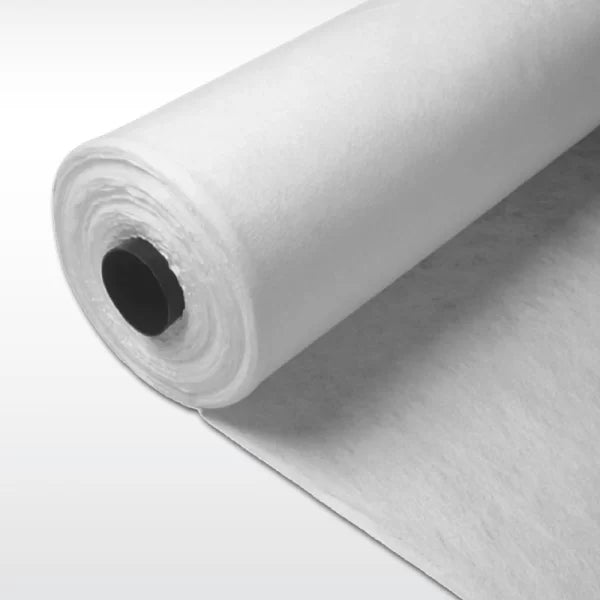
- Geotextile separation where specified so fine soil does not migrate into the drainage aggregate and reduce its performance.
Drainage outlets and relief details should follow the wall design. Do not drill weep holes through treated timber or make unapproved cuts simply because a generic online diagram shows them; penetrations can expose untreated wood, weaken the member or conflict with the supplier’s installation instructions. The complete retaining wall drainage guide explains the system components. In clay or wet sites, obtain a site-specific detail rather than just adding more gravel by guesswork.
Our retaining wall drainage kits package the ag pipe, geotextile fabric and weep holes you need for this step into one order.
This order of checks is important. A material list created before the wall profile and post centres are settled often contains the wrong sleeper lengths, too few corner posts, inadequate drainage parts or timber that cannot be cut without affecting treatment and warranty.
- Measure the wall line and retained height at every step, corner and change in slope.
- Locate underground and overhead services before selecting the wall position or digging post holes.
- Record boundaries, easements, structures, driveways, fences and loads above the wall.
- Confirm the timber’s dimensions, structural grade, treatment documentation and intended retaining-wall use.
- Match the timber to a documented post channel and bay layout.
- Plan a lawful drainage outlet and keep it accessible after landscaping.
- Check approvals, engineering and inspection requirements before buying materials.
- Allow for offcuts only where the supplier permits cutting and provides a cut-end treatment method.
Before You Order: Site and Material Checks
Height Limits & When You Need an Engineer

Retaining wall approval rules vary by state, council and site. Height is only one trigger. Boundary location, easements, nearby buildings, fences, pools, driveways, slopes, drainage discharge and whether the wall supports another structure can all change what is permitted. AS 4678 Earth-retaining structures provides an engineering design framework; it does not create one nationwide exempt height.
Wall demand rises rapidly as retained height increases because the soil-pressure diagram grows in both height and magnitude. That is why a small increase in height can require a larger post, deeper footing, closer bay or thicker sleeper. Use the height limits and council rules guide for planning, then verify the current rule with the responsible authority for the actual property.
Tiering can reduce the retained height of each individual wall, but two nearby walls may interact if they are too close or if the upper wall loads the lower one. Do not use terracing simply to avoid engineering or approval. The setback, slope between walls, drainage and combined stability must be assessed as part of the site layout.
A modest wall away from boundaries and loads may fall within a supplier’s standard detail, while the same-height wall below a driveway or beside a structure may need engineering. Timber can still be used where a competent design permits it, but concrete sleeper systems are often chosen for heavier walls because of their available tested configurations and resistance to timber decay. Material preference does not override the design and approval requirements.
Common mistake to avoid: ordering sleepers from their nominal size before confirming the designed bay, post channel and treatment requirements. Finalise the wall profile, services, drainage outlet, post centres and compatible products first. This avoids cutting every sleeper on site, exposing untreated timber or discovering that the selected post channel is too tight.
Ready to start building?
See the step-by-step timber sleeper wall guide for the installation sequence, then use the timber wall cost guide to prepare a realistic budget.
Ready to order materials? Browse our treated pine sleepers range.
FAQs
How high can I build a timber sleeper retaining wall without council approval?
There is no single Australia-wide exempt height. Council and state rules also consider boundaries, easements, nearby structures, surcharge, drainage and site hazards. Check the current requirements for the property before excavation.
Do timber sleeper walls use the same posts as concrete sleeper walls?
They can use the same post families only where the sleeper thickness, tolerances and approved wall system are compatible. Confirm the actual channel width and supplier documentation; similar nominal sizes from different suppliers may not fit.
Do I need steel posts, or can I use timber posts?
Either material may be possible in a competent design, but galvanised steel posts are common because they provide a consistent channel and avoid timber decay at the ground line. The post still needs the correct section, footing, spacing and corrosion protection.
Is drainage necessary for a small wall?
Yes. Even a low wall can retain water and softened soil. Use the drainage detail required for the site, including a lawful outlet, and keep the outlet clear.
Should I choose 200x75 or 200x100 sleepers?
The 100mm sleeper is thicker, but neither size has a universal maximum wall height. Choose from the documented wall design, timber grade, treatment, clear span, post channel, soil and loads.
How long do treated pine sleepers last?
There is no guaranteed lifespan for every sleeper wall. Treatment quality, hazard class, structural grade, cut-end protection, drainage, climate, soil and workmanship all affect service life. Use the product warranty and maintenance instructions as the project-specific reference.
How far apart should timber retaining wall posts be?
Use the post centres and clear span stated by the accepted wall detail or engineer. Standard sleeper lengths may influence the layout, but a generic 1.2m or 1.8m figure is not suitable for every wall.
Can I build a timber sleeper retaining wall on a boundary?
Potentially, but boundary walls can involve approval, neighbour, survey, drainage, fence-load and access issues. Confirm the legal boundary and local requirements before work starts.
Leave a comment (all fields required)