











Quick Answer
Building a timber sleeper retaining wall means setting compatible steel posts in designed footings, allowing the footings to gain enough strength, sliding treated pine sleepers between the posts, and completing drainage before controlled backfilling. The safe sequence is plan, set out, dig, set posts, cure, install sleepers, install drainage, then backfill.
If the wall is over about 1m high, close to a boundary, holding up a driveway, or built on soft or sloping ground, confirm the rules with your local council and get engineering advice before you start digging. Lower walls can also need approval or a different design where local rules, drainage or surcharge loads apply.
This guide is written for Australian DIY homeowners, owner-builders and landscapers planning a practical treated pine sleeper wall. It covers tools, set-out, post holes, steel posts, sleeper installation, drainage, backfill and final checks, so you can plan the job properly before materials arrive on site.

How to Build a Timber Sleeper Retaining Wall: The Safe Order
A sleeper wall is not just a stack of timber. It is a simple retaining system where the posts resist sideways soil pressure and the sleepers span between those posts. That is why the build order matters so much.
The safe order is: plan the wall, mark the line, dig the post holes, set the posts plumb, let the footings cure, install the sleepers, add drainage, then backfill slowly. If you backfill before the drainage is finished, or load the posts before the concrete has cured, you make the wall work harder before it is ready.
On a real site, the mistakes usually happen when someone rushes the hidden parts. The wall may look fine on day one, but after heavy rain the soil swells, water sits behind the sleepers, and the posts start leaning forward. Good set-out, deep posts and clean drainage are what stop that from happening.
The seven core steps: tools and materials, set-out and footing depth, steel posts, timber sleepers, drainage, backfill and final checks. Complete them in order so the hidden structural and drainage work is finished before the wall is loaded.
Tools and Materials Checklist
Before you start, get the full materials list on site. Running out of sleepers, concrete, drainage aggregate or geotextile halfway through the build is the easiest way to lose a weekend and end up with a messy wall line.
Measure the wall length, planned retained height and sleeper length before ordering. You also need to allow for offcuts, end posts, corner posts, drainage outlet points and any changes in ground level along the wall.

Materials
- Treated pine timber sleepers suited to the wall design and intended use
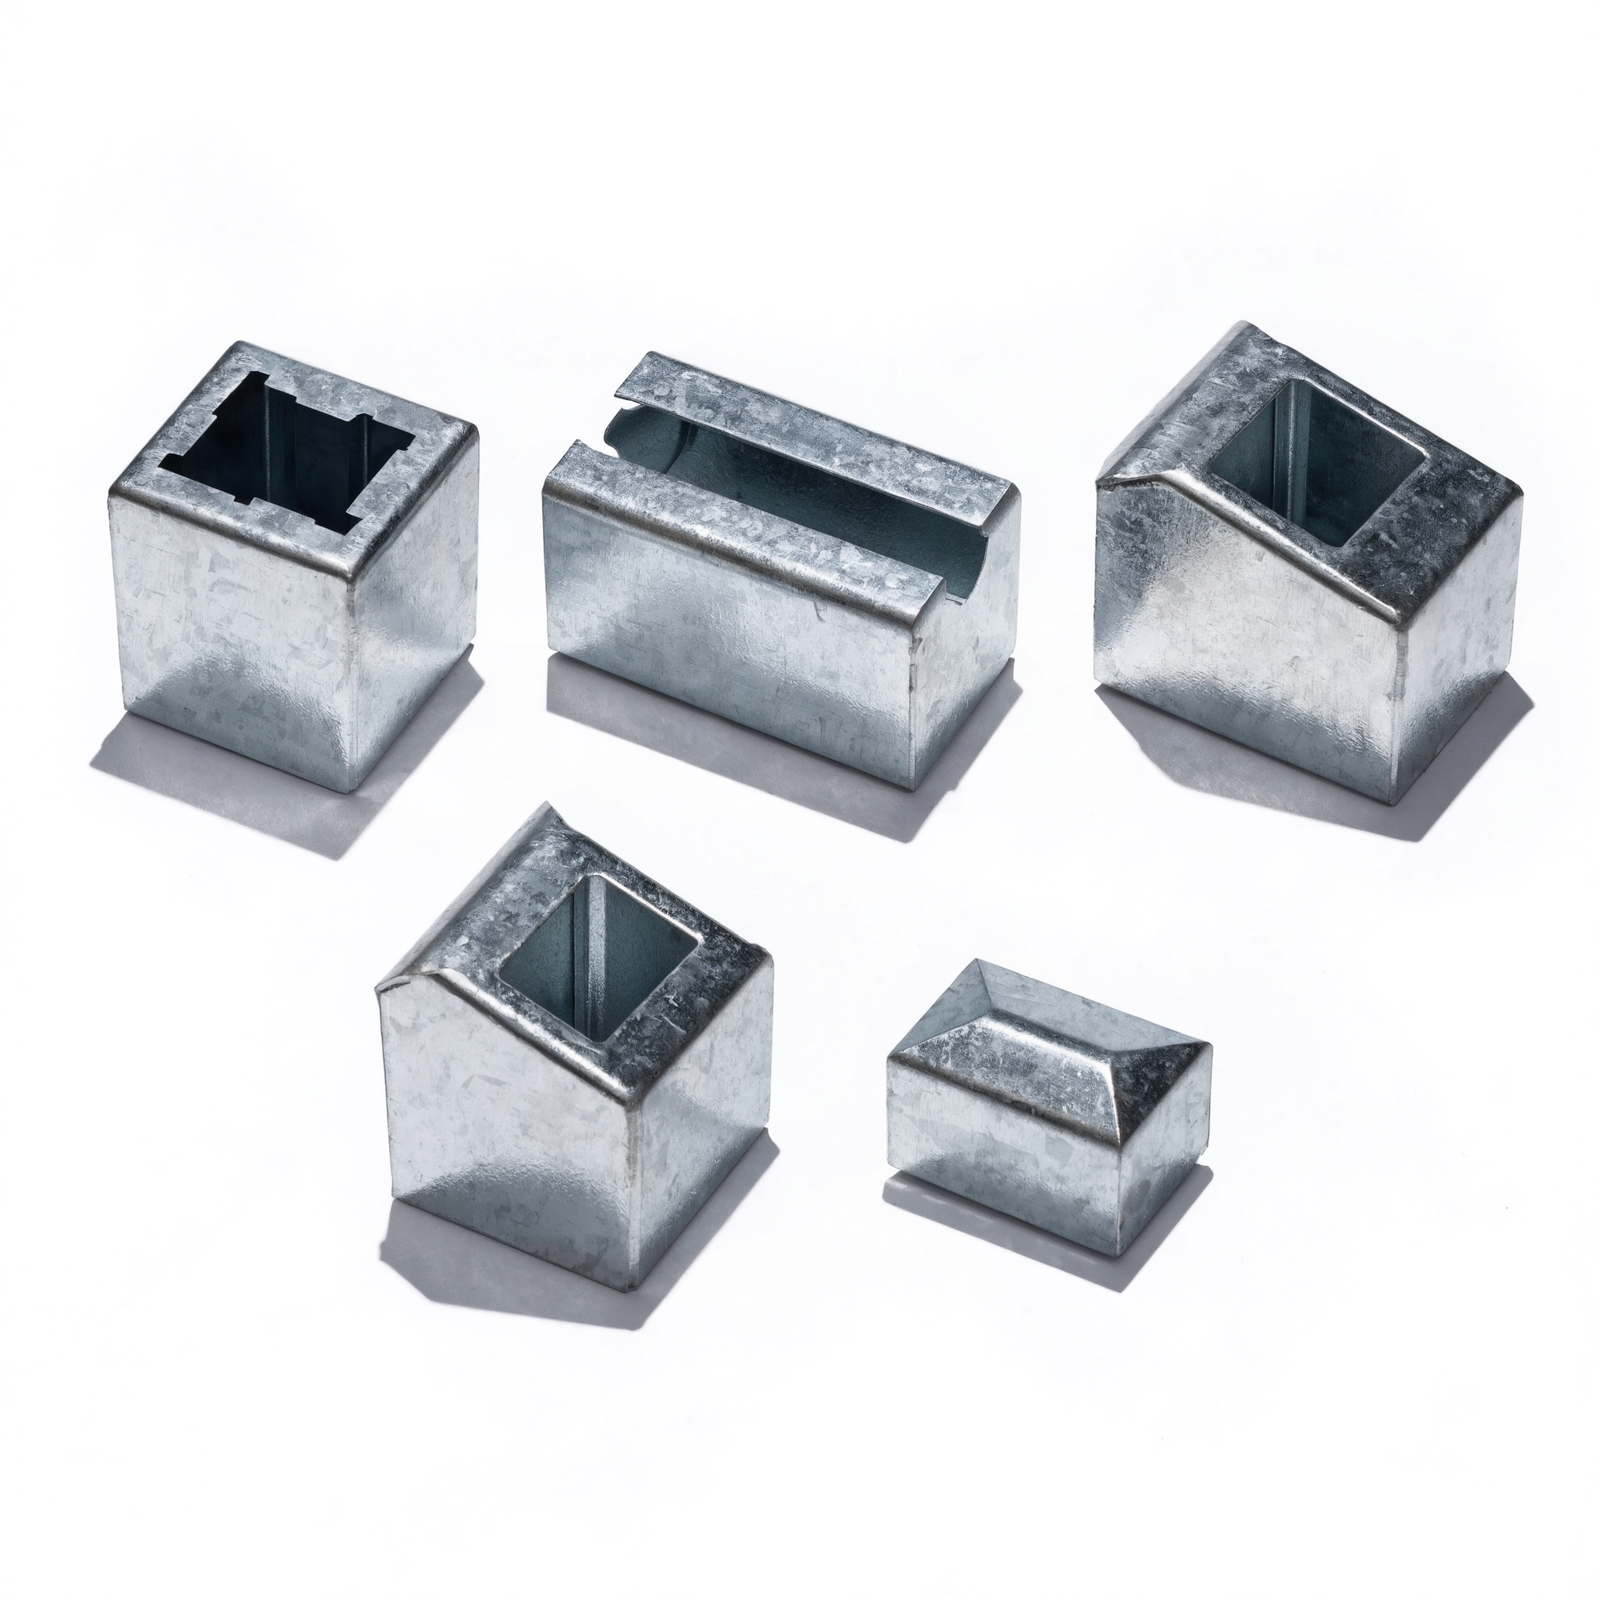
- Galvanised steel posts sized to suit the wall height, sleeper thickness and post spacing
- Concrete for post footings, unless your engineer or product design specifies another footing method
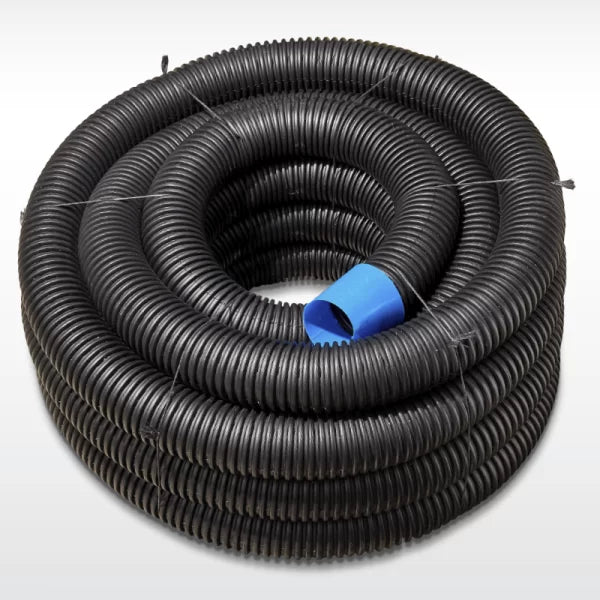
- Slotted ag pipe with a clear outlet point
- Clean drainage aggregate behind the wall
- Geotextile fabric to separate soil from the drainage layer
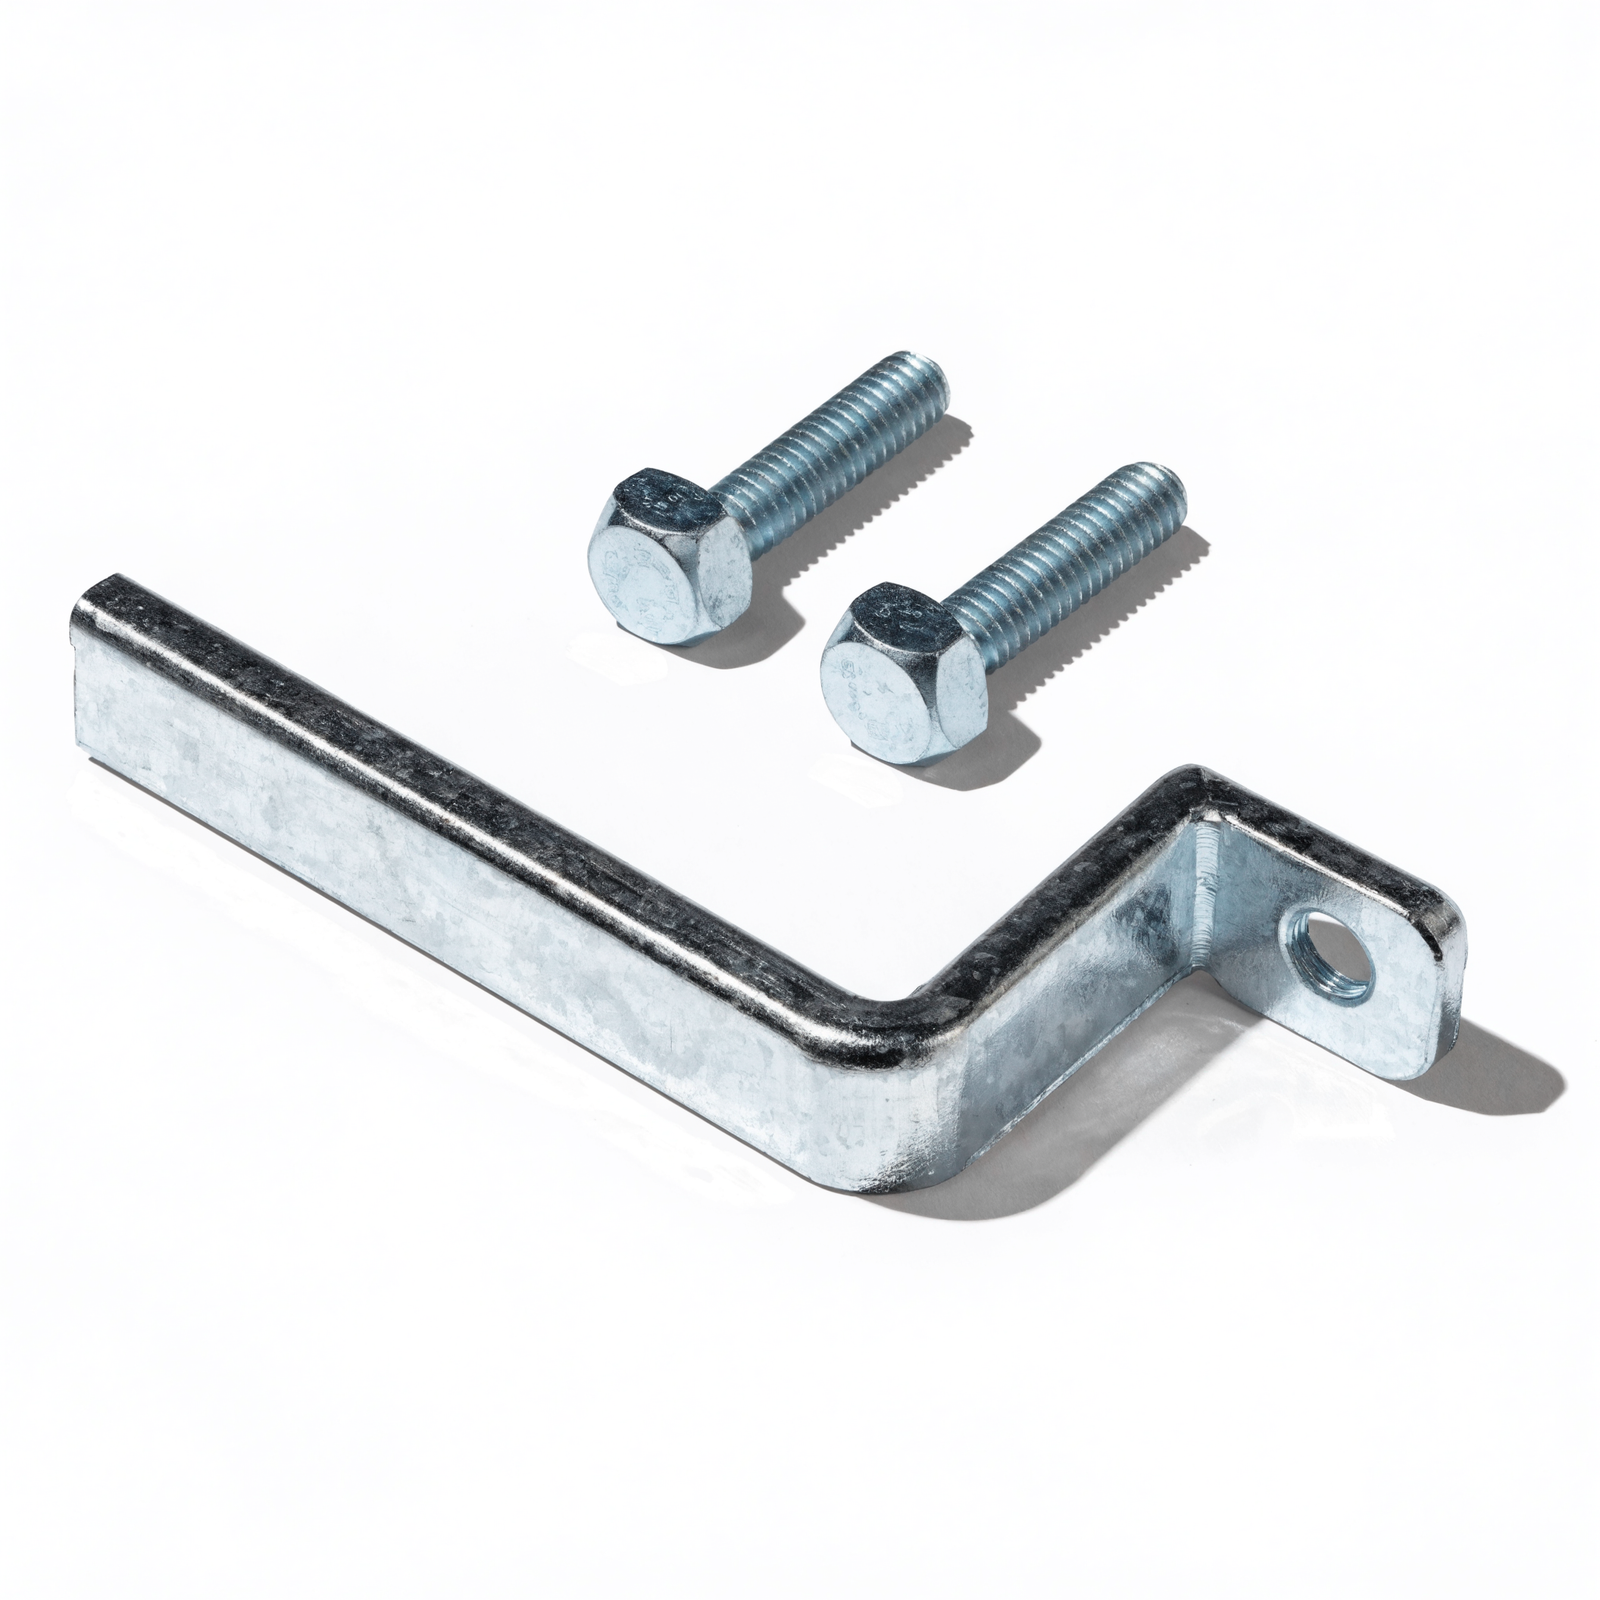
- Approved fixings, brackets or coach screws where required by the design
- Topsoil or mulch for the finished surface, kept separate from structural backfill
Tools
- Tape measure, marker paint, string line and pegs
- Spirit level or laser level
- Post hole digger, auger or small excavator, depending on the wall length
- Shovel, mattock and rake
- Wheelbarrow or site dumper for moving spoil and aggregate
- Timber saw suitable for treated pine sleepers
- Drill, driver and suitable bits if fixings are required
- Plate compactor or hand tamper for layered backfill
- Gloves, eye protection, hearing protection and dust mask when cutting treated timber
For treated pine sleepers, H4 treatment is commonly specified for timber used in ground contact. The AS/NZS 1604 series covers preservative-treated wood products and treatment requirements. Always check the supplier's declared treatment, timber size and intended use before installation.
For steel posts, use a system that matches the sleeper thickness and the wall design. AS/NZS 4680 applies to hot-dip galvanised coatings on fabricated iron and steel articles. If you are unsure whether a post series suits the wall height, spacing or loads, check the product data or ask for project-specific advice before ordering.
Setting Out and Footing Depth
Good set-out makes the rest of the wall easier. Start by marking the wall line with pegs and a string line. Check that the wall sits where you planned it, with enough room behind it for drainage aggregate, ag pipe and backfill.
Do not set posts right on a boundary or near services without checking first. Before digging, confirm the location of stormwater, sewer, water, gas, power and communications services. On residential blocks, pipes and conduits are often closer to retaining walls than people expect.
Check the wall line
Use the string line to set the front face of the wall, not just the rough trench line. Measure from fixed points, such as a fence, path or slab, and check that the line looks right from both ends. A wall can be technically straight but still look wrong if it is not aligned with the house, fence or garden edge.
If the wall is curved, use shorter set-out sections and keep the curve gentle. Timber sleepers do not bend like edging timber. Tight curves usually need shorter sleeper lengths, extra posts or a different wall design.
Work out the post positions
Post spacing depends on sleeper length, sleeper thickness, wall height, soil conditions and any surcharge behind the wall. Many residential sleeper walls are planned around standard sleeper lengths, with posts placed so each sleeper is properly supported at both ends.
Mark every post hole before digging the first one. Include end posts, joiner posts and corner posts. If the ground slopes, check the retained height at each post position rather than assuming the wall is the same height from end to end.
Set footing depth before digging
Footing depth is one of the most important decisions in the build. The often-repeated “one-third of the total post length” rule can be useful only as an early estimating prompt for a simple low wall. It is not a design rule and should not be used to approve a footing. Required embedment depends on retained height, post section, post centres, footing diameter, soil strength, groundwater, slope, drainage and any surcharge load above the wall. Use the supplier’s project-specific sizing data or an engineer’s footing detail before ordering post lengths or digging holes.
Do not apply a fixed extra percentage for clay or sand. Reactive clay, loose sand, fill, wet ground and sloping sites behave differently and can change both footing depth and diameter. The post embedment guide for retaining wall depth checks explains the variables to collect, but an engineered wall should follow the engineer’s drawings rather than a generic online table.
As a general safety check, step back before digging and ask what the wall is holding. A small garden bed is one thing. A driveway, shed, pool, boundary fence or neighbour’s land is another. Those loads increase pressure and should not be guessed.
Installing Steel Posts
Steel posts do the hard work in a sleeper retaining wall. The sleepers hold the soil between posts, but the posts resist the sideways force. If the posts are shallow, out of line or out of plumb, the whole wall will show it.

Dig the post holes
Dig each post hole to the required depth and keep the sides as clean as practical. The hole should be deep enough for the required embedment and wide enough for concrete around the post. Do not make the hole so tight that the post is touching soil on one side with almost no concrete cover.
Remove loose soil from the bottom of each hole. If water is sitting in the hole or the sides are collapsing, stop and check the footing method before setting posts. Follow the engineer's detail or the concrete supplier's advice for wet, unstable, clay or filled ground.
Set posts plumb and in line
Place the post in the hole and check it with a spirit level in two directions: front to back and side to side. Then check the face of the post against the string line. The posts need to be both plumb and aligned, not just one or the other.
Concrete the post in place and recheck it before the concrete starts to firm up. It is much easier to correct a post while the footing is wet than to fight a twisted post when you try to slide sleepers in the next day.
Some residential details nominate 20 MPa concrete, commonly ordered as N20, but N20 is not a universal minimum for every retaining wall footing. Concrete strength, footing size, reinforcement, placement and curing should follow the project design and the concrete supplier’s instructions. Do not add excess water on site to make the mix easier to place, and do not load the posts simply because the surface looks dry.
- Check every post against the same string line
- Check plumb in two directions
- Keep the post channel clean while concreting
- Do not load the posts with sleepers until the footing has cured enough for the work
- Follow any engineer’s drawing where one has been supplied
For low walls using compatible treated pine sleepers, 100 series steel posts for sleeper retaining walls can be a practical starting point, provided the post size, length and spacing suit the project. Taller walls, wider spacing or surcharge loads may need another post series or an engineer's design.
AS 4678 is relevant to the design of earth-retaining structures. The practical point is that the wall must be designed for soil pressure, water pressure and any loads behind it, not just its visible height. For formal standards information, use Standards Australia as the authoritative source.
Sliding in Timber Sleepers
Once the posts are set and the footings have cured, you can start installing the sleepers. Start from the bottom course and work up. Check each course before adding the next, because small errors get worse as the wall gets higher.

Start with the bottom course
Clear loose soil, stones and concrete dags from the bottom of the post channels. Slide the first sleeper into place and check that it sits evenly. If the bottom sleeper is not level, the whole wall can develop a step or twist.
For a short wall, you may be able to slide the sleepers in by hand. For longer or heavier sleepers, use two people and lift properly. Treated pine is easier to handle than concrete, but larger 200x100 sleepers can still be awkward on a narrow site.
Choose the right sleeper thickness
Sleeper thickness matters because each sleeper spans between posts and carries pressure across that span. Common sizes include 200x75 and 200x100, but size alone does not prove suitability. Wall height, post spacing, soil, surcharge, timber grade and treatment all need to match the design.
For a 100mm option, review the listed dimensions and treatment for 200x100 H4 treated pine sleepers. Confirm that the sleeper thickness matches the post channel and the project design before installation.
Cutting and joins
Cut sleepers to length before they go into the posts. Mark the cut square, support the timber properly and use suitable safety gear. If you cut treated pine, reseal or treat cut ends where the product instructions require it.
Where a wall run needs more than one sleeper length, keep joins properly supported by posts. Do not leave an unsupported joint floating between posts. If the design calls for fixings, brackets or coach screws, install them as you go rather than trying to retrofit them once the wall is full height.
- Install sleepers one course at a time
- Check level as each course goes in
- Keep joins supported at posts
- Avoid forcing bowed or damaged sleepers into a post channel
- Keep cut ends protected in line with the timber supplier’s instructions
Drainage, Ag Pipe and Geotextile
Drainage is not an optional extra. Water trapped behind a retaining wall adds pressure, softens soil and can shorten the life of the wall. Many sleeper walls fail not because the timber was wrong, but because the wall was asked to hold wet soil with nowhere for the water to go.
Install the drainage before final backfill. A typical approach uses slotted ag pipe at the base, clean drainage aggregate behind the wall and geotextile fabric to keep soil from clogging the drainage layer.

Run the ag pipe along the base of the retained side and give it a clear path to an approved outlet. Place clean drainage aggregate around the pipe and behind the wall, then use geotextile to separate the drainage zone from the soil. Check the outlet and pipe fall before covering the work. The outlet must discharge lawfully and must not direct concentrated water onto a neighbouring property, unstable slope or building footing.
Drainage details vary with the site, wall design and local discharge rules, so this article only covers the build sequence. For pipe position, aggregate, fabric, outlets and weep holes, use the retaining wall drainage guide for ag pipe, fabric and weep holes. Finish that drainage work before any structural backfill is placed.
Backfilling and Compaction
Backfilling is where a neat-looking wall can still go wrong. Do not dump soil behind the wall in one hit. Add backfill in layers and compact each layer before moving on to the next.

Place backfill in thin, controlled layers that suit the material and the compaction equipment. Follow the project specification or engineer's detail where one is supplied. Thick, uneven lifts can leave voids or settle after the job is finished.
Use the right backfill in the right place
Keep free-draining aggregate behind the wall where the drainage system needs to work. Do not push the original clay soil hard against the sleepers and expect the ag pipe to fix everything. Clay can hold water and increase pressure after rain.
The final surface layer can be topsoil if you are turfing, planting or mulching above the wall. Keep that topsoil as a surface layer, not as the main structural backfill behind the wall.
Compact carefully near the wall
Compact in layers, but do not smash the wall with heavy equipment. Near the wall face, use controlled compaction and work evenly along the run. Large machines too close to a small retaining wall can add load before the backfill is stable.
If you notice the wall moving, stop. Do not keep backfilling and hope it straightens later. Movement during backfill usually means there is a problem with post depth, footing cure, alignment, overloading or drainage layout.
- Backfill in controlled layers, not one large dump
- Compact each layer before adding the next
- Keep drainage aggregate behind the wall
- Keep topsoil for the final planting or turf layer
- Watch the wall line as you compact
Common Mistake: Backfilling Before Drainage Is Finished
The most common DIY mistake is finishing the wall face, getting excited, then throwing soil behind it before the drainage is complete. It feels faster on the day, but it can trap water and make the wall carry far more pressure than it should.
Think of the drainage as part of the wall, not an accessory. The sleepers and posts hold soil in place. The drainage system manages water so the wall is not also acting like a dam.
Pro tip: before the first load of backfill goes in, take a photo of the ag pipe, geotextile, drainage aggregate and outlet. It gives you a record of the hidden work and makes it easier to troubleshoot later if the site changes.
A common failure pattern is a tidy wall face with clay pushed hard behind it and an ag pipe that has no working outlet. After repeated rain, water can remain behind the sleepers and add pressure to the wall. Completing the drainage before backfill avoids having to reopen finished landscaping later.
Final Checks
Before you call the job done, walk the full wall and check the basics. Do this while tools are still on site. It is easier to correct a small issue now than after turf, mulch, edging or fencing has gone in.

Wall alignment
Look along the face of the wall from each end. Check that the wall line is straight or follows the planned curve. Confirm each course sits properly and there are no gaps that suggest a sleeper has hung up inside a post channel.
Post and footing checks
Check that posts are plumb and firm. If a post moves by hand, something is wrong. Also check that concrete footings are not exposed in a way that will collect water around the post base.
Drainage outlet
Confirm the ag pipe outlet is visible, clear and draining to a suitable place. If the outlet disappears under mulch or soil, mark it or protect it so it can be checked later. A blocked outlet can turn a good drainage system into a hidden problem.
Backfill and surface finish
Check that backfill is compacted to the planned level and that surface water will not run straight behind the wall. Shape the top surface so water moves away from the wall where practical. Small surface falls can make a big difference over time.
- Every course is level and seated correctly
- Posts are plumb, aligned and firm
- The ag pipe outlet is open and useful
- Backfill is compacted in layers
- Surface water is directed away from the wall where possible
- No heavy load has been placed behind the wall without design allowance
Also check local approval requirements. Many councils treat height, boundary position, drainage discharge and surcharge loads differently. Walls over about 1m commonly need approval or engineering, but that is not a universal rule across every council area. Always confirm before building.
Ready to Price Up Your Wall?
Once your wall height, post spacing, sleeper size and drainage layout are clear, you can match the plan to the right materials. Start with the timber sleeper collection, then choose compatible posts and drainage supplies for the site conditions.
Need help matching the materials to your wall? Browse the treated pine sleeper range, confirm the right steel posts, and add drainage supplies before you start. A tidy material list makes the build faster, cleaner and much easier to quote.
FAQs
Can I build a timber sleeper retaining wall myself?
Yes, many DIYers can build a low timber sleeper retaining wall if the site is simple, the wall is not too high and drainage is done properly. If the wall is tall, close to a boundary, holding a driveway or built on unstable ground, get professional advice first.
How deep should posts be for a timber sleeper retaining wall?
There is no single safe depth for every timber sleeper wall. A one-third-post-length rule is sometimes used for rough early estimating on simple low walls, but final embedment also depends on wall height, post section, centres, footing diameter, soil strength, groundwater, slope and surcharge loads. Confirm the post and footing detail before ordering or digging.
Do I need drainage behind a timber sleeper wall?
Yes. A retaining wall should have a drainage system behind it, usually including ag pipe, drainage aggregate, geotextile fabric and a proper outlet. Without drainage, water pressure can build behind the wall and cause leaning, bulging or early failure.
What size timber sleepers should I use?
It depends on the wall height, post spacing, soil, surcharge loads, timber grade and treatment. Common sizes include 200x75 and 200x100, but neither size is automatically suitable for every wall. Match the sleeper to the post channel and confirm the choice against the product data or project design.
When do I need council approval or an engineer?
Approval and engineering rules vary by council and state. As a broad guide, walls over about 1m, walls near boundaries, walls supporting driveways or structures, and walls on difficult sites often need approval or engineering. Confirm with your local council before starting.
Leave a comment (all fields required)