









Quick answer
Installing an under-fence plinth is a straightforward job for two people over a half-day to a full day. Dig a shallow trench along the fence line, lay and compact a base, sit the plinth flush against the fence, fix it with brackets rated for your fence type, then backfill with free-draining material. Get the base level and the fixings right, and the plinth should need no further attention for decades.

A well-fitted under-fence plinthUnder Fence Plinths should sit flush, sealed and level along your fence line, with no gaps for soil to work through. Concrete plinths weigh around 50–56kg each and need two people to lift and position — this isn't a solo job, but it doesn't require specialist trade skills either. Here's the full process, step by step, along with the mistakes that cause most of the call-backs we hear about.
This guide covers the general install process that applies across fence types. If you're specifically after fixing details for Colorbond, timber or aluminium, our guide on fence compatibility goes deeper on that. And if you haven't confirmed the right height for your soil step yet, it's worth reading our sizing guide first — it's much easier to plan a single course versus a stacked pair before you're standing in a half-dug trench.
Tools and Materials
Before you start, have everything on site — stopping halfway through to source a bracket you didn't know you needed is the easiest way to lose an afternoon.
What You'll Need
- Under-fence plinths, measured to your fence run (see our sizing guideUnder Fence Plinth Sizes & Heights if you haven't measured up yet)
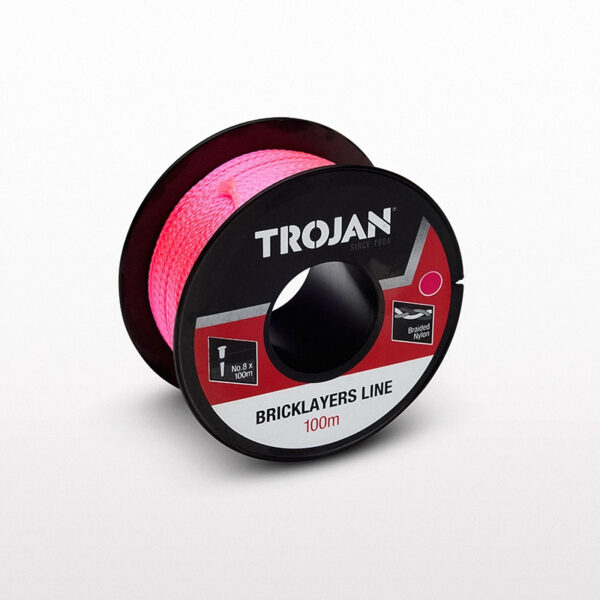
- Spirit level and string line
- Shovel, mattock, or mini digger for trenching
- Compactable base material — road base or crusher dust
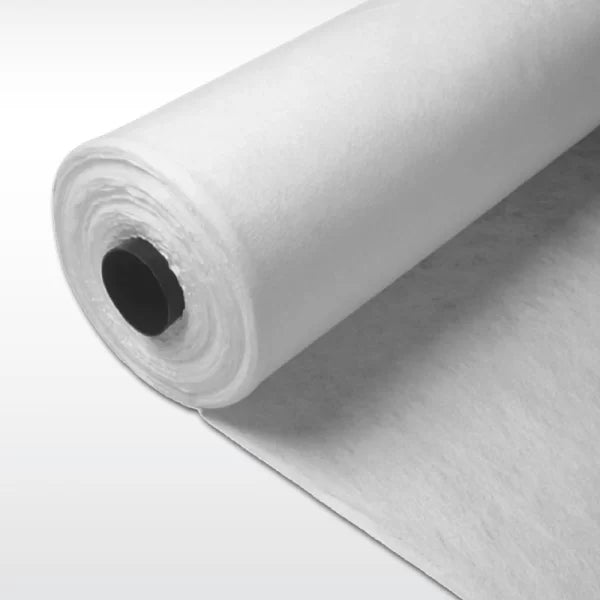
- Free-draining backfill — blue metal or crushed recycled concrete
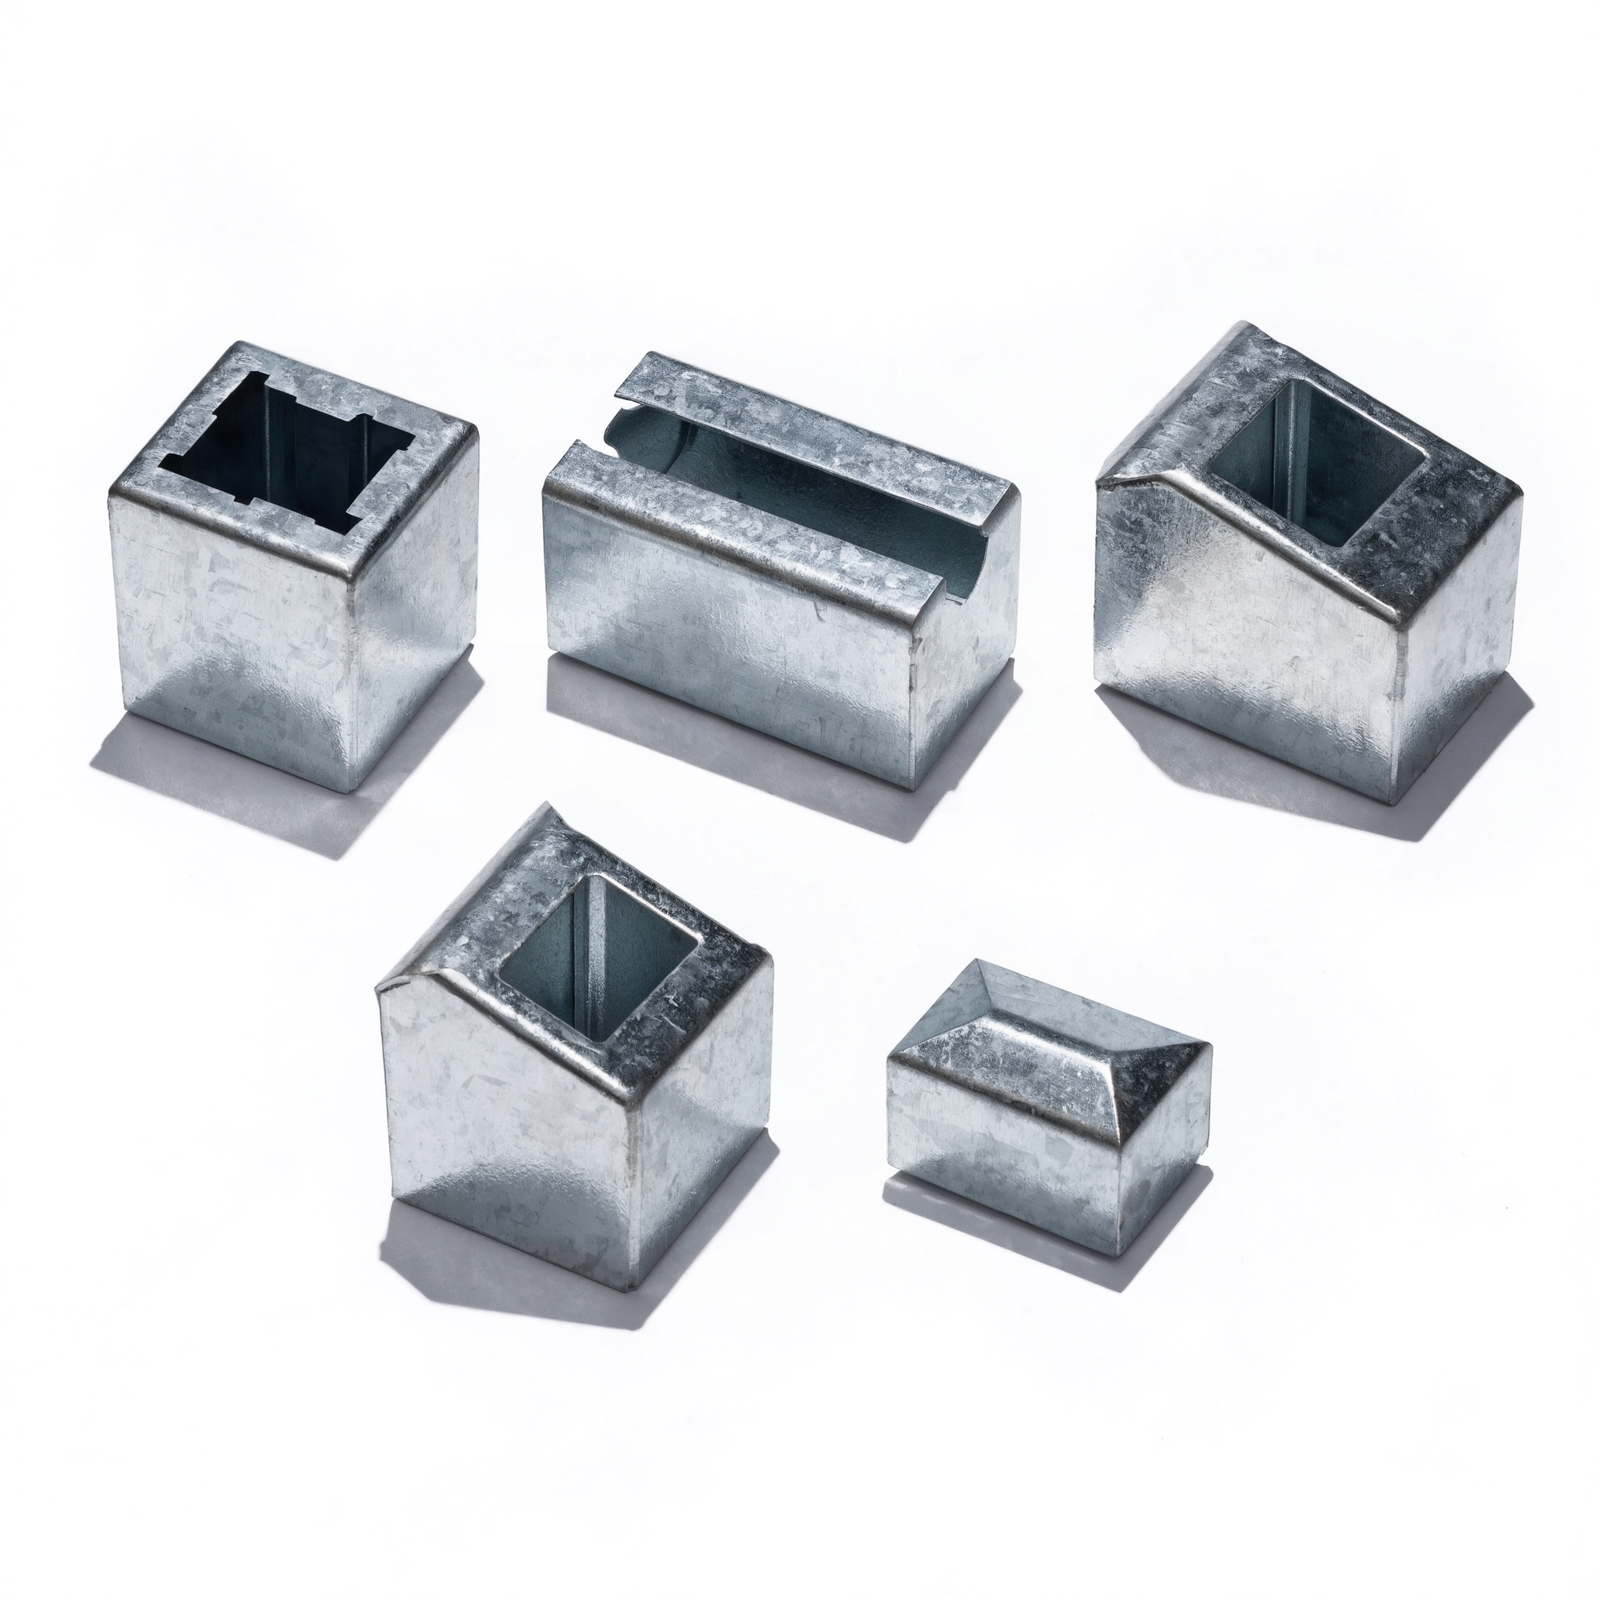
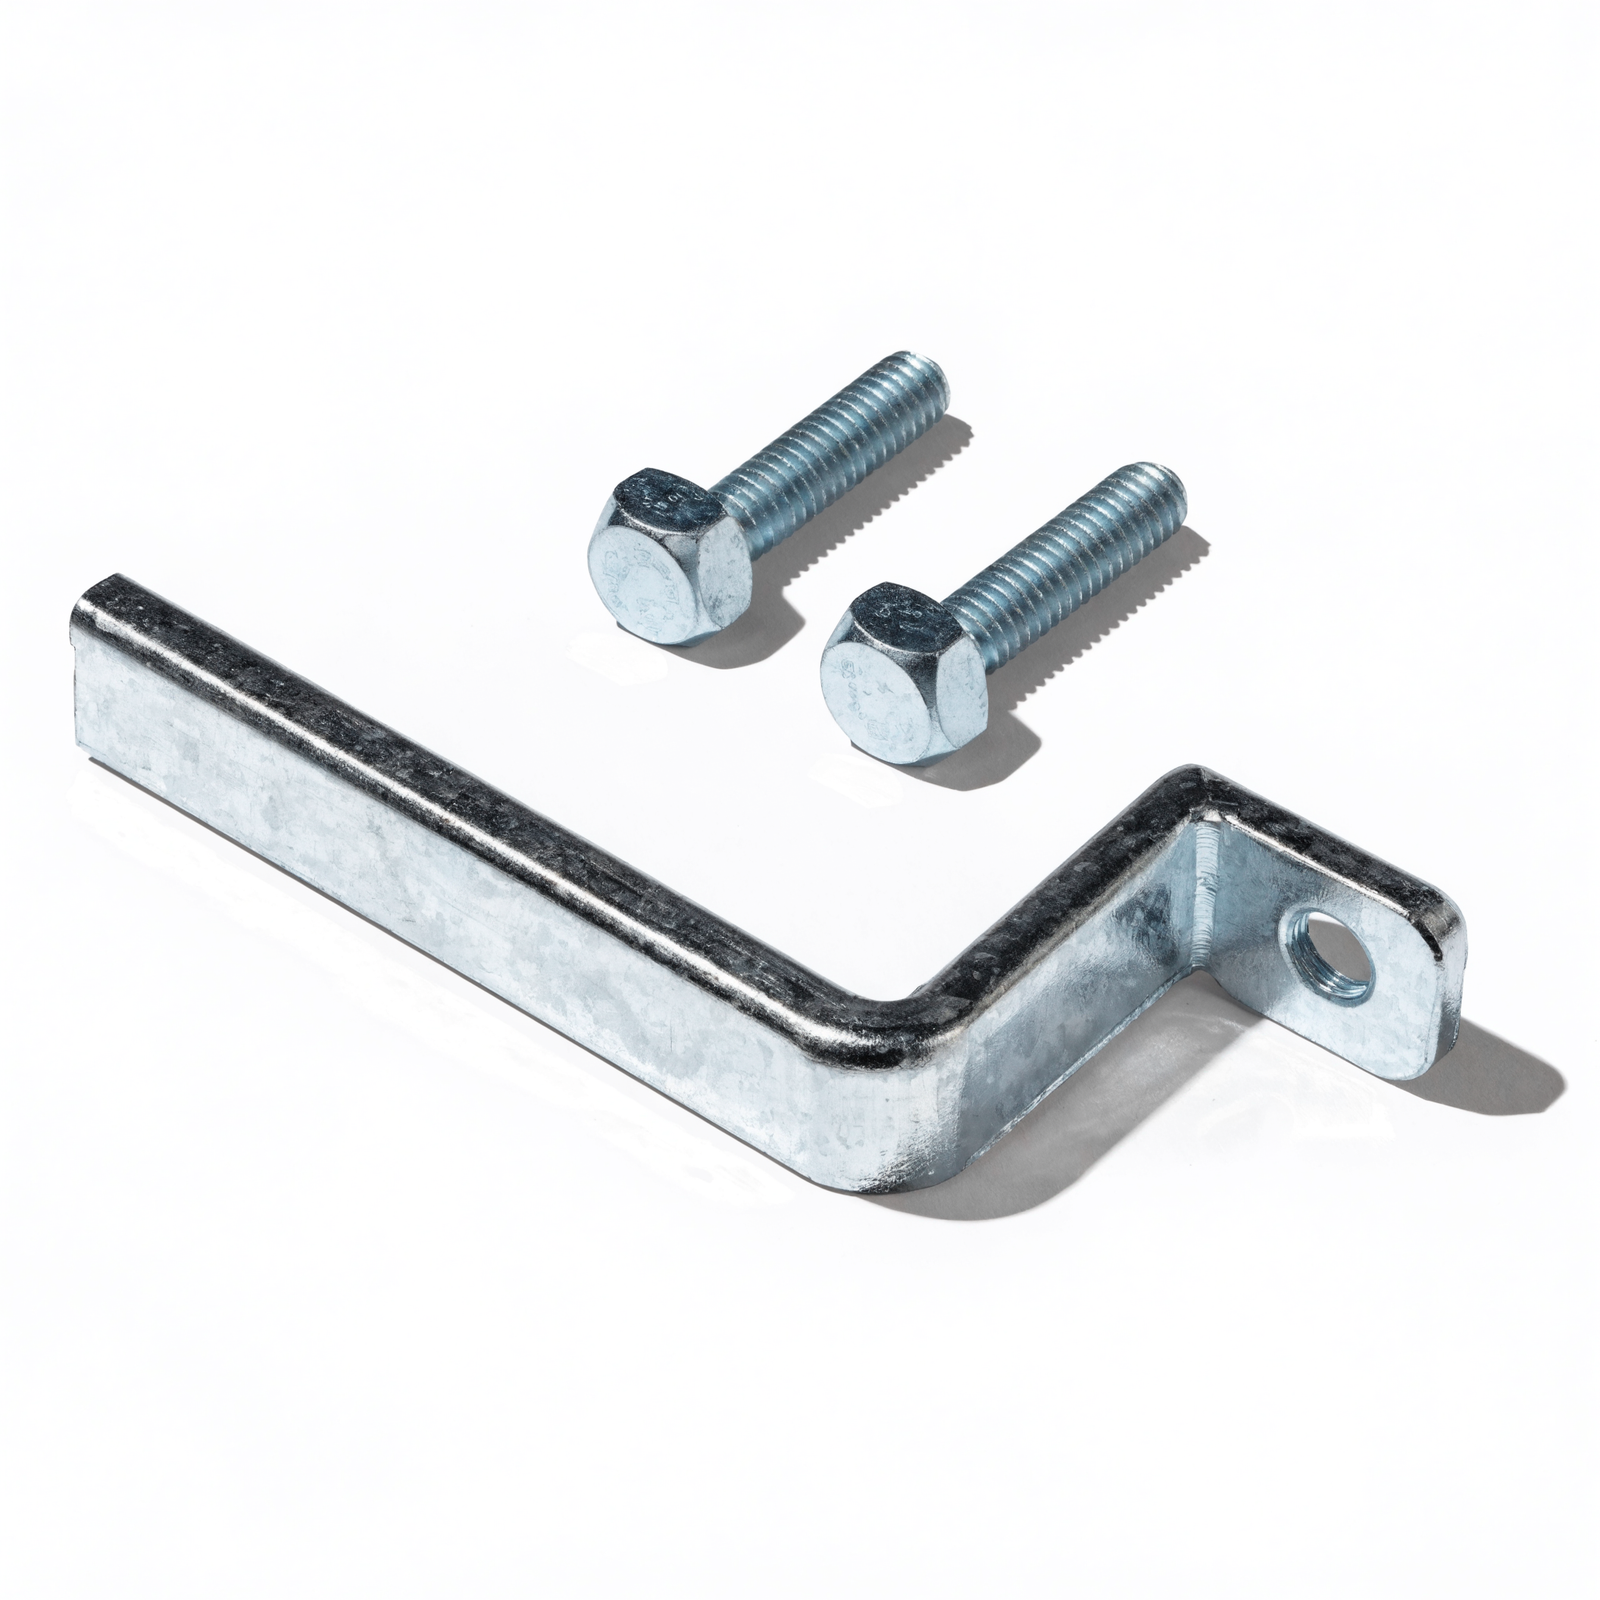
- Fixing brackets or cleats suited to your fence type
- Plate compactor or hand tamper
- Rubber mallet
- Safety gloves, steel-cap boots and eyewear
- A second person — plinths are a two-person lift
Browse fixing options in our hardware, brackets & cleats collectionHardware, Brackets & Cleats.
Buying vs Hiring Equipment
Unless you're planning more concrete work down the track, it rarely makes sense to buy a plate compactor outright for a one-off plinth run.
- Plate compactors are cheap to hire by the day from most tool hire outlets and make a real difference to base quality compared with hand tamping.
- A mini digger is worth hiring for longer runs or hard, compacted ground; a shovel and mattock are fine for a shorter run in reasonable soil.
- A concrete saw for trimming plinths around posts is also a hire-shop item — buying one for a single job rarely stacks up.
Why Backfill Material Matters
It's tempting to backfill with whatever soil came out of the trench, but free-draining material like blue metal or crushed recycled concrete is worth the extra trip to the yard. Waterlogged backfill holds moisture against the plinth and builds up hydrostatic pressure over time — the same pressure that causes bulging and cracking on larger retaining walls, just at a smaller scale here. Good drainage behind the plinth is cheap insurance against problems down the track.
Safety Considerations
Concrete plinths are heavy and unforgiving if dropped, so it's worth treating this as a proper two-person job from start to finish rather than something to squeeze in solo between other jobs.
- Lift with your legs, not your back, and communicate clearly with your lifting partner before each move.
- Wear steel-cap boots — a dropped plinth on an unprotected foot is a genuinely serious injury.
- Keep the trench edges tidy and clearly visible, especially if kids or pets have access to the yard while you're working.
- If you're at all unsure about lifting technique or trench safety, this is a reasonable point to bring in a second pair of hands from a trade rather than push through alone.
- Keep an eye on weather conditions too — a trench that fills with rain overnight is both a safety hazard and a headache to compact properly the next day.
DIY vs Professional Installation
Plenty of homeowners install plinths themselves, but it's worth being realistic about what that trades off against hiring a fencing contractor or landscaper for the job.
| Factor | DIY | Professional |
|---|---|---|
| Cost | Materials only | Materials plus labour — typically priced per linear metre |
| Time | Half a day to a full day for a standard run | Usually completed in a few hours with the right crew and gear |
| Best suited to | Straightforward runs, reasonably level ground, comfortable with basic tools | Long runs, stacked plinths, sloped or difficult ground, tight timelines |
If your run is short, the ground is reasonably level, and you're comfortable with a shovel and a spirit level, DIY is a genuinely realistic option. Longer stacked runs or difficult sites are where professional installation starts to pay for itself in time saved and a guaranteed level result.
Preparing the Fence Line
Clearing and Marking Out
- Clear vegetation, roots and debris along the base of the fence.
- Run a string line along the fence to keep the trench straight and consistent.
- Mark out post positions — you'll need to work around these, not through them.
Digging the Trench
- Dig a trench roughly 100mm deeper than the plinth height, to allow for a compacted base layer underneath.
- Make it slightly wider than the plinth thickness so you have room to work and backfill both sides if needed.
- Check for underground services — power, water, irrigation lines — before digging near fence posts, especially on older properties where cable runs aren't always where you'd expect.
Dealing with Sloped or Uneven Ground
Very few Australian backyards are perfectly flat, and a fence line often crosses gentle changes in ground level even where there's no obvious "step" to point at. A couple of ways to handle this:
- Stepped installation: keep each plinth level individually, with small level changes between sections — this suits a gently undulating fence line.
- Racked installation: some plinth systems allow a slight angle to follow a consistent slope rather than stepping — check with your supplier whether your product supports this before planning around it.
- If the slope is pronounced rather than gentle, this is often a sign the site needs a proper retaining wall rather than a plinth run — see our plinth vs retaining wall guideUnder Fence Plinth vs Retaining Wall.
Levelling the Plinth Run
This is the step that determines whether your plinth run looks professional in five years or has visibly settled and gone crooked. Don't rush it.

Building the Base
- Add a compactable base layer to the trench, roughly 50–75mm deep once compacted.
- Compact firmly with a plate compactor or hand tamper — a soft base is the single biggest cause of plinths settling unevenly later.
- Compact in thin layers rather than one thick layer if you need more than 75mm of base material; a thick uncompacted layer won't compact evenly all the way through.
Checking Level Along the Run
- Check level continuously along the whole run, not just at each end — ground height often varies more in the middle of a long fence than people expect.
- Adjust base depth in low spots rather than packing loose soil under the plinth itself, which will compress unevenly over time.
- Use the string line as a constant reference as you work along, rather than eyeballing each section independently.
Rule of thumb: if you can rock a plinth by hand once it's sitting on the base, the base isn't compacted enough. Fix it now — it's far harder to correct once the plinth is fixed and backfilled.
Fitting Beneath Existing vs New Fencing
The approach differs depending on whether the fence is already up.
| Scenario | Approach |
|---|---|
| Existing fence | Slide the plinth into place along the base, working around posts. You may need to trim or notch the plinth to clear post positions. |
| New fence | Install the plinth first, then set posts and panels above it — this gives a cleaner, gap-free fit and is generally the easier of the two. |
| Colorbond channel-post fence | Plinth sits inside the channel post and is screwed directly to it before the bottom rail goes in. |

Working Around Posts
Fence posts rarely line up perfectly with the end of a standard-length plinth. Where a post falls mid-run, you'll typically need to notch or trim the plinth with a concrete saw so it sits neatly around the post rather than butting awkwardly against it. Whichever scenario applies, the goal is the same: the plinth should sit firmly against the fence line with no visible gap where soil could wash through.
Finishing and Backfill
Fixing the Plinth
- Fix the plinth to fence posts using brackets or cleats rated for your fence type — see our fence compatibility guide for specifics per material.
- On Colorbond, this usually means screwing the plinth directly to the channel post before the bottom rail is fitted.
- On timber, galvanised brackets fixed into posts or bearers work best — never use uncoated fixings, which will rust and stain the concrete over time.
- If stacking two plinths, fix at both levels rather than relying on the top plinth's fixings to hold the whole stack.
Backfilling in Stages
- Backfill behind the plinth with free-draining material — blue metal or crushed recycled concrete — in stages, compacting as you go.
- Avoid piling all the backfill in at once; this can push the plinth out of alignment before fixings have fully taken the load.
- Finish with a light compaction pass along the top of the backfill to reduce future settling, then top with garden soil if the area will be planted out.

Worked example:
A Brisbane homeowner is fitting six plinths (14m run) along an existing Colorbond fence with a 180mm soil step from a neighbouring landscaping job. After clearing and trenching, they compact a 60mm road-base layer, checking level every metre along the string line. Each plinth is screwed into the Colorbond channel post before the bottom rail goes back on. Backfill goes in with crushed rock in three stages, compacted between each. Total time for two people: around six hours, including a lunch break.
Estimating How Much Backfill You'll Need
Underestimating backfill is a common reason for a second trip to the yard mid-job. As a rough guide, multiply the trench length by the average gap width behind the plinth and by the retained height — that gives you a volume in cubic metres. Most suppliers sell blue metal and crushed recycled concrete by the cubic metre or by the bag for smaller jobs, and it's worth ordering slightly more than your calculation suggests, since ground conditions are rarely perfectly uniform along a full run.
After Installation: Settling and Early Care
Concrete plinths are pre-cast and cured before delivery, so there's no on-site curing time to wait out — you can backfill and use the area straight away. That said, freshly compacted backfill does settle a little further over the following weeks, especially after the first solid rain.
- Check backfill levels again a few weeks after installation and top up any spots that have settled.
- Hold off on heavy foot traffic or placing garden beds directly against the backfill for the first week or two, giving it time to settle naturally.
- Re-check fixings after the first few months — timber posts in particular can move slightly as they season, and a loose bracket is easy to tighten early but harder to fix once soil has built up around it.

Common Mistakes
Most plinth problems trace back to one of these. They're all avoidable with a bit of extra care at the right step.
| Mistake | Consequence | Fix |
|---|---|---|
| Skipping the compacted base | Uneven settling within the first year | Compact in thin layers before placing the plinth |
| Gaps left at post positions | Soil migrates through over time | Notch or trim the plinth for a snug fit, not an approximate one |
| Backfilling too quickly | Plinth pushed out of alignment before fixings set | Backfill in stages, compacting between each |
| Wrong fixings for the fence type | Loose or corroding brackets | Match brackets to Colorbond, timber or aluminium specifically |
| Backfilling with soil instead of aggregate | Moisture trapped against the plinth | Use blue metal or crushed recycled concrete |
| Exceeding around 400mm with plinths alone | Undersized structure for the soil load | Step up to a retaining wall instead |
| Lifting solo | Injury risk and awkward, uneven placement | Always lift and position as a two-person job |
FAQs
How long does a plinth installation actually take?
For a straightforward run of 4–6 plinths along an existing fence, budget half a day to a full day for two people, depending on how much trimming around posts is needed and how uneven the ground is to start with. Stacked runs and longer fence lines take proportionally longer.
Do I need council approval to install a plinth?
Generally no, since plinths sit well under the height that typically triggers retaining wall approval in most Australian states (commonly around 1m). Rules vary by council, so a quick check is worth it if you're at all unsure, particularly if the plinth is doing real retaining work rather than just closing a small gap.
Can I install a plinth without removing the fence?
Yes, this is the more common scenario. You'll dig and prepare the trench with the fence in place, sliding the plinth into position and trimming around posts as needed. It's slightly slower than installing before the fence goes up, but entirely doable.
What happens if I get the level wrong?
An unlevel plinth run isn't just a cosmetic issue — soil can find its way through low points, and stacked plinths become less stable if the base course isn't true. If you notice unevenness before fixing and backfilling, it's straightforward to lift the plinth and add or remove base material. Once it's fixed and backfilled, correcting it means undoing several steps, so it pays to double-check level before you move on.
Is there a best time of year to install a plinth?
Drier months make the job easier, mainly because a dry trench compacts more predictably than a waterlogged one and you're not working in mud. It's not a strict requirement — plinths can be installed year-round — but if you have the choice, avoid scheduling the job right after heavy rain, when the soil is at its softest and least stable to compact against.
Can I install a plinth myself if I've never done concrete work before?
Yes — there's no on-site concrete pouring or mixing involved, since the plinths arrive pre-cast. The skills that matter most are patience with the levelling step and basic confidence with a shovel, spirit level and power drill for the brackets. If that describes you, this is a genuinely achievable weekend project, and most of the mistakes that trip people up come from rushing the base prep rather than any specialist skill they were missing.
Ready to get started?
Shop the full under-fence plinths range, and check compatibility with your fence type in our guide to Colorbond & timber fence compatibility.
Shop under-fence plinths →
Leave a comment (all fields required)