









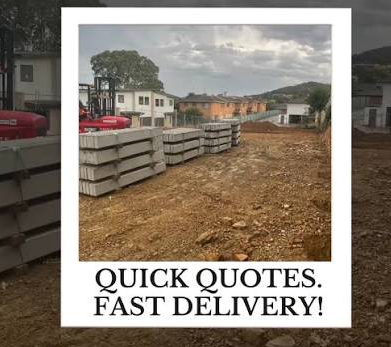

Quick answer: A concrete plinth under a Colorbond fence sits at ground level between the existing posts, bedded on a levelled base rather than fixed to the fence with screws or brackets. The main Colorbond-specific detail is working around the fence's existing post and rail system - the plinth needs to clear the bottom rail and any post base plates without disturbing them, which matters more on a retrofit than on a new fence build. This guide covers that detail in full, including a complete tools and materials checklist and the step-by-step bedding sequence.
New Fence Build vs Retrofit: Why the Order of Operations Matters
The single biggest factor in how straightforward a Colorbond plinth installation is comes down to timing - specifically, whether the plinth goes in before or after the fence itself.
- New fence build - the plinth run is set out and bedded first, then posts are positioned and the fence built on top of it. This is by far the simpler sequence, since there's no existing structure to work around
- Retrofit to an existing fence - posts, rails and panels are already in place, so the plinth has to be fitted into the gap beneath the existing fence line without disturbing what's already standing. This is a genuinely more involved job, and it's the scenario most of the Colorbond-specific detail below is written for
If you're planning a new Colorbond fence and plinth together, most of what follows still applies, but it's worth reading as sequencing guidance rather than a retrofit workaround.
Tools and Materials Checklist
Before starting, it's worth having everything on hand rather than discovering a gap mid-job, particularly on a retrofit where the fence line is partly disturbed for the duration of the work.
- Concrete plinths in your confirmed finish and quantity, ordered to the length worked out for your specific run
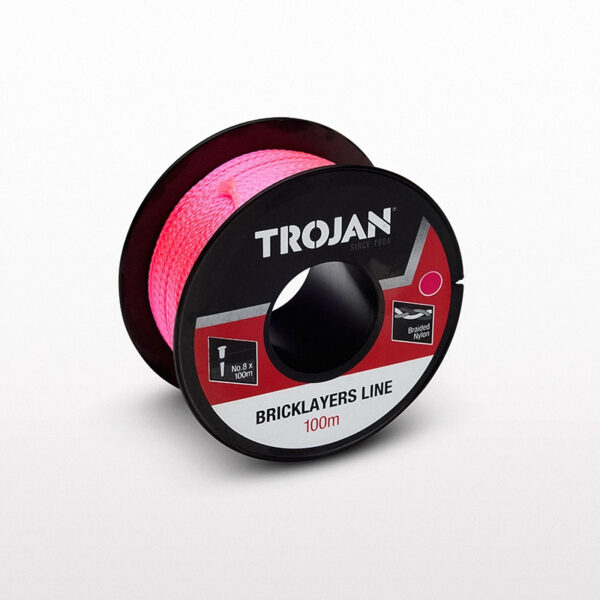
- Spirit level and string line for checking the plinth sits level along its length and consistent from one unit to the next
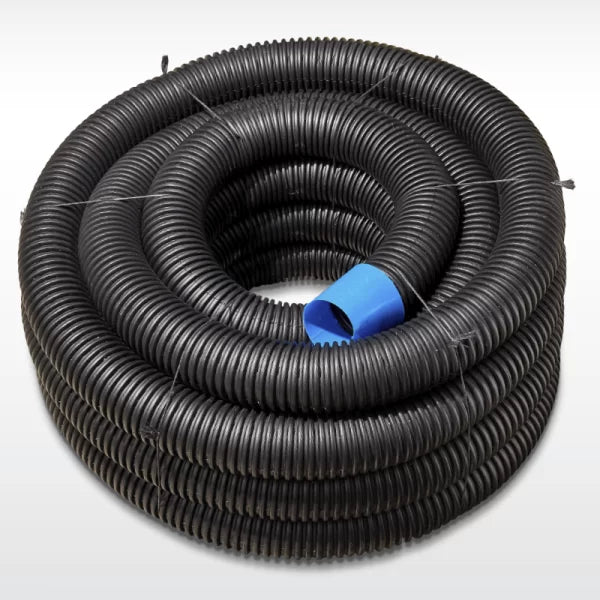
- Compactable bedding material - a compacted road base or similar granular material is commonly used to create a firm, level base beneath the plinth before it's set in place
- A hand tamper or plate compactor for compacting the bedding layer, depending on the length of run and how much of the job is done by hand versus machine
- Spade and mattock for excavation, particularly for working carefully around existing post footings on a retrofit
- A second person - concrete plinths are heavy enough that positioning them safely is a two-person task for most of the run
- Safety gear - gloves and appropriate footwear at minimum, given the weight of the plinths and the excavation involved
- Flexible sealant or a suitable joint filler for the small gaps between adjoining plinth units, discussed further below

Step 1: Mark Out and Measure the Run
Set a string line along the full length of the fence line where the plinth will sit, and measure the actual gap between the ground and the underside of the bottom rail at several points along the run, not just at one or two spots. Ground level along even a short fence line can vary more than it first appears, and this measurement determines both the plinth height you need and whether a retrofit will clear the existing rail without complication.
Step 2: Excavate and Prepare the Base
Dig a shallow trench along the marked line, wide and deep enough to seat the plinth with room for a compacted bedding layer beneath it. On a retrofit, this step needs particular care around existing post footings, covered in its own section below.
- Remove any loose organic material, old mulch or garden bed debris from the trench, since a plinth bedded on soft, uncompacted material is more likely to settle unevenly over time
- Aim for a consistent trench depth along the run, adjusting slightly where ground level itself varies, so the finished plinth height comes out level along its length even where the original ground wasn't
Step 3: Lay and Compact the Bedding Layer
Spread a layer of compactable bedding material into the trench and compact it firmly, checking level as you go with the string line and spirit level set up in Step 1.
- Work in shallow layers rather than filling the full depth at once and compacting only the top, since a thick uncompacted layer can leave hidden soft spots beneath a firm-looking surface
- Check level continuously rather than only at the start and end of the run - it's much easier to correct a low or high spot before the plinth is in place than after
Step 4: Position the Plinth Units
With the base prepared, position each plinth unit in turn, working along the run from one end. This is where having a second person matters most, both for safely lifting the plinth into place and for checking level and alignment as each unit is set down.
- Lower each plinth carefully onto the bedding layer rather than dropping it, to avoid disturbing the compacted base underneath
- Check each unit for level individually, adjusting the bedding beneath it if needed, rather than assuming the whole run is level just because the trench was prepared level
- Keep a small, consistent gap between adjoining plinth ends rather than butting them tightly together - a very slight gap allows for minor thermal movement and makes later sealing cleaner
Step 5: Sealing the Joints Between Units
The small gaps between adjoining plinth ends are worth addressing properly rather than leaving open, since an open joint is where soil, weeds and moisture will find their way through over time even if the individual units themselves are correctly bedded.
- A flexible outdoor-rated sealant is generally the simplest approach for a standard joint gap, allowing for minor movement without cracking the way a rigid mortar fill might over time
- Where a wider gap exists - for example, at a short cut piece near a corner - a mortar fill can be appropriate, though it's worth checking it won't crack away from the surrounding units if any minor ground movement occurs later
- Joints don't need to be invisible - a clean, consistent seal along every joint matters more for keeping soil and weeds out than achieving a perfectly seamless finish
Working Around Existing Colorbond Posts
Colorbond fence posts are typically set in concrete footings at regular bay spacing, with the fence panels or sheeting fixed between them. A plinth run needs to pass close to each post without disturbing its footing, which is the main technical detail specific to a Colorbond retrofit.
- Excavate carefully around the base of each existing post, working by hand close to the footing rather than with machinery, to avoid loosening or cracking the post's concrete footing
- Where a plinth can't run in one continuous piece past a post, it's cut or notched to fit around the post base rather than the post being moved to accommodate the plinth
- Leave a small clearance gap between the plinth and the post footing itself, rather than butting concrete directly against concrete, since the two elements can move slightly independently over time and a hard contact point is where cracking is most likely to start
Clearing the Bottom Rail
Colorbond fence panels typically sit in a bottom rail (channel) that runs between posts, and this rail sits at a specific height above ground on an existing fence. Fitting a plinth underneath an existing fence means working to that fixed height rather than choosing your own.
- Measure the actual clearance between the ground and the underside of the bottom rail at several points along the run before ordering, since ground level can vary along the fence line even where the rail itself is straight
- Where clearance is tight, a single standard-height plinth is more likely to fit under the existing rail without needing to lift or adjust the fence - lifting an established Colorbond fence to fit a taller plinth underneath is a significantly bigger job than fitting the plinth first would have been
- Where the gap varies along the run because of an uneven original installation, the plinth can be bedded to follow the ground level's variation within reason, rather than needing to be a uniform height for the entire run
Is a Plinth Screwed to a Colorbond Fence?
No - a concrete plinth isn't fixed to the fence with screws or brackets the way a fence panel is fixed to its posts. It's bedded in place at ground level, sitting beneath the fence rather than fastened to it. The fence and the plinth are two separate, unconnected elements that happen to sit next to each other, which is part of why a plinth can generally be retrofitted under an existing fence without needing to modify the fence's own fixings.
Bedding and Backfill: Colorbond-Specific Notes
The general bedding process - a compacted, level base beneath the plinth and backfill against the higher side afterward - is largely the same regardless of fence type. A couple of details are worth calling out specifically for Colorbond retrofits:
- Keep backfill and any garden bed material clear of direct contact with the base of Colorbond sheeting itself, even once the plinth is in place, since the plinth closes the ground gap but shouldn't be treated as a reason to pile soil up against the sheeting above it
- Where the fence sits on a slight fall, check that the finished plinth height still leaves the fence sheeting itself clear of the final ground level on the higher side once backfill is compacted, not just clear of the ground level as it was before work started
- Backfill in shallow layers, lightly compacting as you go, rather than piling loose soil against the plinth in one go - this reduces the amount of settling that occurs after the job is finished and looks complete
Timing and Weather Considerations
Plinth installation isn't a particularly weather-sensitive job compared with, say, pouring wet concrete on site, since the plinths themselves arrive precast and cured. Even so, a few timing considerations are worth factoring into planning the work.
- Avoid working immediately after heavy rain - excavated trenches and bedding material both compact and behave more predictably in reasonably dry ground conditions, and a waterlogged trench is harder to get level and stable
- Check ground conditions on reactive clay sites carefully - clay that's recently been very wet or very dry can shift noticeably within days, so it's worth timing the final bedding and levelling step for a period when the ground is in a relatively stable, average moisture state rather than at either extreme
- Allow a full day for a typical residential run - a straightforward new-build plinth installation for an average suburban boundary length is realistically a one-day job for two people, where a retrofit around several existing posts often takes longer given the additional care needed at each post
Aftercare Once the Plinth Is In
Concrete plinths need essentially no ongoing maintenance once installed, but a few simple checks in the weeks after installation are worth doing while any freshly disturbed ground around the plinth settles.
- Check backfill levels a few weeks after installation, since freshly disturbed soil often settles slightly as it compacts naturally under rain and everyday foot traffic near the fence line
- Top up any settled backfill rather than leaving a slight depression to develop into a bigger one over time
- Check joint sealant periodically in the first year, since this is the one component of the installation with any expectation of ageing over time, and a failed joint seal is a simple, low-cost fix if caught early
Safety Considerations Worth Taking Seriously
A plinth installation is a modest DIY job by most standards, but it's still worth treating the physical parts of it with the same care as any job involving heavy materials and excavation near existing structures.
- Lifting - concrete plinths are heavy enough that lifting one alone risks back injury. Always lift with a second person, and use proper lifting technique - bending at the knees rather than the back, and lifting together on a clear count
- Excavating near existing structures - working close to an existing post footing or near buried services calls for hand digging rather than machinery, and a quick check for known underground services before digging is a sensible precaution on any excavation job, however shallow
- Working near an existing fence under any load - if a section of fence is temporarily less supported while a plinth section is being fitted beneath it, avoid leaning on the panel or applying lateral force to it until the plinth is properly bedded and any disturbed ground has been backfilled
When to Call in a Professional Instead
Most straightforward plinth installations are genuinely achievable as a DIY project, but a few situations are worth handing to a professional rather than working through solo.
- A long run on a site with significant slope or uneven ground, where getting a consistent, level result across the whole length is more demanding than a flat, straightforward block
- A retrofit where clearance under the existing rail is genuinely tight everywhere along the run, since there's little margin for error in the bedding depth
- Any situation where an existing post footing looks compromised or unstable once excavation begins nearby - this is a separate issue from the plinth work itself and is worth having assessed properly rather than working around
- A large-scale project being run alongside other trades - new fence installation, landscaping or a driveway - where coordinating the plinth work into an existing schedule of professional trades is simpler than adding a separate DIY stage into the middle of it
Common Mistake: Ordering Plinths Before Confirming Rail Clearance
On a retrofit specifically, the most common mistake is ordering a standard plinth height without first confirming it will actually clear the existing bottom rail along the whole run. Because ground level can vary even along a straight fence line, a height that clears the rail at one end can be tight or won't fit at the other. Measuring clearance at several points before ordering avoids discovering a fit problem after the plinths have already arrived.
FAQs
How do I install a Colorbond fence plinth?
A plinth is bedded on a levelled, compacted base at ground level beneath the fence line, fitted around existing posts rather than fixed to the fence itself. See the step-by-step sequence above, and our Complete Guide for the general bedding process that applies to any fence type.
How do you secure a plinth to a Colorbond fence?
A plinth isn't secured to the fence with fixings - it's bedded in place at ground level as a separate element sitting beneath the fence, rather than fastened to the posts or rail.
Will a plinth be screwed to a Colorbond fence?
No. Concrete plinths sit at ground level under the fence rather than being screwed or bracketed to it, which is part of why they can generally be retrofitted under an existing fence without disturbing its fixings.
Can I fit a plinth under an existing Colorbond fence without removing panels?
Generally yes, provided there's enough clearance between the ground and the bottom rail for the plinth height you need. Where clearance is genuinely too tight, see our guide on replacing a damaged plinth for the approach to working around an existing fence more carefully.
Do I need to seal the joints between plinth units?
It's worth doing. A flexible outdoor sealant along each joint keeps soil, moisture and weeds from working through the small gaps between adjoining units over time.
Is installing a plinth under an existing fence harder than under a new one?
Yes, noticeably. A new fence build lets the plinth go in first with nothing to work around. A retrofit means fitting the plinth into a fixed gap beneath an already-standing fence, which is a more careful job but still generally achievable.
How long does a typical plinth installation take?
A straightforward new-build run for an average suburban boundary is realistically a one-day job for two people. A retrofit around several existing posts generally takes longer, given the extra care needed working close to each post footing.
Browse the Range
Our under-fence plinth range covers both standard finishes ready for your next fence project. For general installation basics that apply to any fence type, see our Under-Fence Plinths: Complete Guide.
Leave a comment (all fields required)