




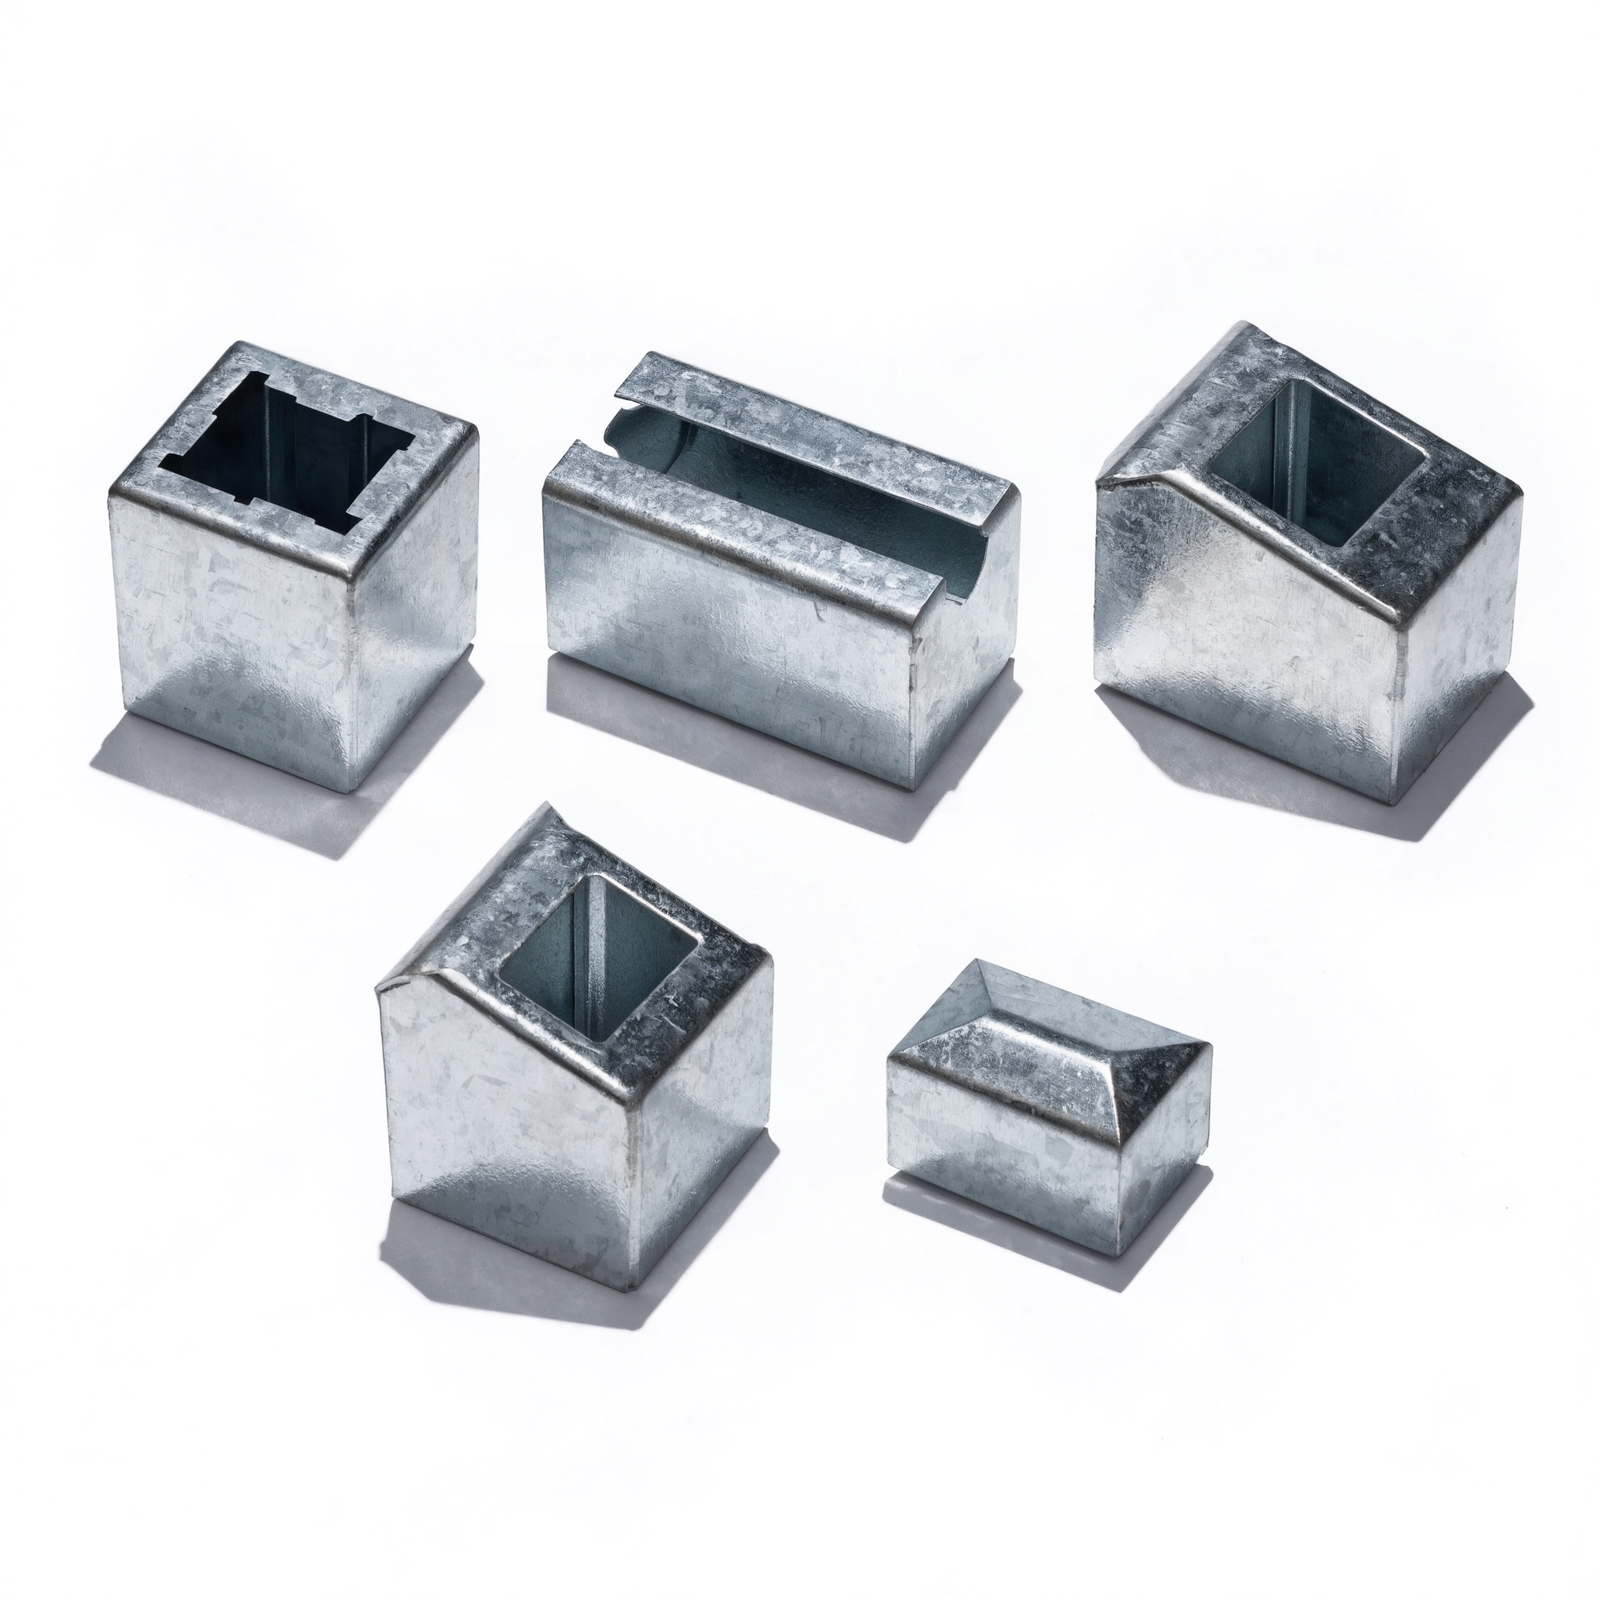




For a standard single-sided Colorbond fence up to about 1.8m on a typical suburban wall, the 3mm Standard kit is usually the right fit. Step up to the 6mm Heavy Duty for double-sided panels, taller runs, or an exposed or windy site, and to the 6mm Offset when the fence needs to sit clear of the post centreline, such as on a boundary wall. All three use the same 580 x 100mm plate footprint and the same two-bolt fixing to the post; what changes is plate thickness and, on the Offset, the shape. The scenarios below walk through which applies to you.

Specifications below are as supplied by the manufacturer. For critical applications, confirm exact measurements with our team before installation.
This article is about choosing between the three kit variants for a Colorbond fence. For general fitting steps, see the Retaining Wall Fence Brackets: Sizes, Fitting and Buying Guide, which this article doesn't repeat.
The Three Kits, Side by Side
| Variant | Plate size | Thickness | Weight (approx) | Best suited to |
|---|---|---|---|---|
| 3mm Standard | 580mm long x 100mm wide | 3mm | ~1kg | Standard residential Colorbond, single-sided panels, typical suburban exposure |
| 6mm Heavy Duty | 580mm long x 100mm wide | 6mm | ~2kg | Heavier or double-sided panels, taller runs, exposed or windy sites |
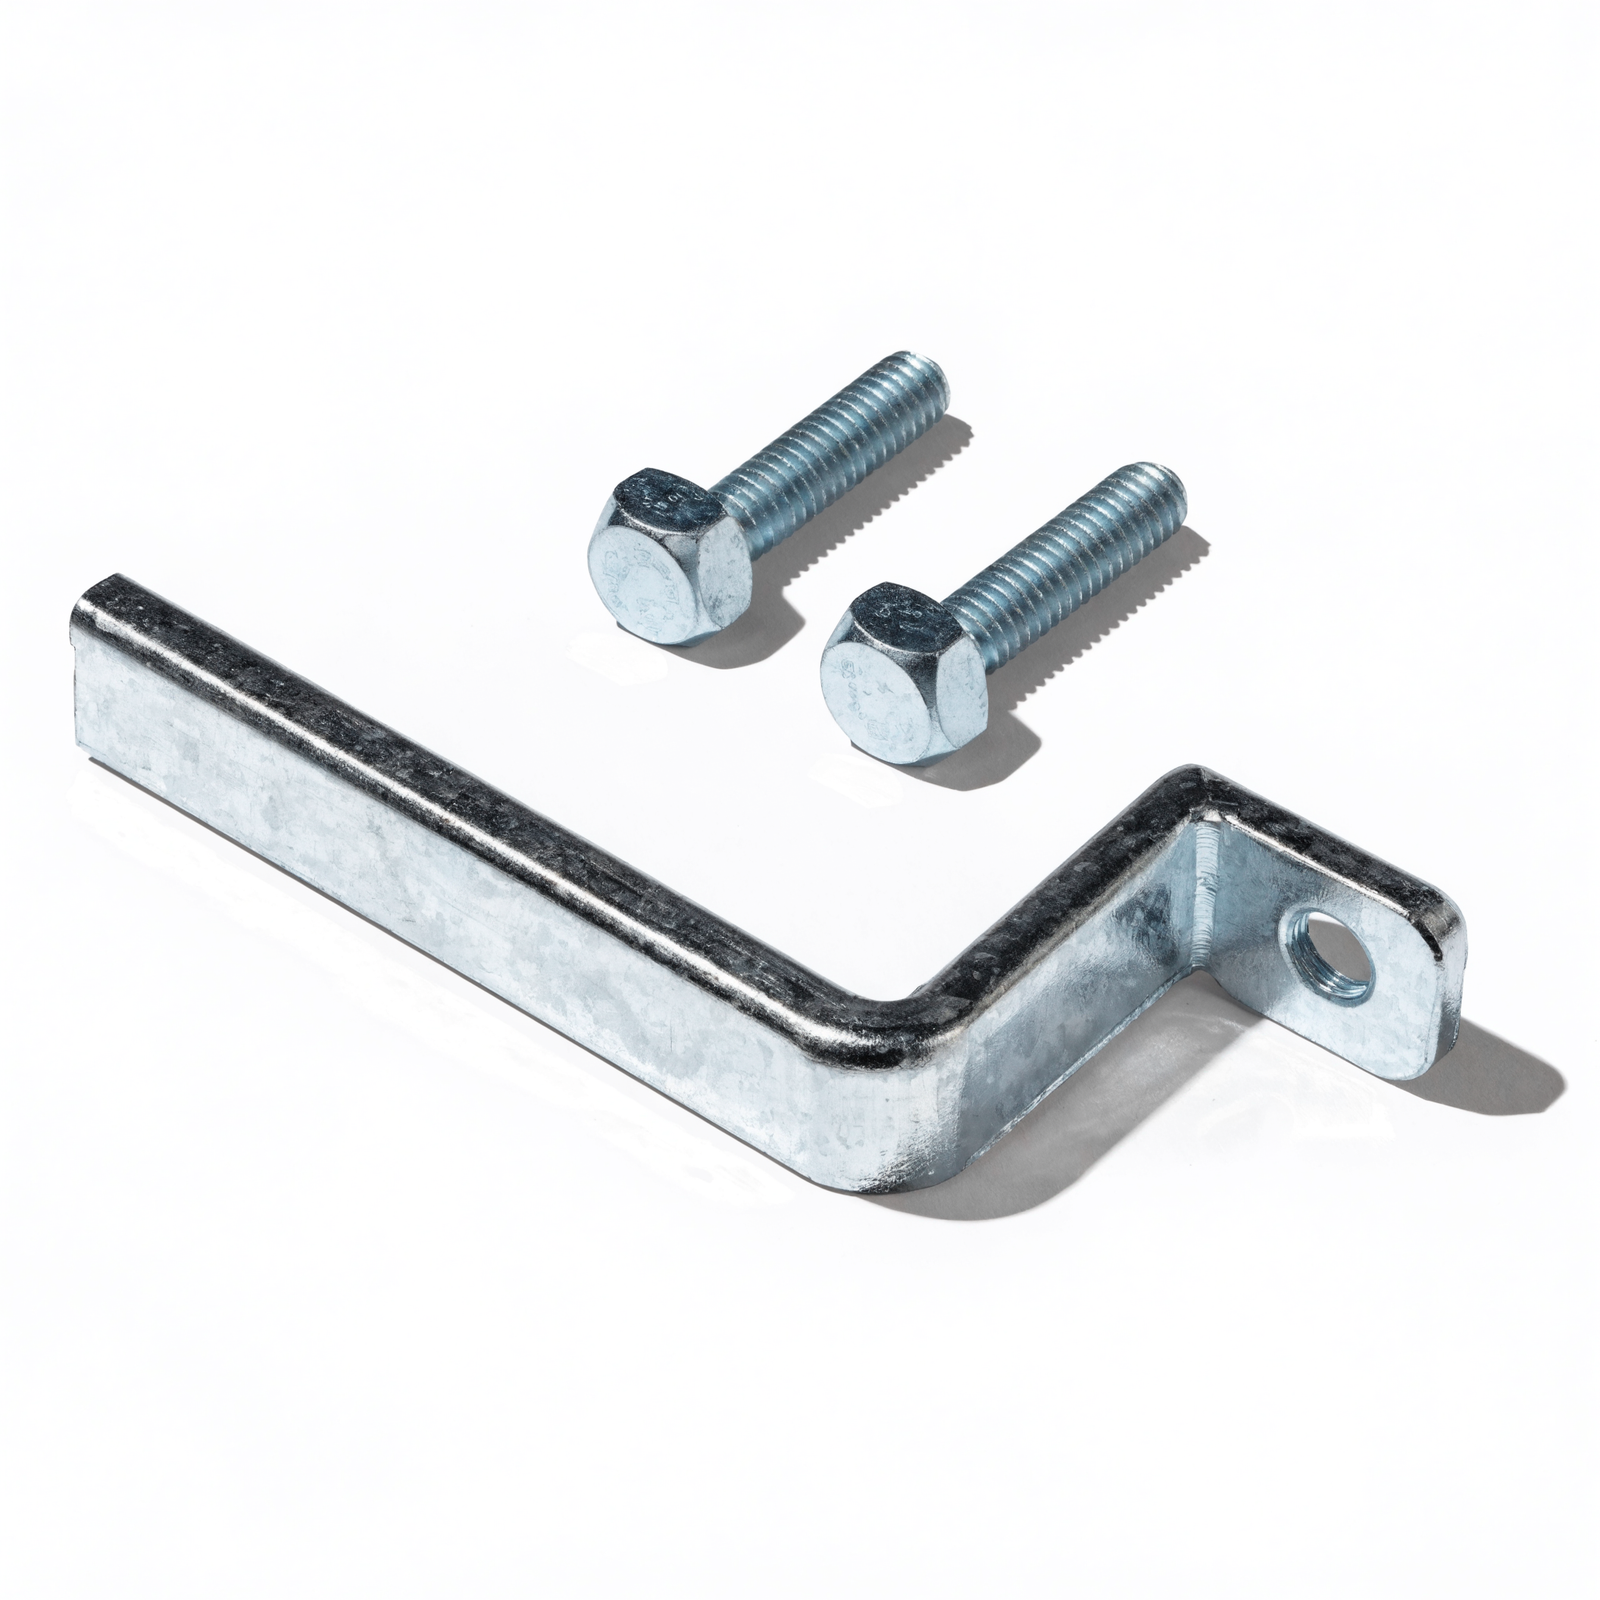
| 6mm Offset | 580mm long x 100mm wide | 6mm | ~2kg | Where the fence line needs to sit clear of the post centreline, typical on boundary walls |
All three bolt to the post the same way. The difference between them is plate thickness and, for the Offset, its shape, not the footprint or the fixing method.
What RWD's Kit Covers, and What It Doesn't
Each kit comes with one bracket and two M12 x 20mm hex bolts and nuts. Those two bolts fix the bracket to the retaining wall's steel post. That's the only joint the kit covers.
Fixing the fence itself, the rails, posts or panels, to the bracket is a separate connection, using hardware to suit whatever fence system is going in. RWD supplies the bracket-to-post fixing. The fence-side hardware is the fencing contractor's or installer's choice, matched to their fence type. If you're sourcing fasteners for that side of the job, our fence bracket fasteners guide covers what to look for.
Choosing by Scenario
Scenario 1: Standard Suburban Colorbond Fence, Single-Sided, Under About 1.8m
This is the common case, and the 3mm Standard kit is built for it. A single skin of Colorbond panelling in a typical suburban setting doesn't put much load through the bracket, and the 3mm plate, hot-dip galvanised to AS/NZS 4680, is more than adequate.
Scenario 2: Double-Sided Panels, a Taller Run, or an Exposed Site
Double-sided panelling, meaning Colorbond sheeting on both faces of the fence rather than one, roughly doubles the wind load the bracket has to resist, since there's more solid surface for wind to push against. The same applies to an exposed hilltop or coastal block, or a fence closer to the practical height limit. In any of these, step up to the 6mm Heavy Duty kit. The thicker plate is stiffer under the same load, and it also carries a heavier minimum galvanised coating, covered in our galvanised finish guide.
Scenario 3: A Boundary Wall Where the Fence Can't Sit on the Post Centreline
Sometimes the fence line needs to run clear of the post itself, for instance where a boundary survey line doesn't align with where the retaining wall posts happen to sit, or where an adjoining property's fence needs to meet at a specific point. The 6mm Offset kit sets the fence line off the post face rather than directly on the centreline, which is the scenario it's built for. It's still a 6mm plate, so it carries the same load capacity as the Heavy Duty kit, just offset in shape.
Scenario 4: Anything Above About 1.8m, or a Cyclonic or High-Exposure Zone
1,800mm is the practical ceiling for choosing a kit by these general scenarios. Above that height, or in a cyclonic or otherwise high-wind-exposure region, get the fence design signed off by an engineer rather than choosing a bracket by rule of thumb. None of the three kits carry a published wind or load rating on their own, since no supplier in this category publishes one for this bracket type. Bracket thickness is the practical guide within normal conditions, not a substitute for engineering advice once you're outside them.
Why There's No Published Load Rating
It's worth being upfront about this rather than implying a number that doesn't exist: none of the three kit variants, from RWD or from comparable suppliers in this category, carry a published wind or load rating. The guidance above, thickness matched to panel load and exposure, is the trade-standard approach used across the category, not a substitute for a specific engineering figure. If your project needs a certified load rating, that's a conversation with a structural engineer, not something this article or the kit's own spec sheet can answer.
Working Out How Many Kits You Need
Each kit fixes one bracket to one post, so the number of kits comes down to how many posts are in the run, not the wall's length alone.
- Count the posts, not the metres. Posts typically sit at a set spacing along the wall, commonly around 1.8m to 2m centres, so a longer wall simply has more posts, and each one needs its own kit.
- Check whether an end post is shared with an adjoining fence run. If your fence ties into an existing section, or continues past a corner, the post at that junction may already be doing double duty. In that case, you need one fewer kit than the total post count, since that shared post only needs a single bracket.
- A standalone run needs a kit at every post, including both ends. If the run starts and finishes without tying into anything else, count every post, start to finish.
As a worked example, a run with 6 posts spaced along its length needs 6 kits if it's a standalone section with its own start and end posts, or 5 if one end ties into and shares a post with the next section. The difference isn't about the wall's length changing, it's about whether that one shared post is doing the job of a bracket point for two runs, or just one.
If you're not sure whether your layout shares an end post, it's worth confirming before ordering, since it's the difference between one kit too few and one kit too many.
Fitting order is: set the post, fit the bracket to the post at fence rail height, fit the panels to the bracket, then fit post caps last. Our fence post caps guide covers that final step in more detail, since caps go on after everything else, not before.
FAQs
Which Kit Do I Need for a Standard Colorbond Fence?
For most single-sided residential Colorbond fencing under about 1.8m in a typical suburban setting, the 3mm Standard kit is the usual choice.
What's the Difference Between the Heavy Duty and Offset Kits, if They're Both 6mm?
Both use the same 6mm plate thickness and carry the same load capacity as each other. The difference is shape: Heavy Duty mounts on the post centreline, Offset sets the fence line clear of it, for situations like boundary walls where the fence can't align directly with the post.
Does the Kit Include Everything I Need to Fit the Fence?
It includes the bracket and the two bolts that fix it to the post. Fixing the fence itself to the bracket needs separate hardware suited to your fence type, which your fencing contractor supplies.
Is There a Maximum Fence Height for These Brackets?
About 1,800mm is the practical limit for choosing by these general scenarios. Above that, or in a cyclonic or high-wind-exposure zone, get the design signed off by an engineer.
See the Galvanised Steel Fence Bracket Kit to choose a variant, or browse the Fence Brackets collection.
Leave a comment (all fields required)