
Backfilling a retaining wall incorrectly is one of the most common ways to damage a wall that was otherwise built correctly. Too much load placed too quickly, wrong material in the drainage zone, or inadequate compaction can push a wall out of alignment before the concrete has fully cured, or create long-term drainage problems that cause premature failure.
This guide covers what to use for backfill, how to place it correctly, and the mistakes to avoid.
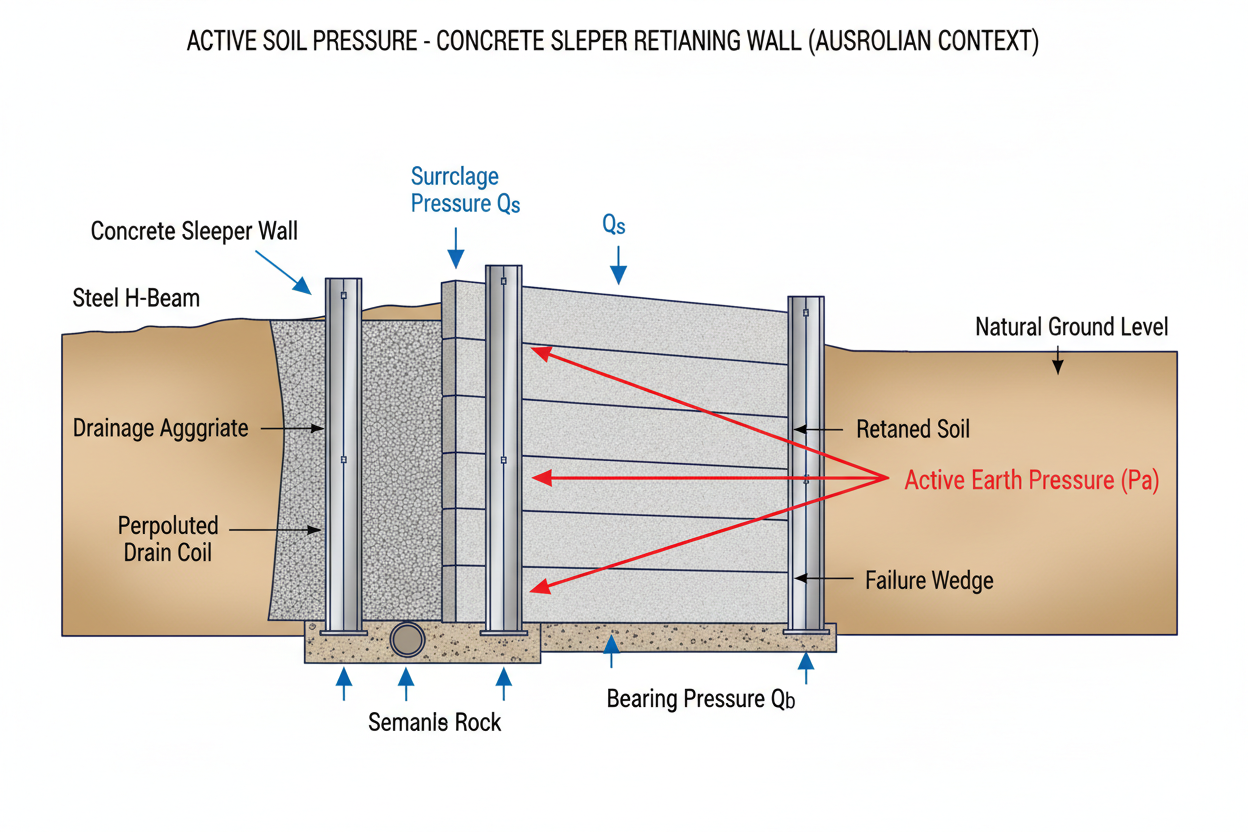
The Two Zones Behind a Retaining Wall
The backfill behind a retaining wall is divided into two distinct zones with different material requirements:
Zone 1: The Drainage Zone (Immediately Behind the Sleepers)
The first 300–500mm behind the sleepers must be filled with clean drainage aggregate — typically 20mm single-sized crushed rock or similar. This is the drainage zone that allows water to move freely down to the ag pipe at the base of the wall. Do not use soil, clay, or mixed fill in this zone.
Zone 2: The General Backfill Zone (Above and Behind the Drainage Zone)
Above and behind the drainage zone, general backfill material can be used. This is typically the excavated soil from the site, or imported fill if the excavated material is unsuitable. The material should be free of large rocks, organic material, and debris.
Drainage Zone Material
The drainage zone must be filled with clean, single-sized drainage aggregate. The most common specification is 20mm crushed rock (also called drainage gravel or blue metal). Key requirements:
- Single-sized: Single-sized aggregate (all particles approximately the same size) has high void content and excellent permeability. Gap-graded or mixed aggregate has lower void content and lower permeability.
- Clean: The aggregate must be free of fines (dust, clay, silt). Fines reduce permeability and can block the drainage system over time.
- 20mm nominal size: 20mm is the standard specification for retaining wall drainage aggregate. Larger aggregate (40mm) can also be used but is harder to compact around the ag pipe.
Drainage aggregate is typically sourced locally from a landscape or building supply yard. Your supplier can advise on the correct product for your area.
General Backfill Material
For the general backfill zone above and behind the drainage zone, the following materials are suitable:
- Excavated soil (if suitable): The soil excavated from behind the wall can be reused as backfill if it is free of large rocks, organic material, and debris. Clay soil can be reused but must be compacted in thin layers.
- Imported fill: If the excavated material is unsuitable (too rocky, too organic, or too wet), imported fill may be required. Sandy loam or clay fill are both suitable if properly compacted.
Avoid using the following as general backfill:
- Large rocks or boulders (create point loads and voids)
- Organic material (topsoil, vegetation, roots) — decomposes and settles over time
- Demolition rubble (variable compaction, potential for voids)
- Wet or saturated clay (difficult to compact, high lateral pressure when wet)
How to Backfill Correctly
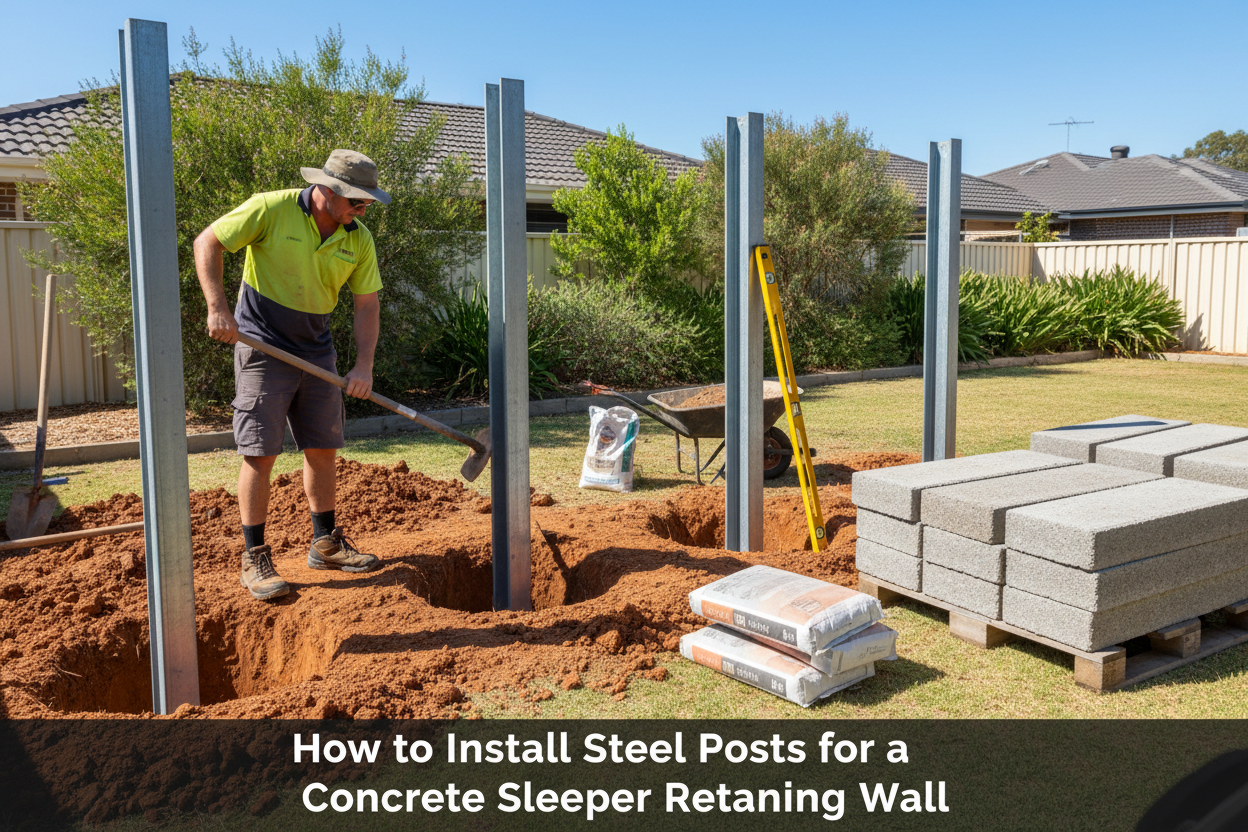
- Wait for the post concrete to cure. Do not begin backfilling until the post footings have reached adequate strength. For rapid-set concrete, this is typically 24 hours. For standard concrete, 7 days. Backfilling before the concrete has cured can push posts out of alignment.
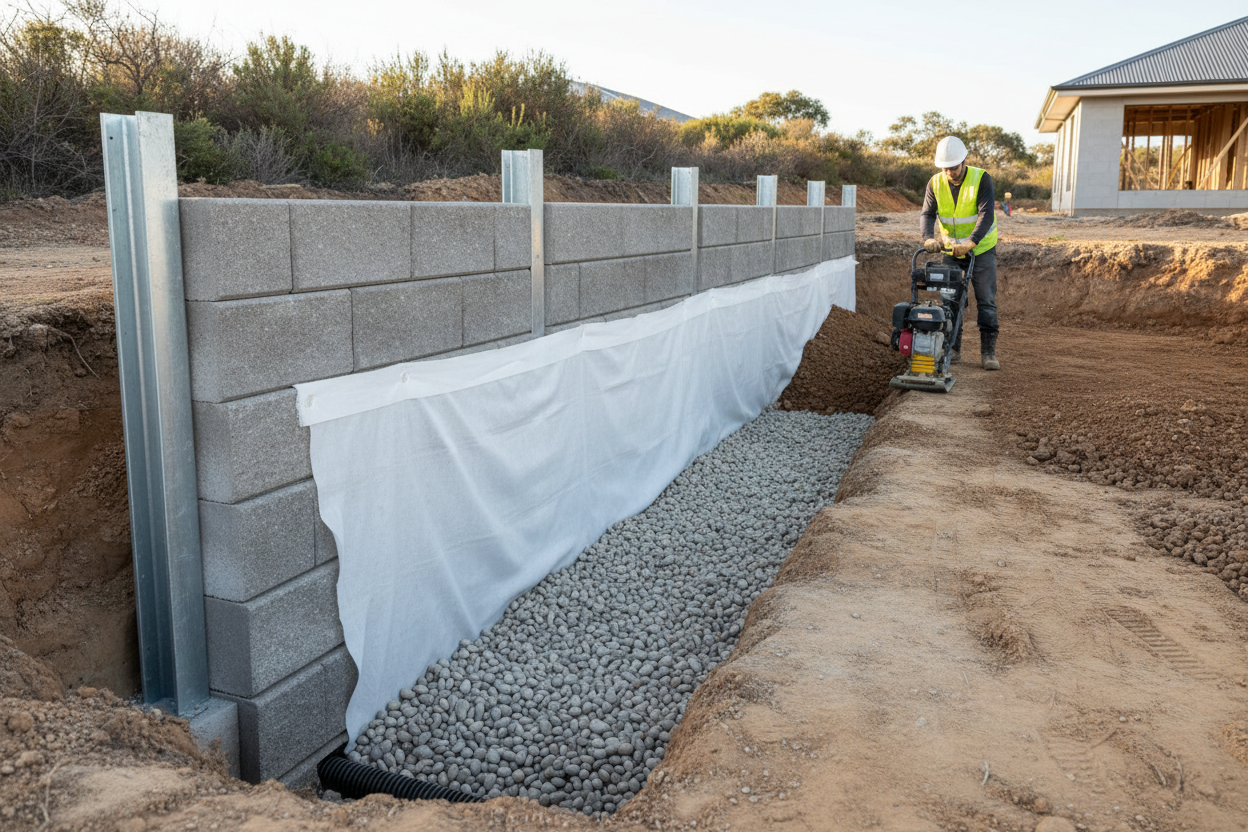
- Install the drainage system first. Geotextile fabric, ag pipe, and weep holes must be in place before any backfill is placed. See our drainage guide.
- Place drainage aggregate in the drainage zone. Fill the first 300–500mm behind the sleepers with clean 20mm drainage aggregate. Do not compact drainage aggregate — compaction reduces void content and permeability.
- Fold the geotextile fabric over the top of the drainage aggregate before placing general backfill above the drainage zone. This prevents soil from migrating down into the aggregate from above.
- Place general backfill in layers of 150–200mm. Do not dump the full backfill volume against the wall at once. Place backfill in thin layers and compact each layer before adding the next.
- Compact each layer. Use a plate compactor for granular fill, or a jumping jack (rammer) for clay fill. Do not use heavy compaction equipment within 500mm of the wall face — the vibration and lateral pressure can damage the wall or push it out of alignment.
- Keep the drainage zone intact. As you backfill above the drainage zone, ensure the geotextile fabric fold-over remains in place and soil does not contaminate the drainage aggregate.
- Check wall alignment after each layer. Check that the wall face is still plumb and aligned after each compaction pass. Correct any movement before adding the next layer.
Compaction Requirements
Compaction is critical for long-term backfill performance. Poorly compacted backfill will settle over time, creating voids, surface subsidence, and uneven loading on the wall. Key compaction principles:
- Layer thickness: Compact in layers of 150–200mm for granular fill, 100–150mm for clay fill. Thicker layers cannot be compacted adequately through their full depth.
- Compaction equipment: Plate compactor for granular fill; jumping jack (rammer) for clay fill. Hand tamping is only adequate for very small areas or areas inaccessible to mechanical equipment.
- Exclusion zone near the wall: Do not use heavy compaction equipment within 500mm of the wall face. Use hand tamping or a small plate compactor in this zone.
- Moisture content: Clay fill compacts best at its optimum moisture content — moist but not wet. Dry clay is difficult to compact; wet clay is unstable and should not be placed as backfill.
Common Backfill Mistakes
- Dumping the full backfill volume at once. This places the full weight of the backfill against the wall before it can be compacted, and can push the wall out of alignment. Always backfill in layers.
- Using soil in the drainage zone. Soil in the drainage zone blocks drainage and defeats the purpose of the drainage system. Use clean drainage aggregate only in the first 300–500mm behind the sleepers.
- Backfilling before the concrete has cured. Post footings that haven't cured can be pushed out of alignment by backfill pressure. Wait for the concrete to reach adequate strength before backfilling.
- Heavy compaction near the wall face. Heavy compaction equipment within 500mm of the wall face can damage the wall or push it out of alignment. Use hand tamping or a small plate compactor in this zone.
- Not checking wall alignment during backfilling. Check the wall face for plumb and alignment after each compaction pass. Small errors compound as the backfill rises.
Frequently Asked Questions
Can I use the excavated soil as backfill?
Yes, if it is free of large rocks, organic material, and debris. Clay soil can be reused as backfill but must be compacted in thin layers (100–150mm) at the right moisture content. Do not use excavated soil in the drainage zone — use clean drainage aggregate only.
How long should I wait before backfilling after pouring post footings?
For rapid-set concrete, wait at least 24 hours before backfilling. For standard concrete mix, wait at least 7 days. Do not backfill before the concrete has reached adequate strength — the backfill pressure can push posts out of alignment.
Do I need to compact drainage aggregate?
No. Drainage aggregate should not be compacted — compaction reduces the void content and permeability of the aggregate, which reduces its drainage effectiveness. Place drainage aggregate loosely in the drainage zone.
How do I backfill near the wall face without damaging it?
Use hand tamping or a small plate compactor within 500mm of the wall face. Avoid heavy compaction equipment in this zone. Place backfill in thin layers and check wall alignment after each pass.
Ready to Order Your Drainage Materials?
Our drainage kits include ag pipe, geotextile fabric, and weep holes for the drainage zone. Geotextile fabric is also available separately. Or contact our team to discuss your project.


Leave a comment (all fields required)